

If you’ve been trying to install or update AMD drivers on your Windows 10 or Windows 11 PC and encountered AMD Installer Error 195, you’re not alone. This error often occurs when the installer cannot properly detect your hardware or when there’s a software conflict during installation.
Fortunately, the fix is straightforward using AMD’s official Auto-Detect tool. Follow the steps below to resolve the issue and get your drivers updated without hassle.
Step 1: Open Your Browser
Launch your preferred web browser, such as Google Chrome. In the search bar, type:
nginxCopyEditAMD drivers download automatic utility
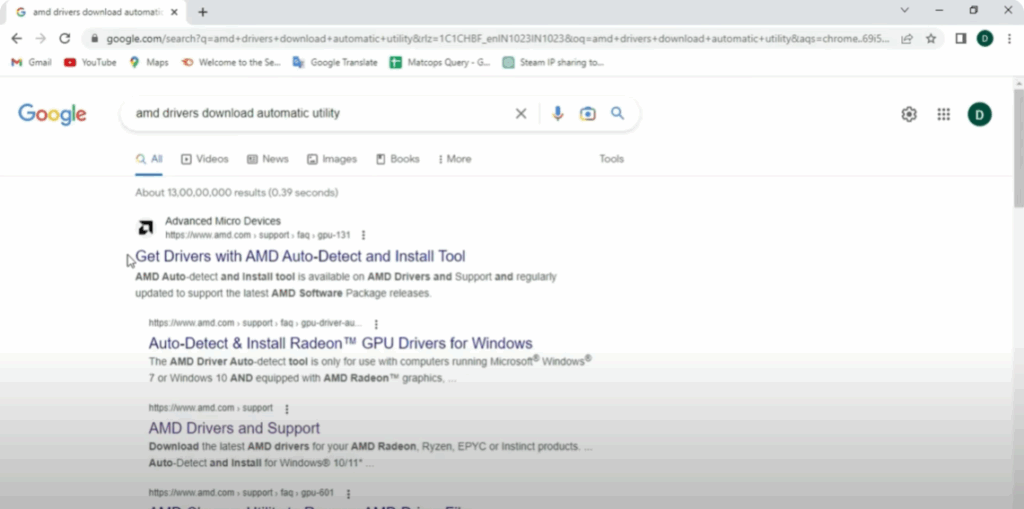
You don’t need the exact phrase — similar search terms will work.
Step 2: Visit AMD’s Official Website
From the search results, find the official AMD page titled something like:
“Autodetect and install updates for Radeon graphics and Ryzen chipset drivers for Windows.”
Click the link to open AMD’s official download page.
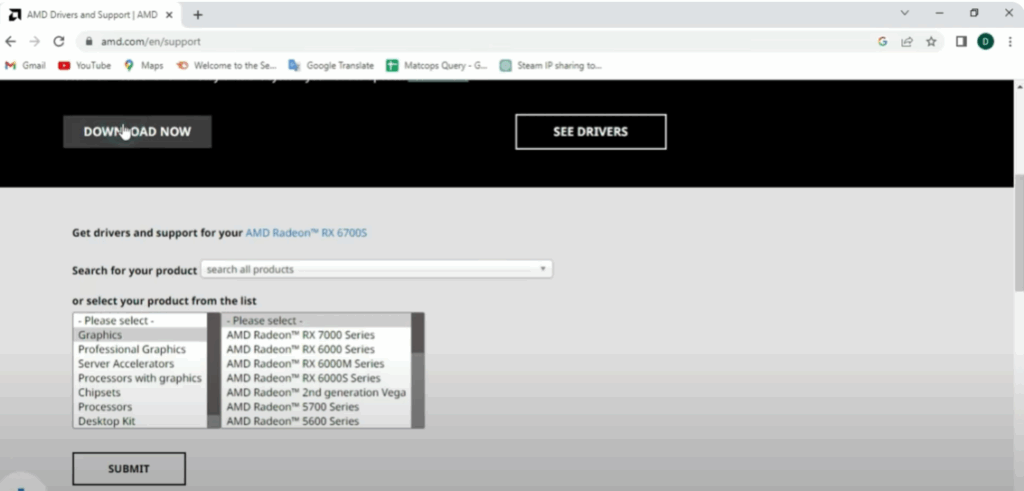
Step 3: Download the AMD Auto-Detect Tool
On the page, scroll down until you locate the Download Now button for the Autodetect and Install Tool. Click it to start downloading the file.
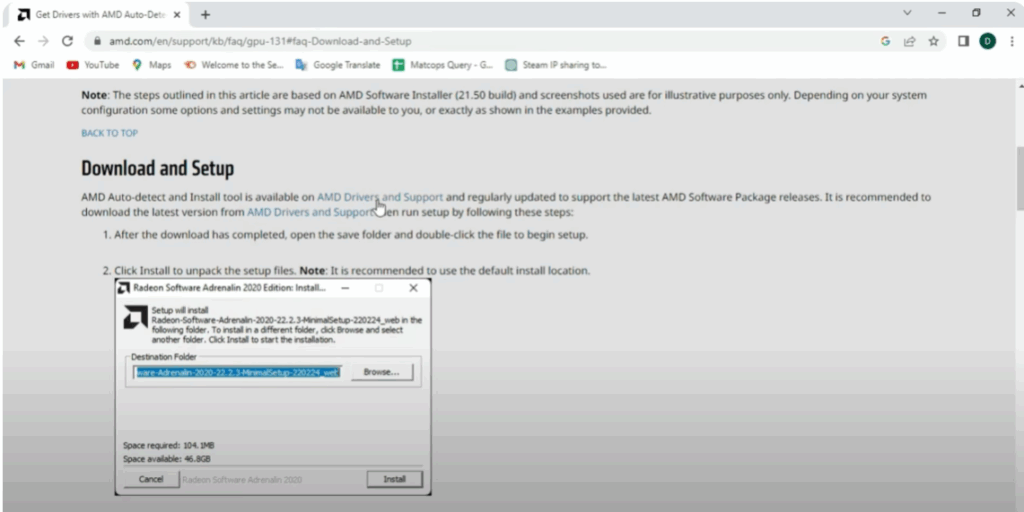
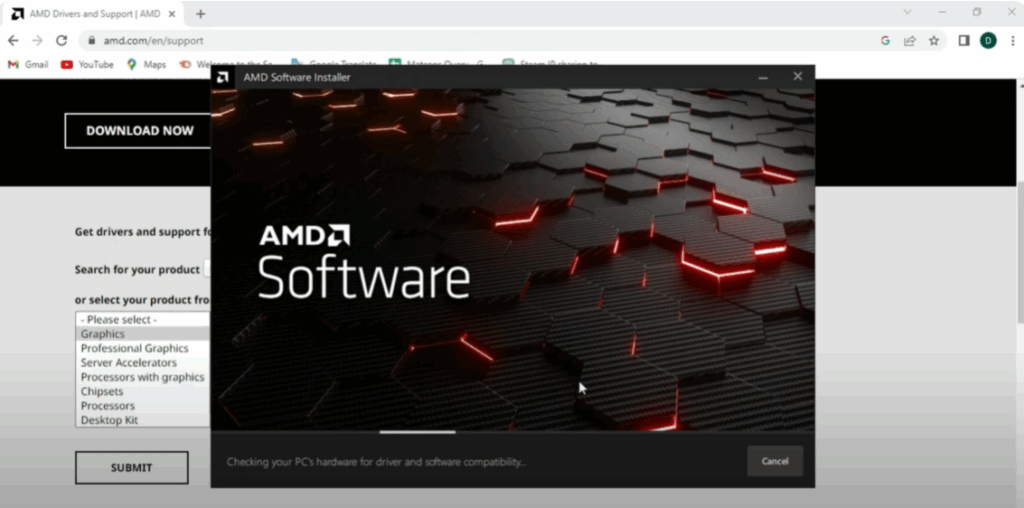
Step 4: Run the AMD Auto-Detect Utility
Once the file is downloaded:
- Open the installer.
- Follow the on-screen prompts to run the tool.
- The utility will automatically detect your AMD graphics or chipset hardware.
- It will then install the correct and updated drivers for your system.
This process bypasses the manual installation method that often causes Error 195.
Final Step: Confirm the Fix
After the installation is complete, restart your computer. The AMD drivers should now be updated, and the Error 195 problem should be gone.
✅ Tip: If you continue to face issues, ensure there’s no conflicting third-party software or outdated drivers installed. Running Windows Update and disabling antivirus temporarily during installation can also help.
By following these steps, you can quickly resolve the AMD Installer Error 195 and keep your system running smoothly.


