

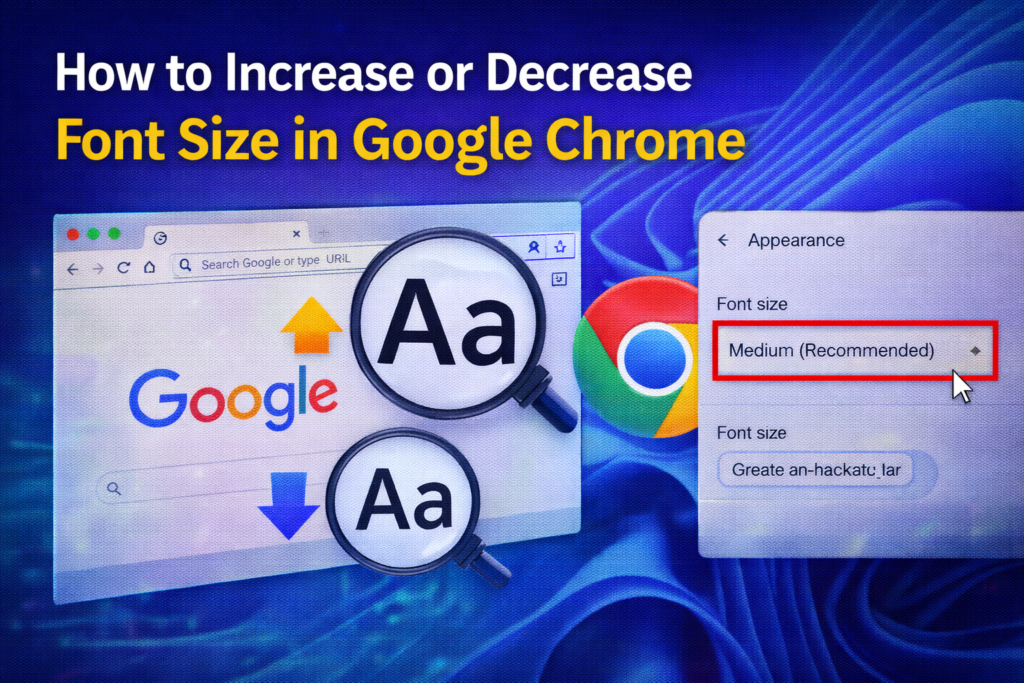
Increasing or decreasing font size in Google Chrome helps you read websites comfortably without zooming or squinting. Whether you prefer larger text for readability or a smaller default size to fit more content on the screen, Chrome offers quick, built-in ways to adjust font size across all pages or on a per-site basis. In this blog, you’ll learn easy steps to change font size using Zoom, Page Settings, and custom font options, plus tips to make font sizing consistent as you browse.
Step 1: Open Google Chrome
Firstly, open the Google Chrome browser on your computer. After that, click on the three dots located at the top right corner of the browser window.
Step 2: Open Chrome Settings
From the menu that appears, select Settings to open the Chrome settings page.
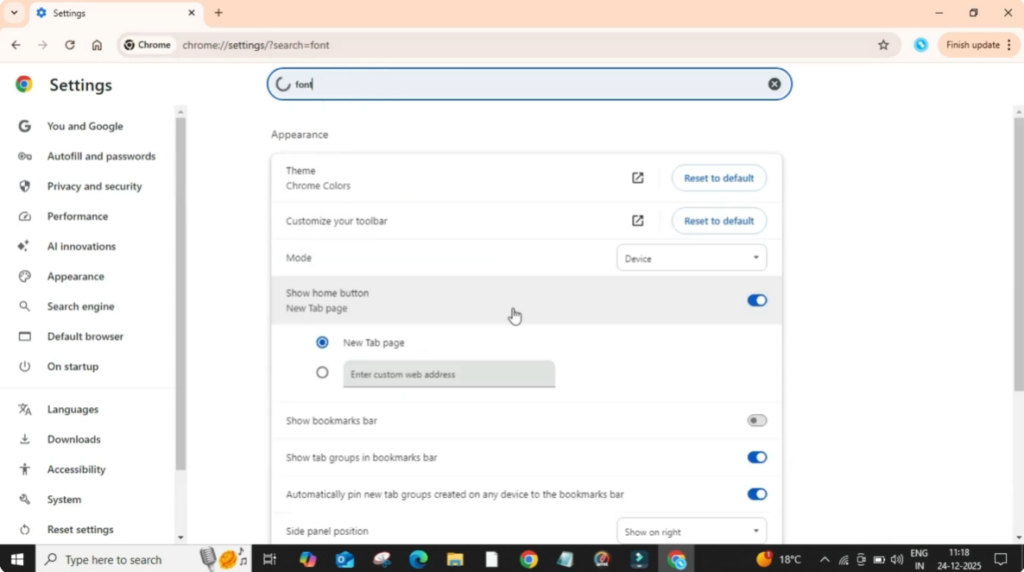
Step 3: Search for Font Settings
Once the settings page opens, click on the search bar inside the settings and type font. This helps you quickly find font-related options without scrolling too much.
Step 4: Change Font Size
After typing, scroll down slightly until you see the option called Font size. Now click on the font size drop-down menu. Here you will see different size options such as Very small, Small, Medium, Large, and Very large.
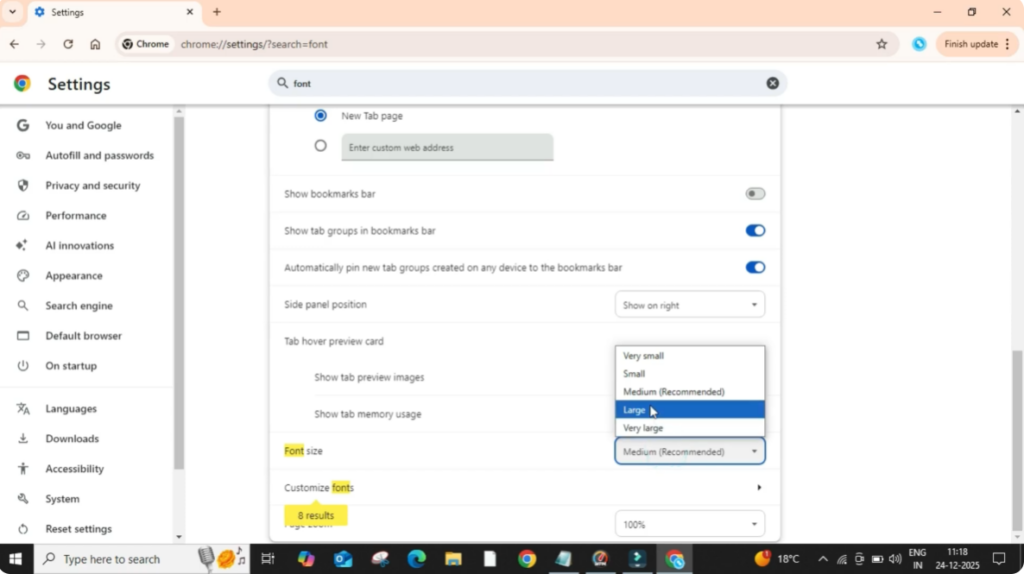
Select the font size that feels comfortable for you. As soon as you change the size, the text on websites will automatically adjust so you can see the effect instantly.
Why Adjusting Font Size Helps
This setting applies to most websites and helps improve readability without affecting the website layout too much. You can come back and adjust the font size anytime based on your preference.


