
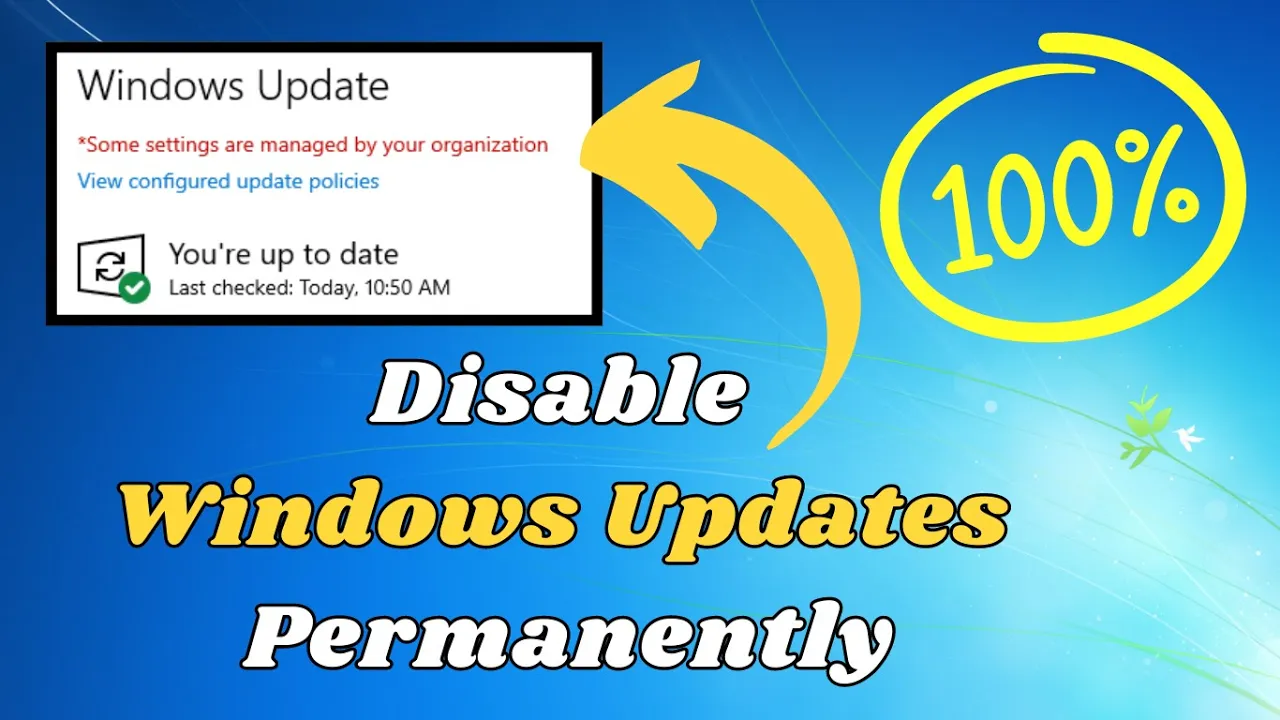
Windows updates are important for keeping your system secure, but they can also be frustrating—especially when they interrupt important work with long installation times. If you want to stop automatic updates in Windows 10 (or even Windows 7 and 8), here’s a step-by-step guide with two proven methods to disable them permanently.
Method 1: Using the Services Tool
- Open the Run Command
- Press Windows + R on your keyboard.
- The Run dialog box will appear.
- Open Services
- Type
services.mscin the Run box and click OK. - This will open the Services window.
- Type
- Locate Windows Update Service
- In the Services list, click any application and then press W on your keyboard to jump to entries starting with “W.”
- Scroll down and find Windows Update.
- Disable the Service
- Right-click on Windows Update and select Properties.
- In the Startup type dropdown, choose Disabled.
- Click Apply, then OK.
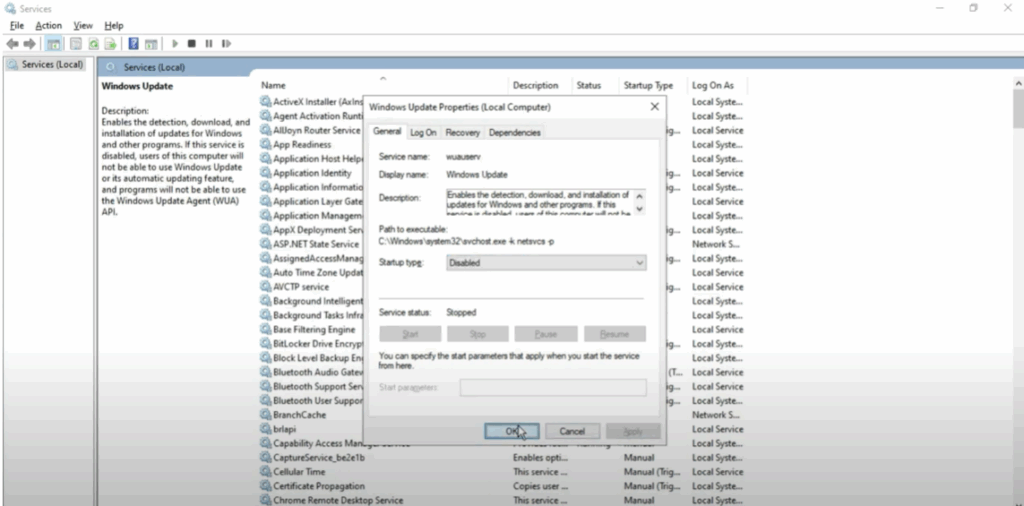
✅ You have now disabled Windows updates via Services.
Method 2: Using the Registry Editor
⚠ Warning: Modifying the registry can cause system issues if done incorrectly. Follow the steps carefully.
- Open the Run Command Again
- Press Windows + R to open the Run box.
- Type
regeditand click OK.
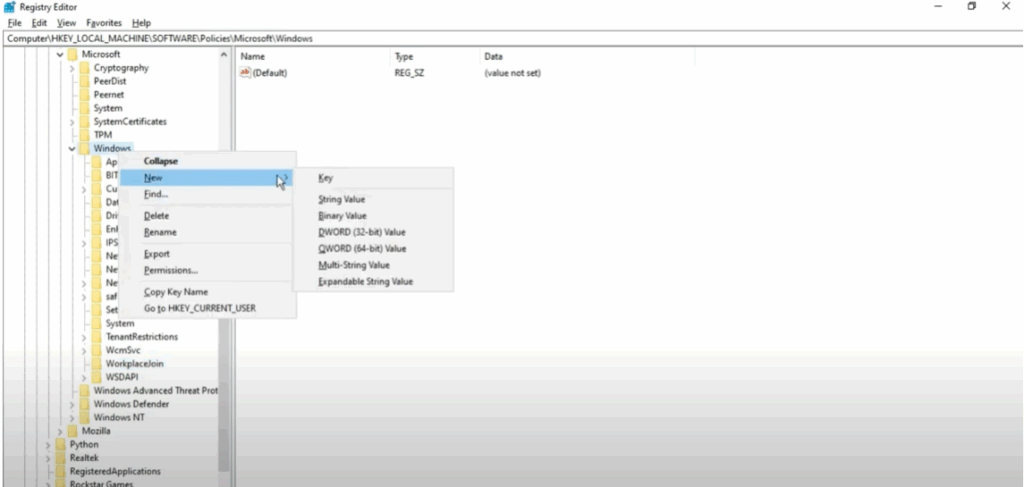
- Navigate to the Windows Update Policies
- In the Registry Editor, go to: CopyEdit
HKEY_LOCAL_MACHINE\SOFTWARE\Policies\Microsoft\Windows
- In the Registry Editor, go to: CopyEdit
- Create a New Windows Update Key
- Right-click on the Windows folder.
- Select New > Key and name it WindowsUpdate. Press Enter.
- Create the AU Key
- Right-click on the new WindowsUpdate key.
- Select New > Key and name it AU. Press Enter.
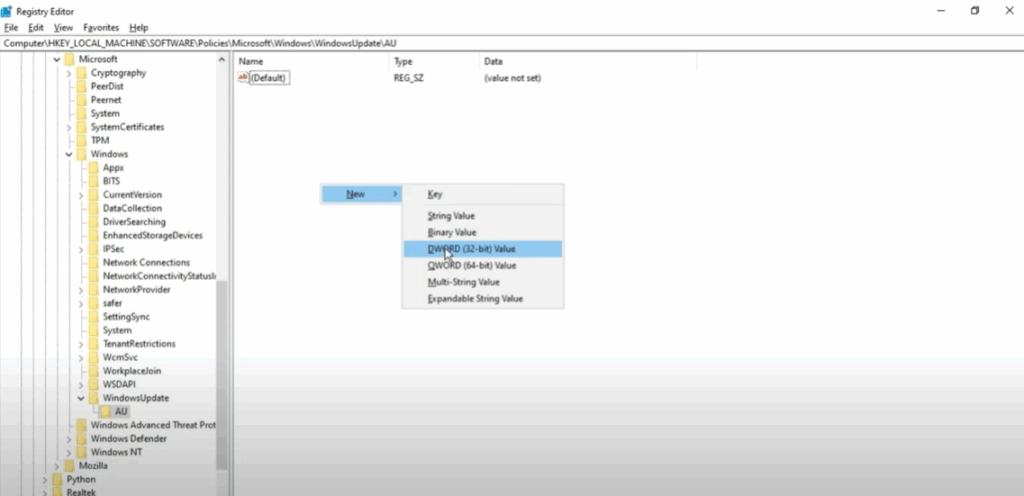
- Create the NoAutoUpdate Value
- With the AU key selected, right-click in the right-hand panel.
- Select New > DWORD (32-bit) Value.
- Name it NoAutoUpdate (no spaces).
- Disable Automatic Updates
- Double-click NoAutoUpdate.
- Set the value data to 1 and click OK.
✅ You have now permanently disabled automatic Windows updates using the Registry Editor.
Final Words
By following these two methods, you can stop Windows updates from interrupting your work. If you ever wish to re-enable them, simply reverse the changes in Services or the Registry Editor.
If you found this guide helpful, share it with others, and for more tech tutorials, keep exploring our content.


