
Connecting a local printer to your Windows 10 or 11 computer is easier than you might think. In this guide, we’ll walk you through the entire process so you can start printing without any hassle.

Step 1: Access Devices and Printers
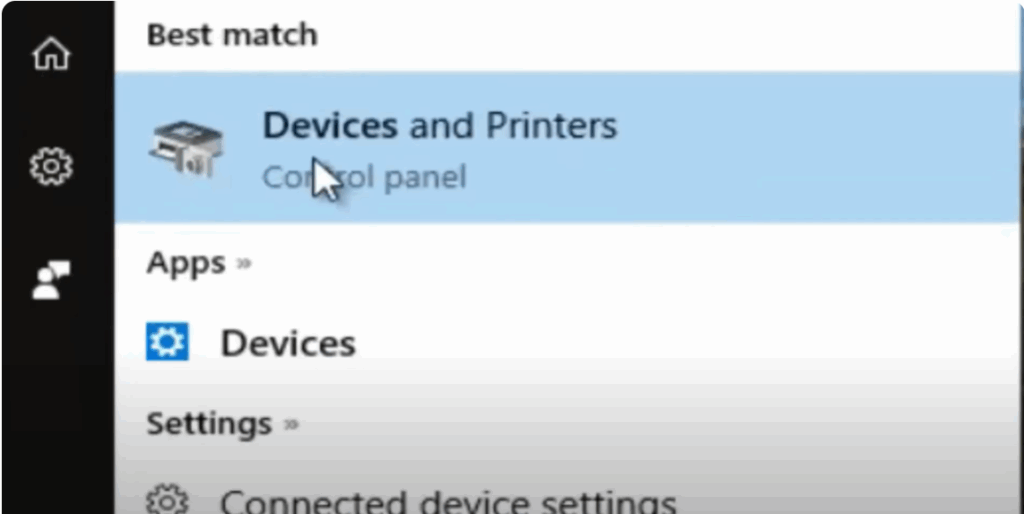
- Open the Windows Search Menu and type Devices.
- From the results, select Devices and Printers.
Step 2: Add Your Printer
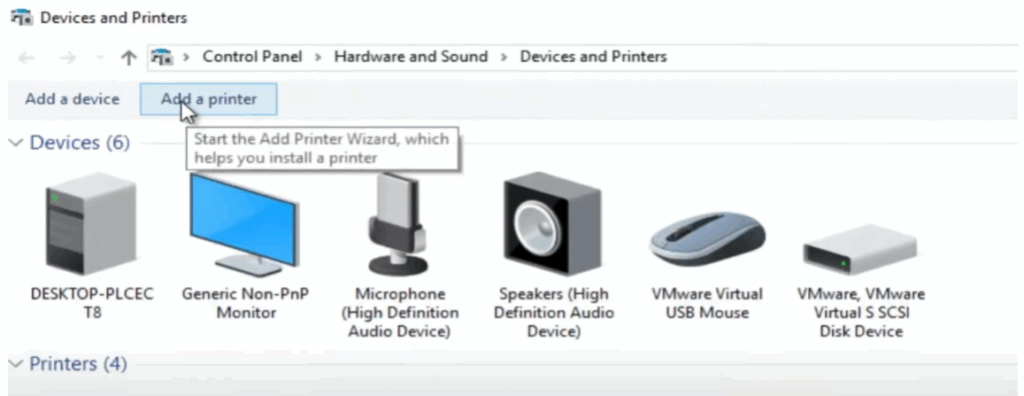
- Click on Add a Printer.
- Your computer will automatically search for available printers. Make sure your printer is powered on and properly connected.
Step 3: If Your Printer Doesn’t Appear
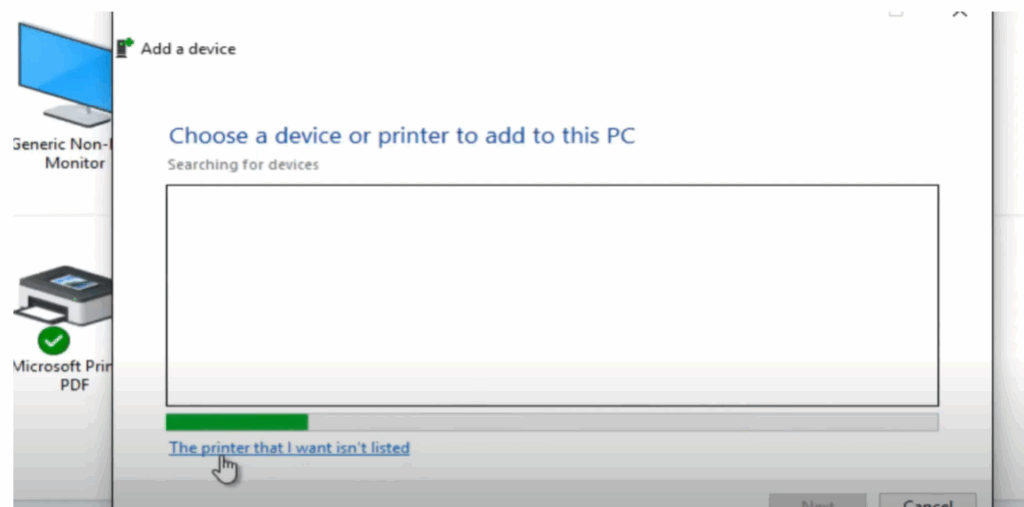
If your printer isn’t listed, click on The printer that I want isn’t listed.
- You’ll be presented with several alternative options to add it.
- This includes older printer models, local printers with manual settings, IP address-based printers, and Bluetooth printers.
Step 4: Adding a Local Printer
- Select Add a local printer.
- Choose to use an existing port or create a new one.
- If you have the printer driver disc, insert it and specify its location for installation.
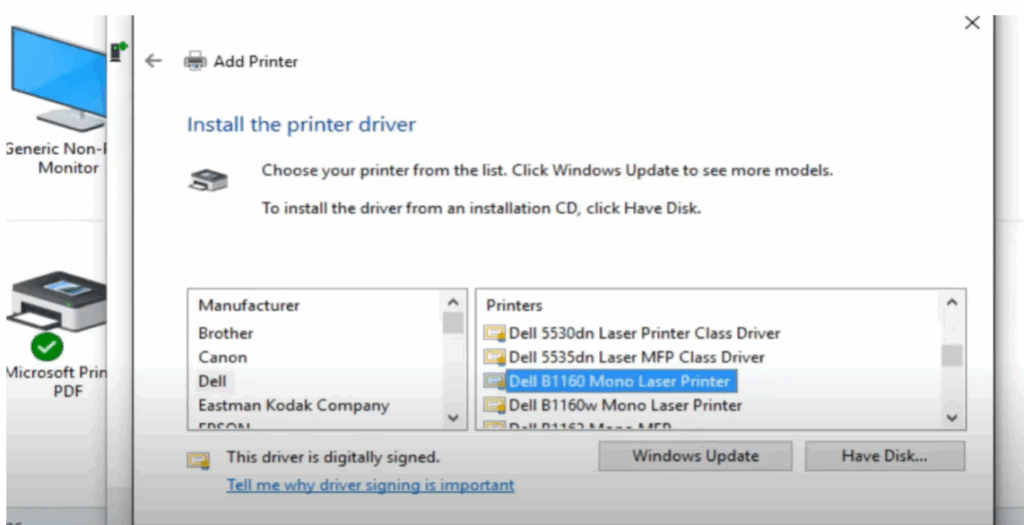
Step 5: Select Printer Manufacturer and Model
- From the list, select the Manufacturer and Model of your printer.
- Rename your printer if desired, then click Next to proceed.
Step 6: Complete Installation & Test
- The installation process will begin automatically.
- Once complete, print a Test Page to confirm the setup is correct.
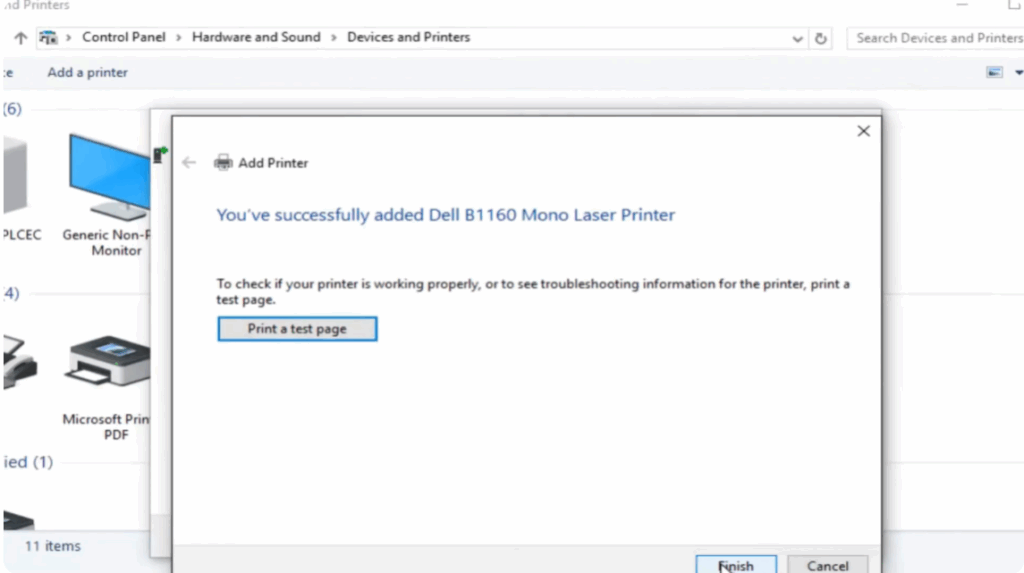
If the test page prints successfully, congratulations — your printer is now ready to use.
Final Tip:
Always keep your printer drivers updated for the best performance and compatibility.


