
Hello friends, welcome back to my channel Tech Gitter. Let’s go ahead and start the tutorial.
In today’s guide, I will show you how you can easily install and download Git online software on your Windows 10 and Windows 11 PC. Watch the full process carefully. If you are new to the channel, please don’t forget to subscribe.
Git Installation
To download Git on your Windows PC, follow these steps:
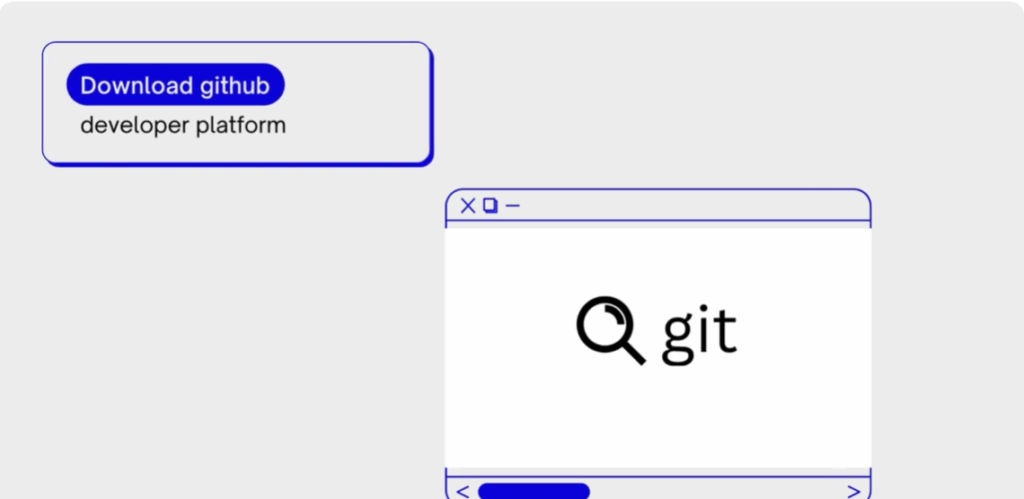
- Open the Chrome browser on your PC.
- Go to the search bar and type Git.
- Open the first official website that appears.
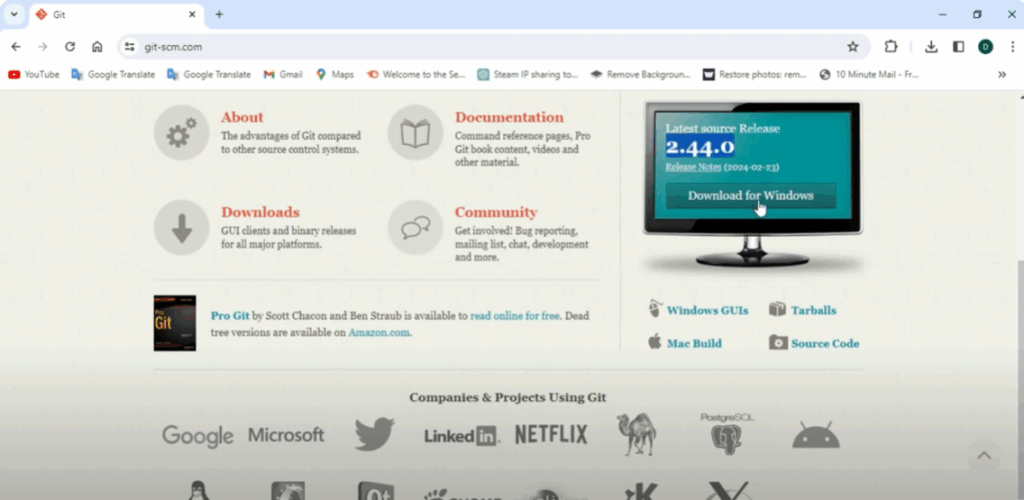
- Scroll the screen, and you will see the latest version for Windows.
- Click on Download for Windows.
On the next page, you will find Windows setup options for 32-bit and 64-bit systems.
- If you don’t know what type of system you are using, check by searching System Information in the menu bar.
- Under system type, you will see whether your PC supports 32-bit or 64-bit.
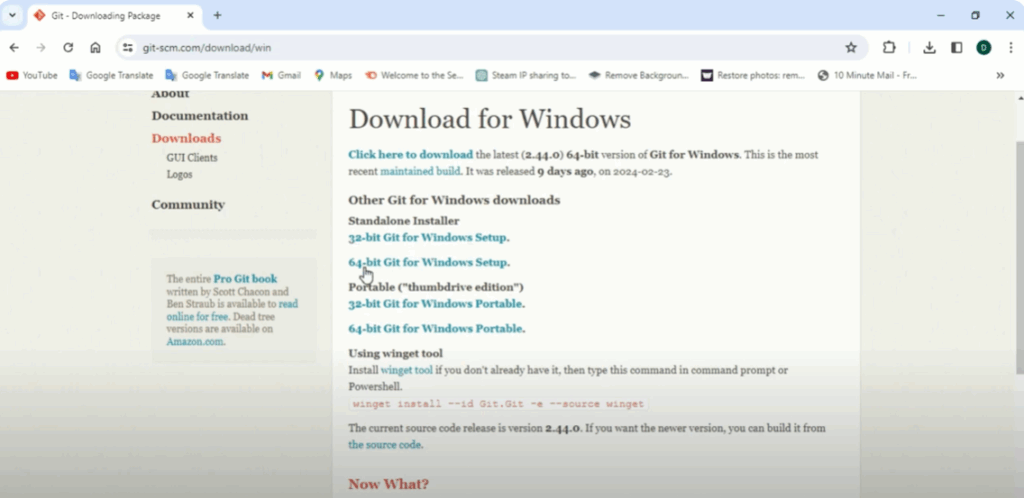
For example, my PC supports 64-bit, so I will choose 64-bit Windows setup.
Next, click on Installer, and the download will begin. After a short while, Git will be downloaded on your PC.
Git Setup
Once the download is complete, it’s time to install Git.
- Open the installation file.
- Read the information given on the screen completely, then click Next.
- If you want to save Git in a different location, you can change the path. Otherwise, click Next.
- Continue by clicking Next repeatedly through the setup screens.
- Click Next
- Click Next again
- Keep clicking Next until the installation process begins.
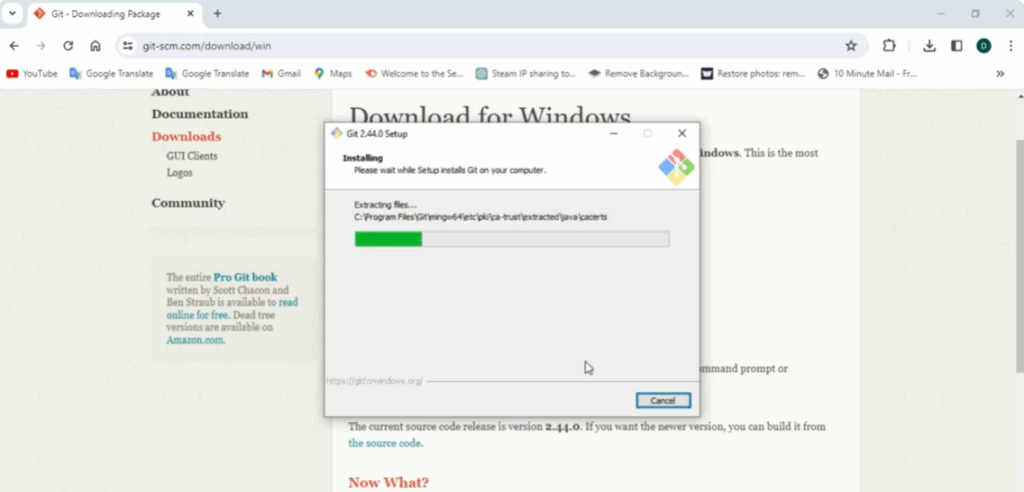
The installation may take a few minutes.
Once completed, click Finish to exit the setup.

Verify Git Installation
To check whether Git was installed successfully:
- Open the Command Prompt (cmd) on your Windows PC.
- Type
gitand press Enter.
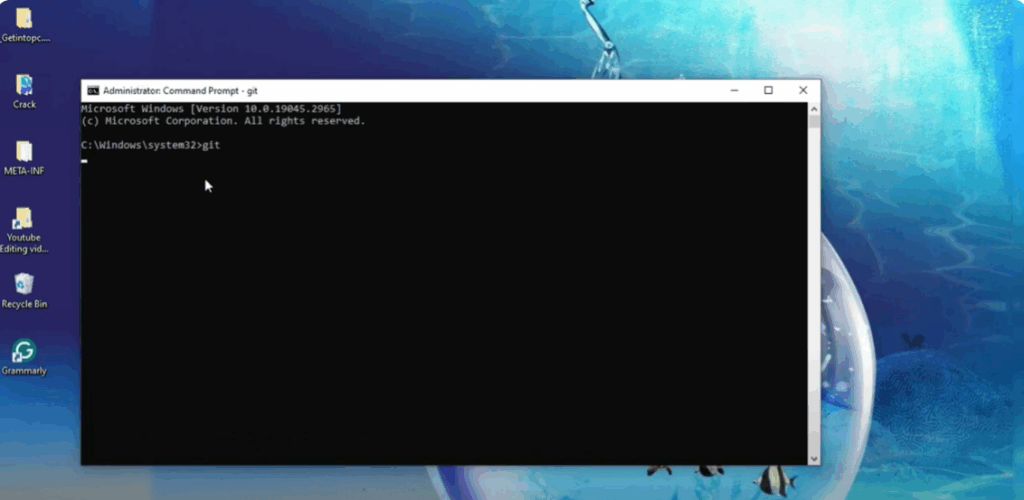
If Git has been installed properly, you will see Git-related information appear on your screen.
Final Words
That’s it! You have successfully installed and set up Git on your Windows 10 or 11 PC.
Hope this guide was helpful for you. Stay connected with the channel to see more such tutorials.
Thanks for reading! Don’t forget to like, share, and subscribe. Have a nice day!


