

Hello friends, welcome to my channel Tech Gitter Official. In today’s tutorial, I’m going to show you how to recover permanently deleted files from your Windows PC. Whether you’re using Windows 10, 8, or 7, sometimes we accidentally delete important files—videos, photos, documents, or any other data—and think they’re gone forever. But don’t worry, you can still recover those files easily and for free, and I’ll show you exactly how.
Step 1: Demonstrating File Deletion
Let’s start by showing what happens when you delete a file:
- Open File Explorer.
- Navigate to a folder. In my case, I have a folder that contains some pictures.
- Delete this folder permanently by pressing Shift + Delete.
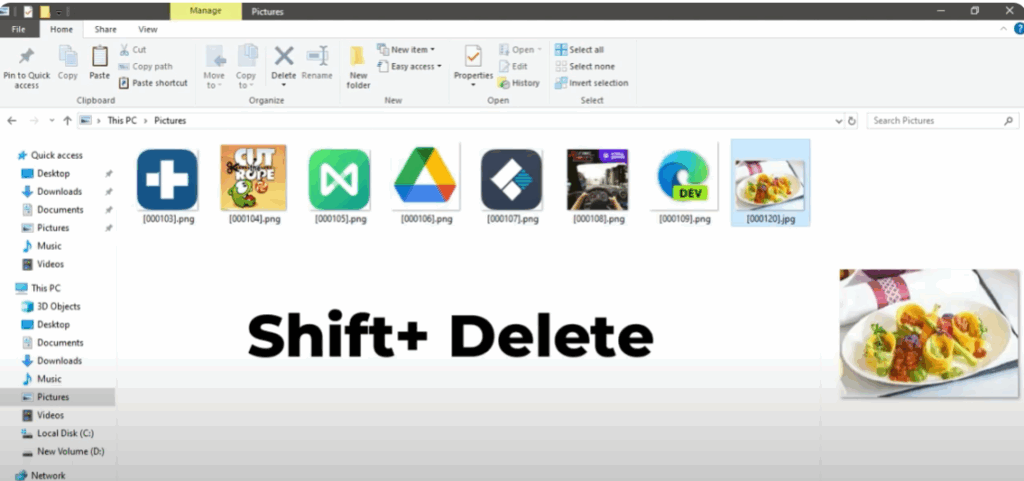
This skips the Recycle Bin.
To verify, open the Recycle Bin and you’ll see the file is gone.
Most users panic at this stage—but don’t worry, we’ll recover it using a free tool.
Step 2: Download Recuva
To recover deleted files, we’ll use Recuva (a free recovery software).
- Open your browser and search Recuva or go directly to the official Recuva website.
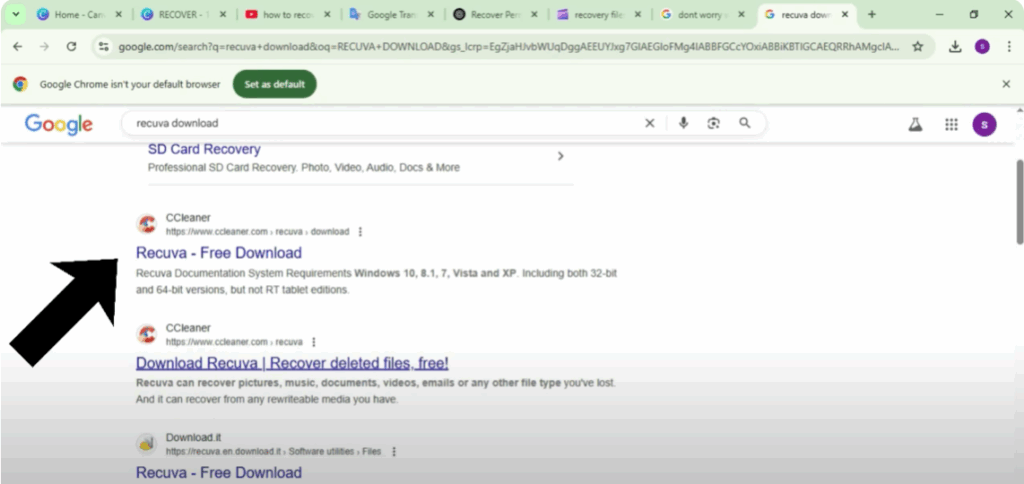
- On the website, click Download Free Version.
- Click Free Download again on the next page.

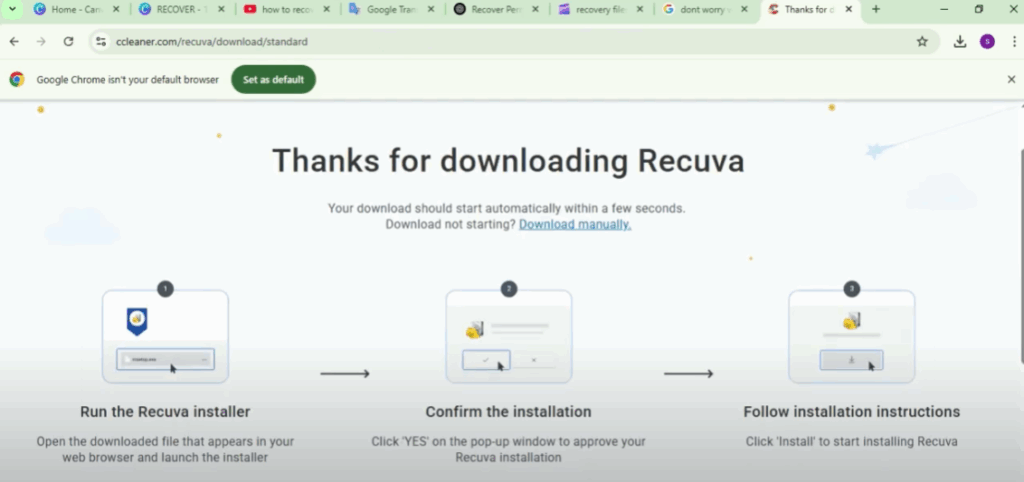
- Your Recuva installer will begin downloading.
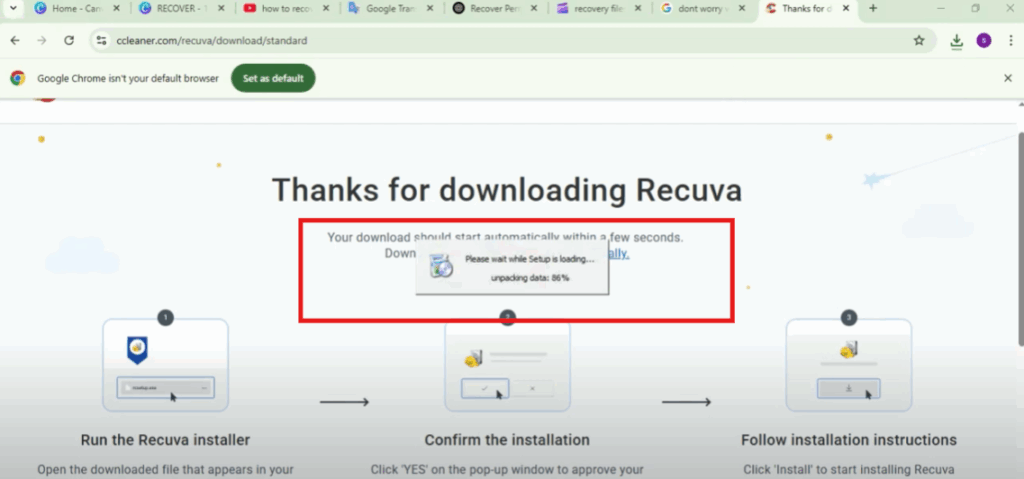
Step 3: Install Recuva
Once the file is downloaded:
- Click on the installer file.
- Follow the on-screen instructions.
- Click Install and wait for the installation to complete—it only takes a few seconds.
- Once done, open Recuva.
Step 4: Start Recovery Wizard
Now, let’s begin the recovery process:
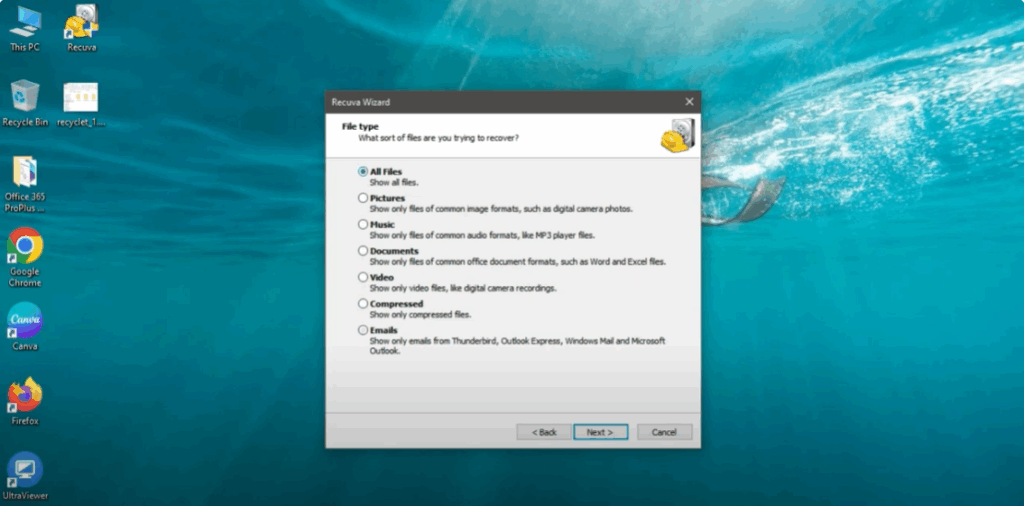
- Click Next on the wizard screen.
- Select the file type you want to recover: pictures, videos, documents, etc.
- If you’re unsure, choose All Files.
- Click Next.
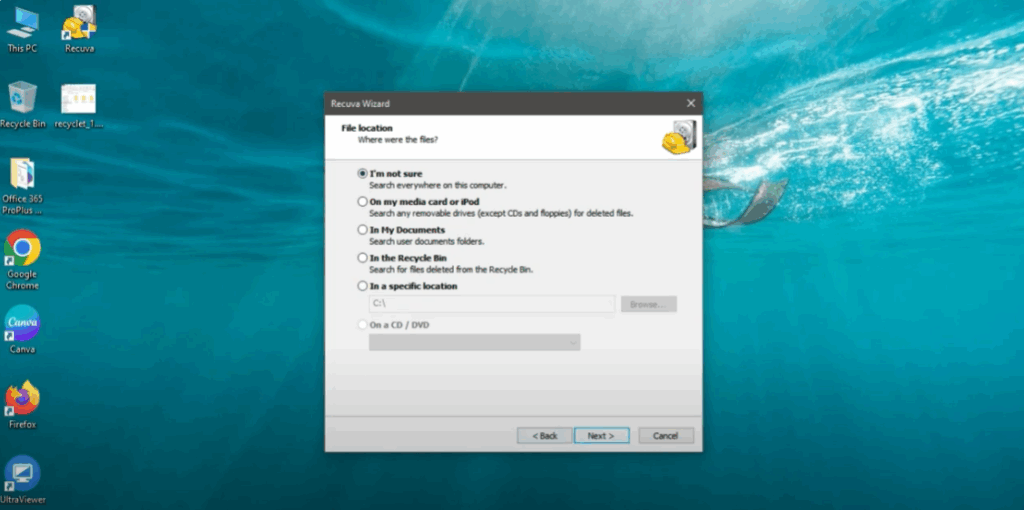
- Choose the location where your files were deleted from:
- Recycle Bin, USB drive, My Documents, or a custom folder.
- If you’re not sure, select I’m not sure and continue.
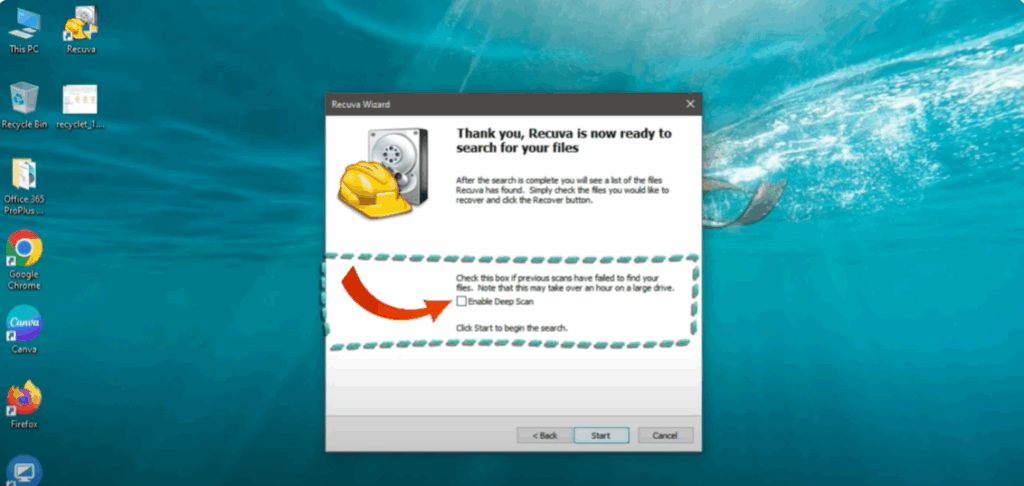
Step 5: Deep Scan and Scanning Process
Here’s the important part:
- You’ll see an option to Enable Deep Scan.
- Use this if your files were permanently deleted or if a regular scan doesn’t find them.
- Check the box Enable Deep Scan and click Start.
- Recuva will now begin scanning your system.
- The process may take several minutes depending on the drive size and number of files.
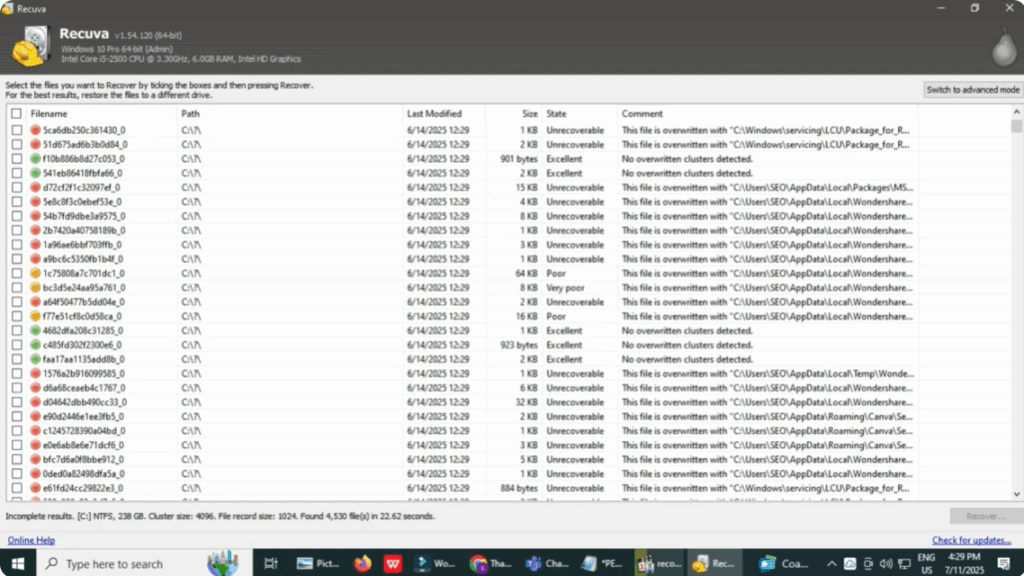
Step 6: View and Recover Files
Once the scan is complete, Recuva will display the list of recoverable files:
- Green: Excellent condition – fully recoverable.
- Orange: Partially damaged.
- Red: Unrecoverable or overwritten.
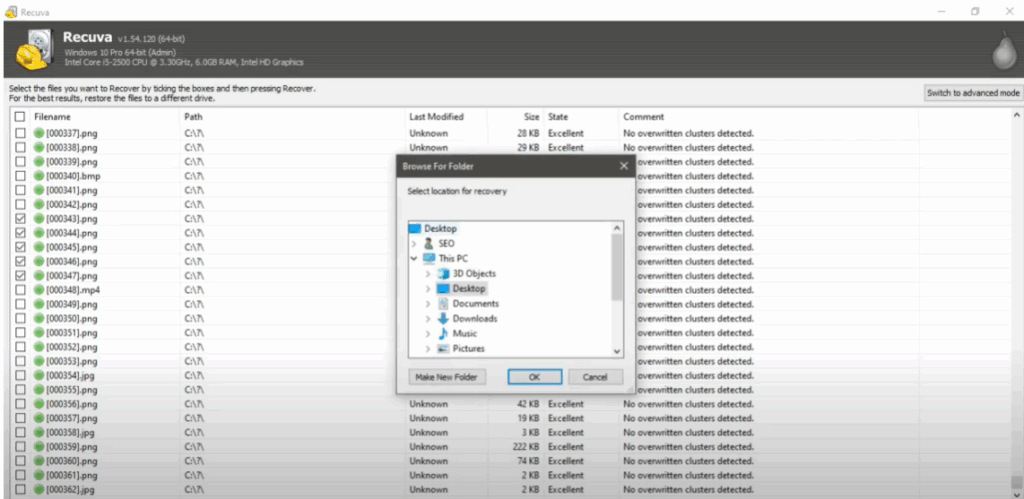
Now:
- Select the files you want to recover by ticking the checkboxes.
- Click Recover at the bottom.
- Choose a different location (not the original folder) to avoid overwriting data.
- Click OK and then Yes.
That’s it! Your files are now successfully recovered.
Final Words
Thanks for watching this tutorial on how to recover permanently deleted files in Windows.
If you found this guide helpful:
- Like the video,
- Share it with friends,
- And Subscribe to Tech Gitter Official for more helpful tech tips.
Stay tuned for the next tutorial!


