
Welcome back to Tech Gitter Official!
Today we’ll learn how to update BIOS safely on your Windows 10 or 11 laptop or PC. Let’s get started.
Step 1: Check Your System Model and BIOS Version
First, you need to check your system model and BIOS version.
- Press Windows + R on your keyboard.
- Type msinfo32 and click OK.
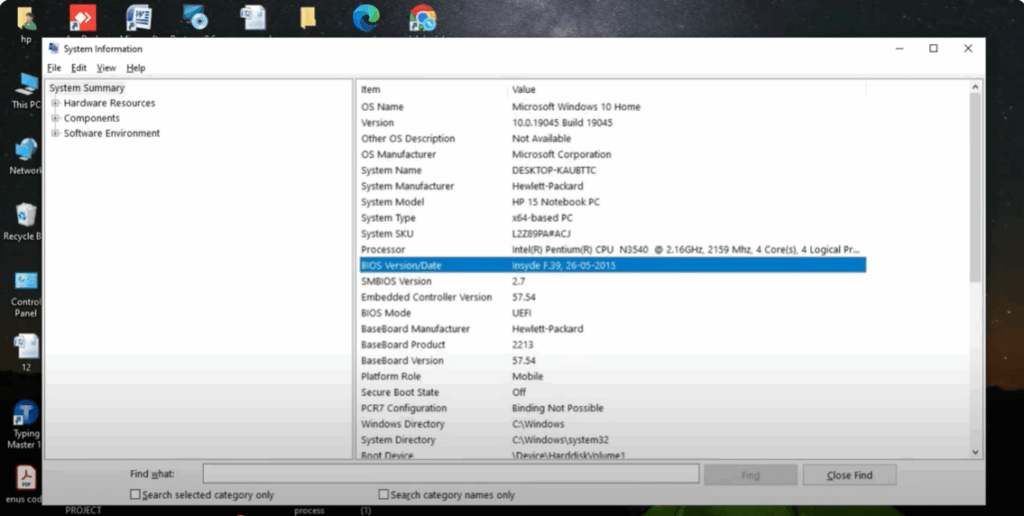
This opens the System Information window. Here you can find details like your system model, BIOS version, and operating system version. Note them down. After checking, close this window.
Step 2: Find Your Device’s Serial Number
Next, let’s find your device’s serial number.
- Again, press Windows + R.
- Type cmd and press OK to open Command Prompt.
- In the command window, type:
wmic bios get serialnumber - Press Enter, and you’ll see your system serial number. Note this down carefully.

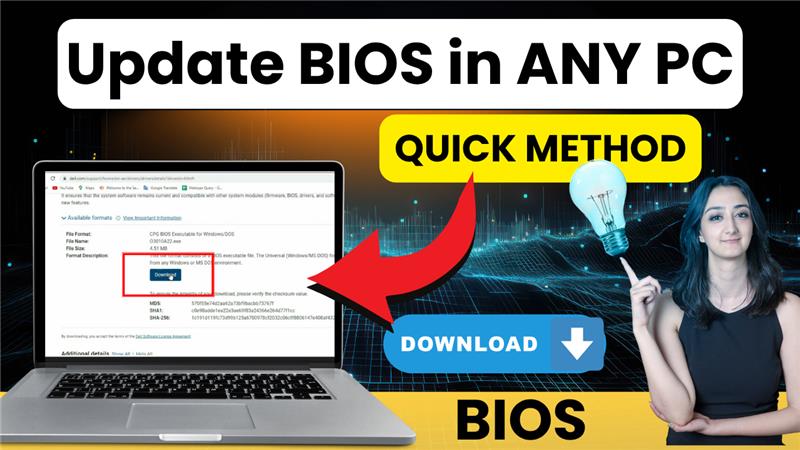
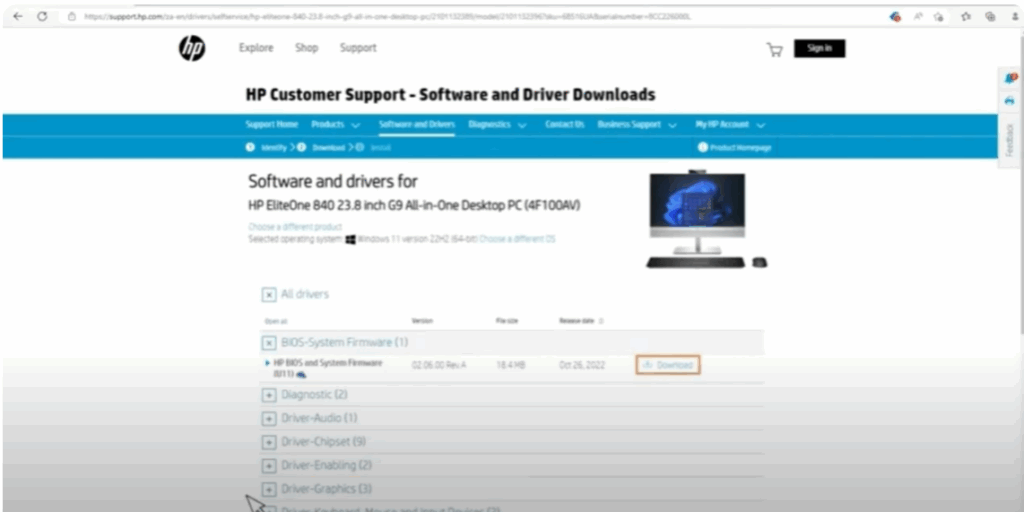
Step 3: Download the BIOS Update
Now it’s time to download the BIOS update:
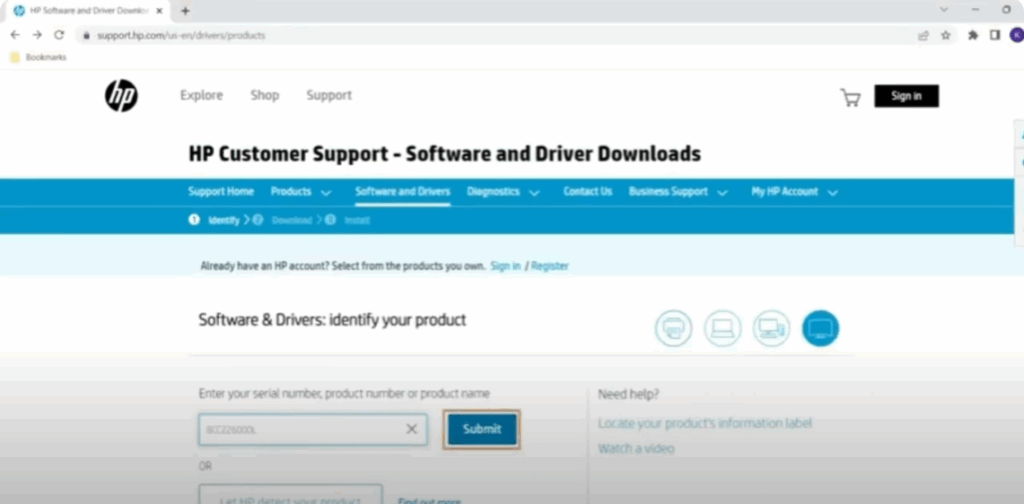
- Open Google Chrome (or any browser).
- Search for HP driver download or your specific laptop brand like Dell, Lenovo, etc.
- Click on the official website. Make sure it’s from your brand.
- Enter your serial number that you copied earlier, then click Submit.
- Once your device info loads, select your Windows version (Windows 10 or 11) and click Submit again.
- From the list of drivers, look for BIOS or System Firmware, and then click on Download.
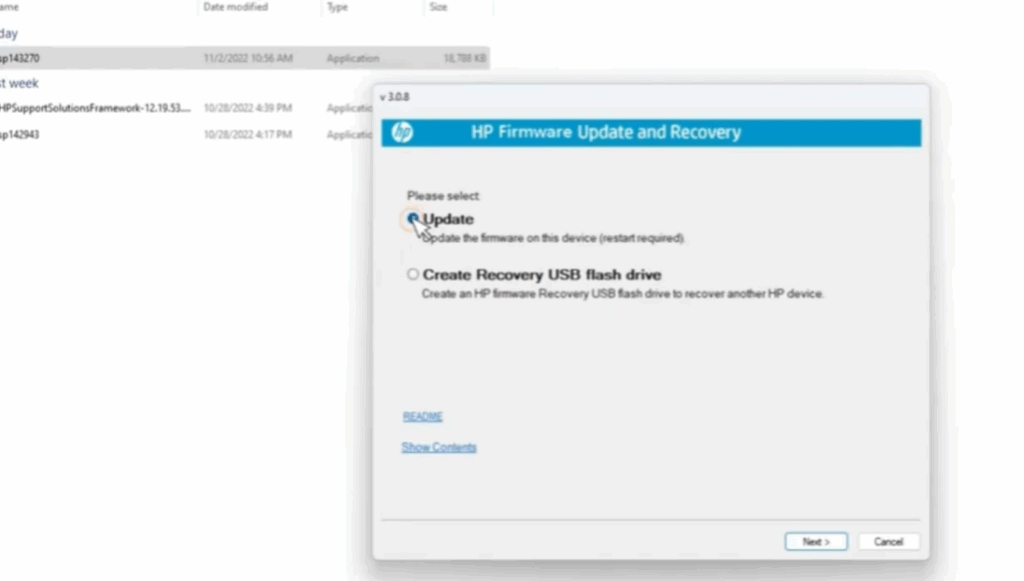
Step 4: Install the BIOS Update
Once the file is downloaded:
- Go to your Downloads folder and double-click on the BIOS file.
Important: Do not turn off or restart your computer during the process.
The BIOS update installer will open:
- Click on Next.
- Read and accept the license agreement, then click Next again.
- Follow the prompts and keep clicking Next.
- Click on Update, then Next again.
- You may need to click Next a couple more times until it asks you to restart.
- Click on Restart, and your computer will reboot and begin updating the BIOS.
Step 5: BIOS Successfully Updated
After the restart, your BIOS will be successfully updated. That’s it! You’ve now safely updated your BIOS.
Thanks for reading!
If this guide helped you, don’t forget to like, share, and subscribe to Tech Gitter Official.


