
![Fix WiFi Not Showing in Settings on Windows 1011 [Quick Solution]](https://techgitterofficial.com/wp-content/uploads/2025/08/70.Fix-WiFi-Not-Showing-in-Settings-on-Windows-1011-Quick-Solution.webp)
Hello friends, welcome to my channel Tech Gitter. I hope you all are doing well.
It is a common problem on Windows 10 and 11 that sometimes the Wi-Fi option is not visible on the taskbar or in the Windows settings. Even if you go to the Network and Internet Settings, you may not see any network listed on your Windows PC.
In today’s guide, we are going to discuss how to fix this issue. So, stay tuned till the end and follow each step carefully without skipping.
Step 1: Check If It’s Windows or Hardware Problem
Before we proceed, we need to check whether the issue is with Windows or with your computer hardware (like the network card).
- Open the Start menu → search CMD → open Command Prompt.
- Type the command:
ping 127.1.1.1 - Press Enter.
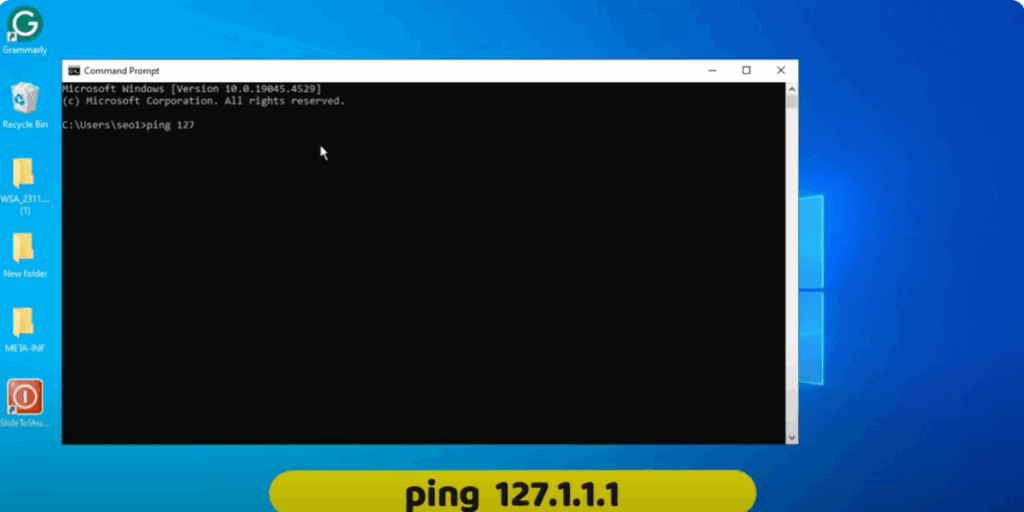
👉 If you get a response, then your hardware is fine. The problem lies with Windows settings.
Step 2: Reset Internet Options
- Open the Start menu → search Control Panel.
- Go to Network Options.
- Click the Advanced tab → choose Restore Advanced Settings.
- Click Reset → confirm again with Reset.
- Close the window.
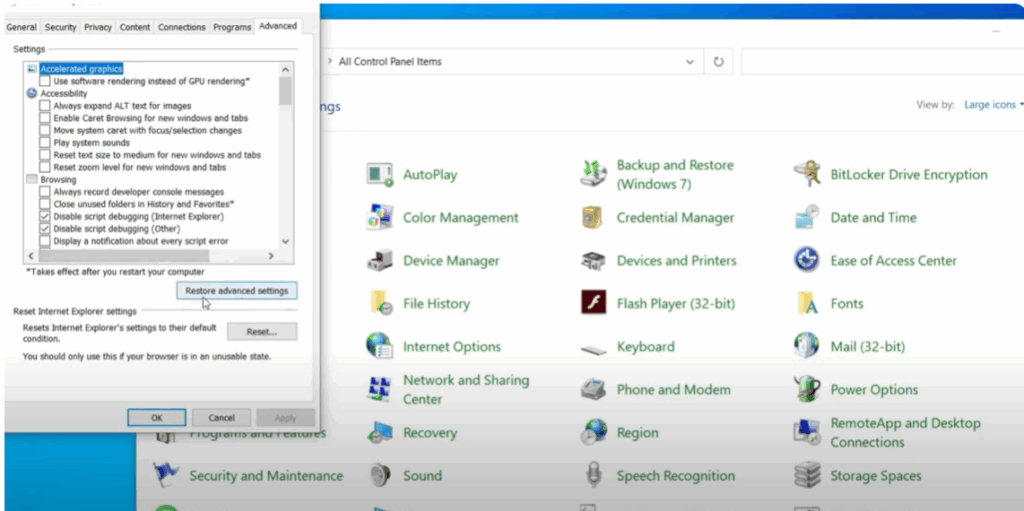
This resets your Internet settings, but if the issue persists, move to the next step.
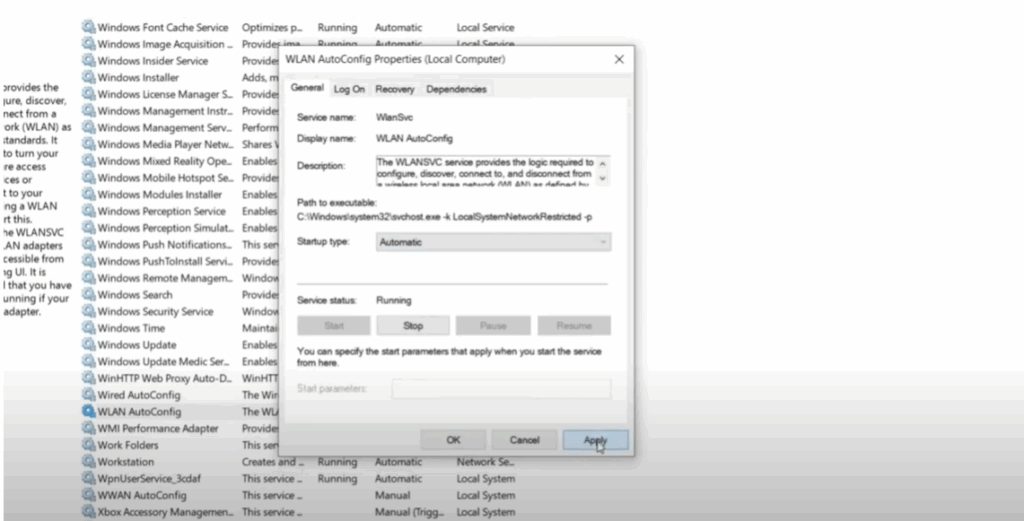
Step 3: Enable WLAN AutoConfig Service
- Press Windows + R → type:
services.msc - Press OK.
- Find WLAN AutoConfig in the list.
- If it is not running:
- Click Start at the top OR right-click → Properties → set Startup type to Automatic.
- Press Apply → OK.
- Restart your PC.
If it’s already running, continue to the next step.
Step 4: Enable Wi-Fi Adapter
- Open the Start menu → search Settings.
- Go to Network & Internet → click Change Adapter Options.
- Find your Wi-Fi adapter:
- If it’s disabled, right-click → Enable.
- If it’s already enabled, disable it once and enable it again.
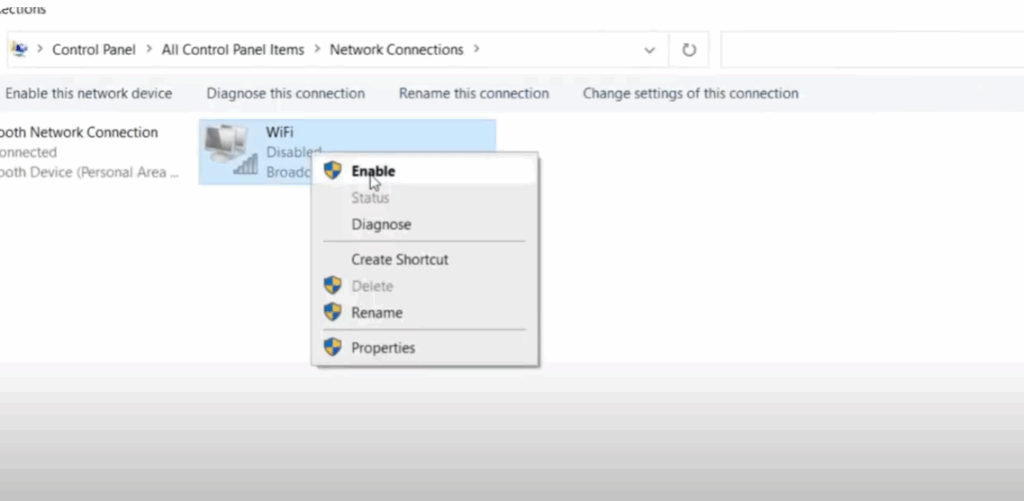
This refreshes the adapter and may fix the issue.
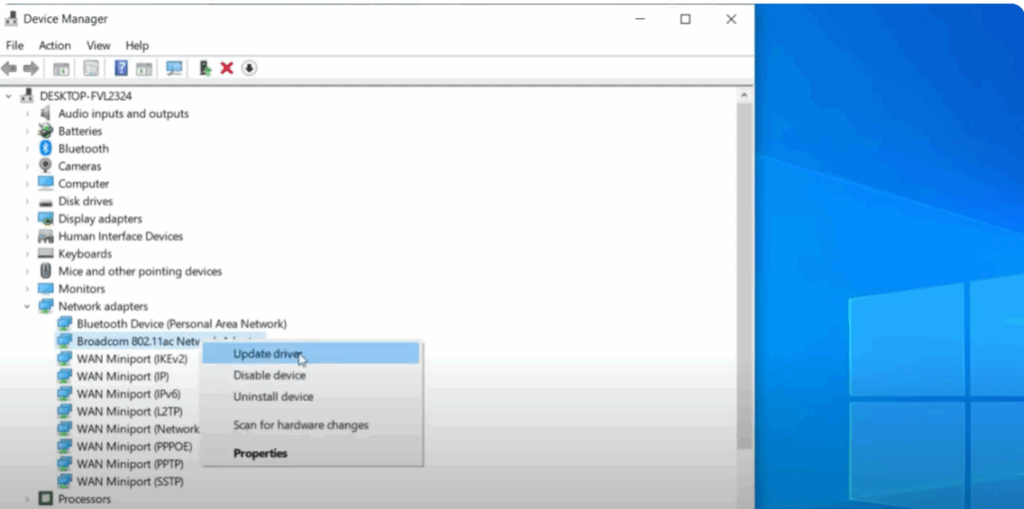
Step 5: Update or Reinstall Network Driver
- Press Windows + R → type:
devmgmt.msc - Press OK → this opens Device Manager.
- Expand Network Adapters.
- Right-click your Wi-Fi adapter (e.g., Broadcom/Intel) → choose Update Driver.
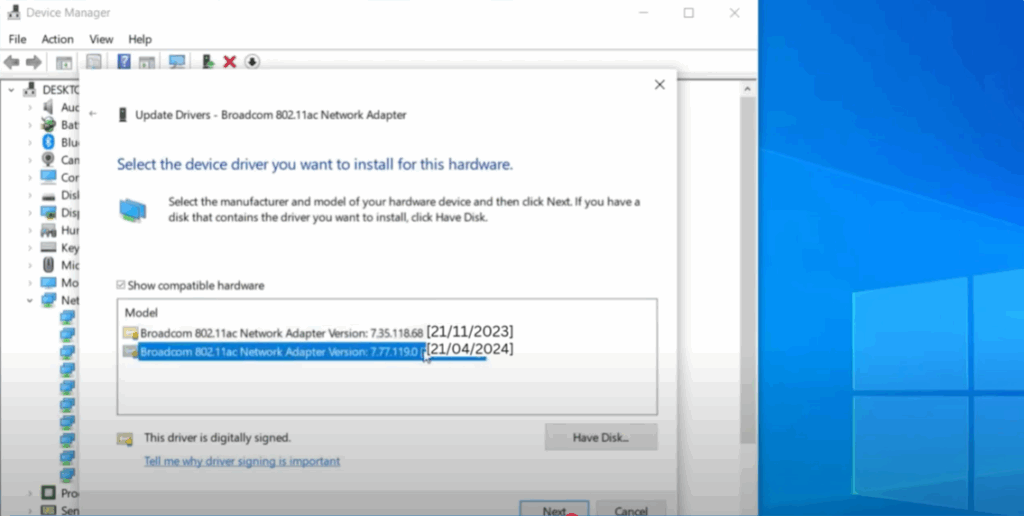
Since you are not connected to Wi-Fi:
- Select Browse my computer for drivers → Let me pick from a list of available drivers.
- Choose a previously working driver → click Next → install → restart PC.
If Wi-Fi still doesn’t show:
- Right-click the driver → Properties → go to Power Management → uncheck:
- “Allow the computer to turn off this device to save power.”
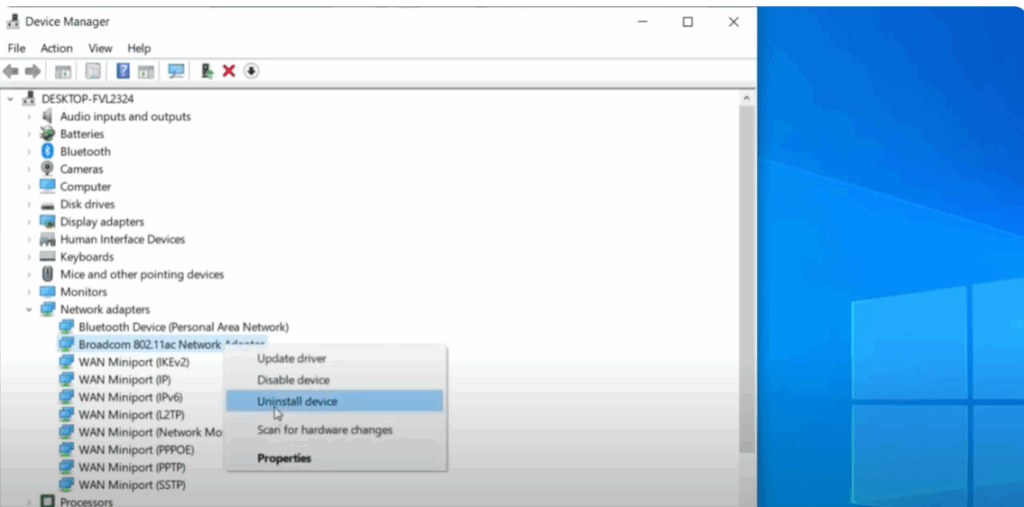
- If still not working, right-click → Uninstall Device → confirm.
- Restart PC → Windows will reinstall the driver automatically.
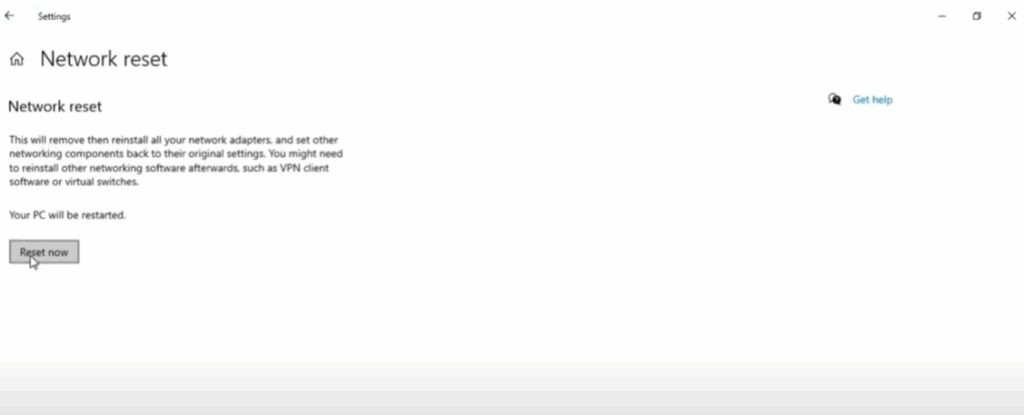
Step 6: Reset Network Settings
- Open Settings → go to Network & Internet.
- Scroll down → click Network Reset.
- Click Reset Now → confirm with Yes.
- Windows will restart and reinstall all network components.
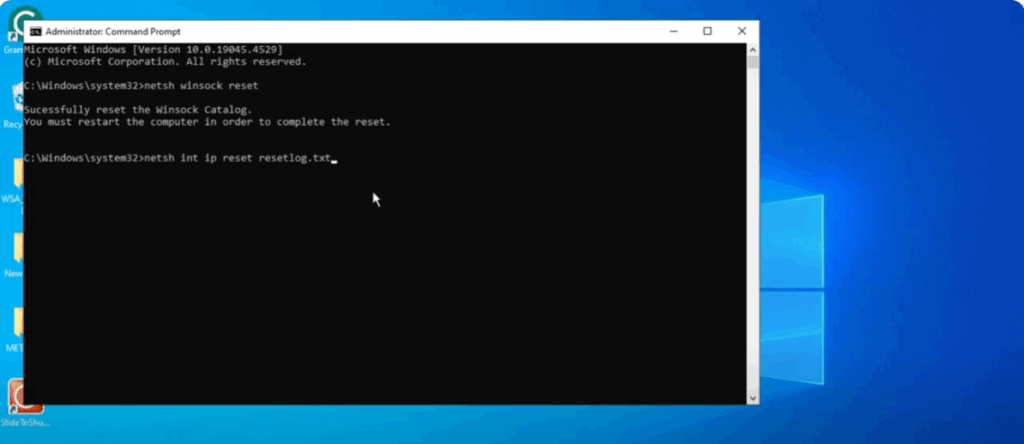
Step 7: Use Command Prompt to Reset Winsock & IP
- Search CMD → open as Administrator.
- Type the following commands one by one:
netsh winsock reset netsh int ip reset resetlog.txt - Restart your PC and check if Wi-Fi option appears.
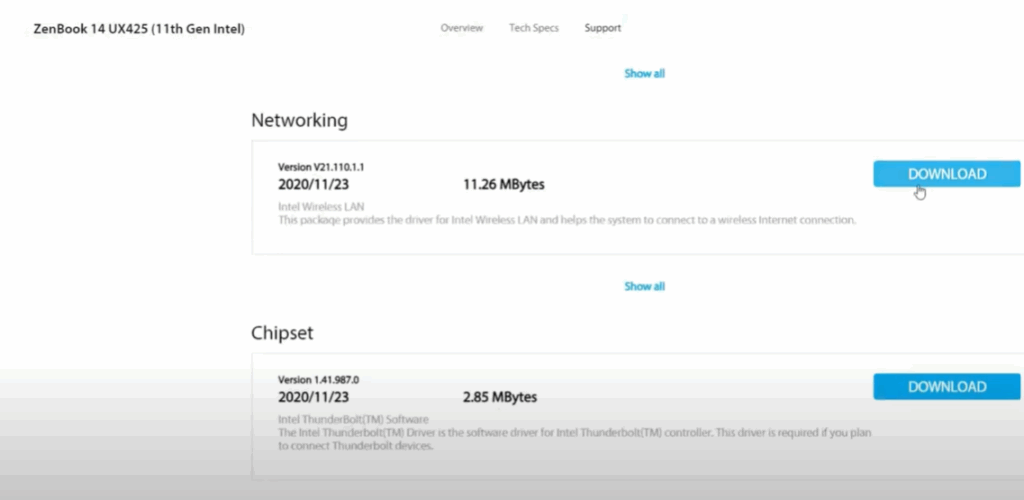
Step 8: Manually Download Drivers from Manufacturer Website
If the Wi-Fi option is still missing, you’ll need another computer with internet access:
- Go to the laptop/PC manufacturer’s website.
- Enter your model number → select Network Driver for your operating system.
- Download drivers (e.g., Intel Wireless LAN, Broadcom, etc.).
- Copy them to your PC via USB → install the driver → restart PC.
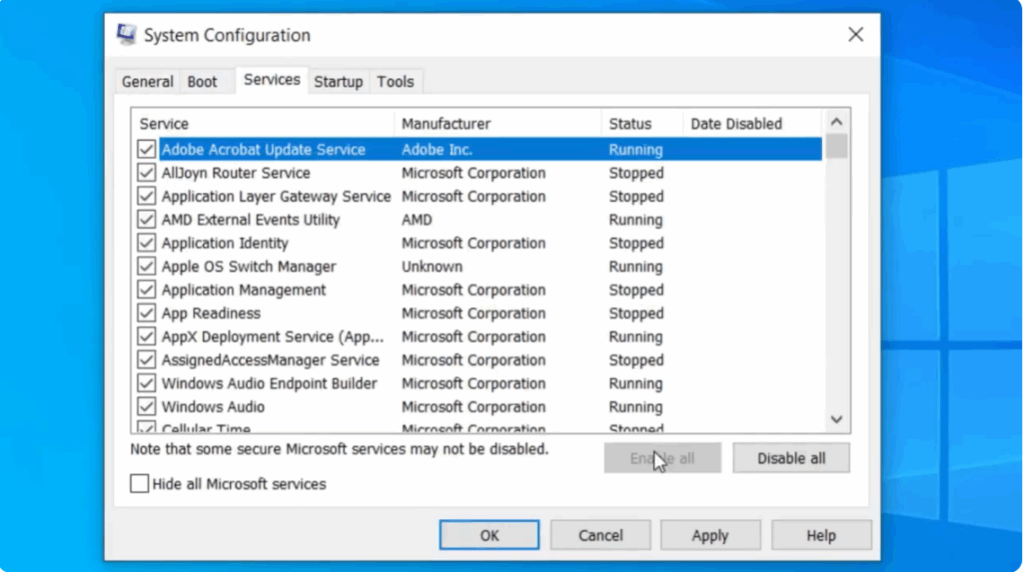
Step 9: Enable Services via System Configuration
- Press Windows + R → type:
msconfig - Press OK.
- Go to the Services tab.
- Click Enable All → Apply → OK.
- Restart Windows and check for Wi-Fi option.
Final Words
By following these steps, you should be able to fix the missing Wi-Fi option in Windows 10/11.
If you are still facing issues connecting to Wi-Fi, drop a comment and we will share more solutions.
If this guide helped you, don’t forget to like, share, and subscribe. Have a nice day!


