
Hello friends, welcome back to my channel. In today’s video, we’re going to talk about a common error that many users face while using WSL.
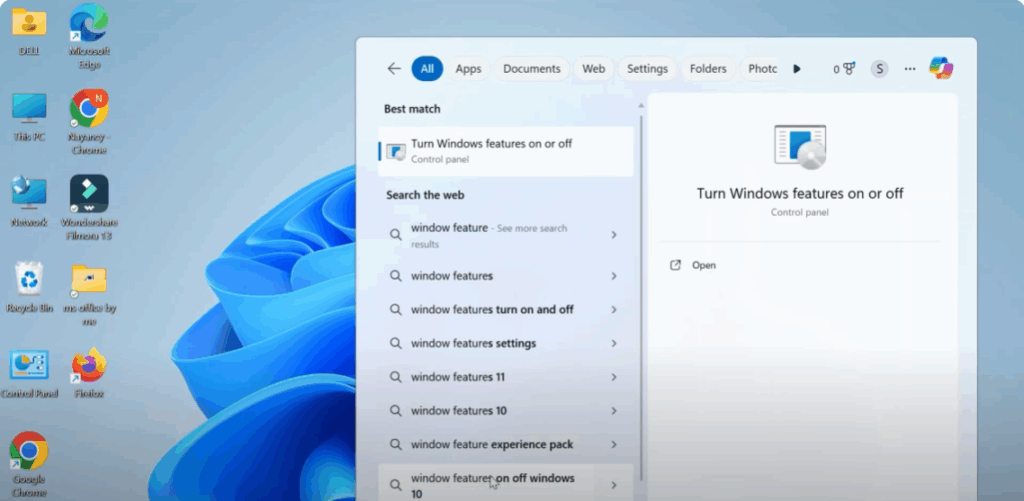
First, we need to make sure that the Windows Subsystem for Linux feature is actually enabled on your system. Start by clicking on the Start button in the bottom left corner of your screen. In the search bar, type Windows features. Click on the option that says Turn Windows features on or off.
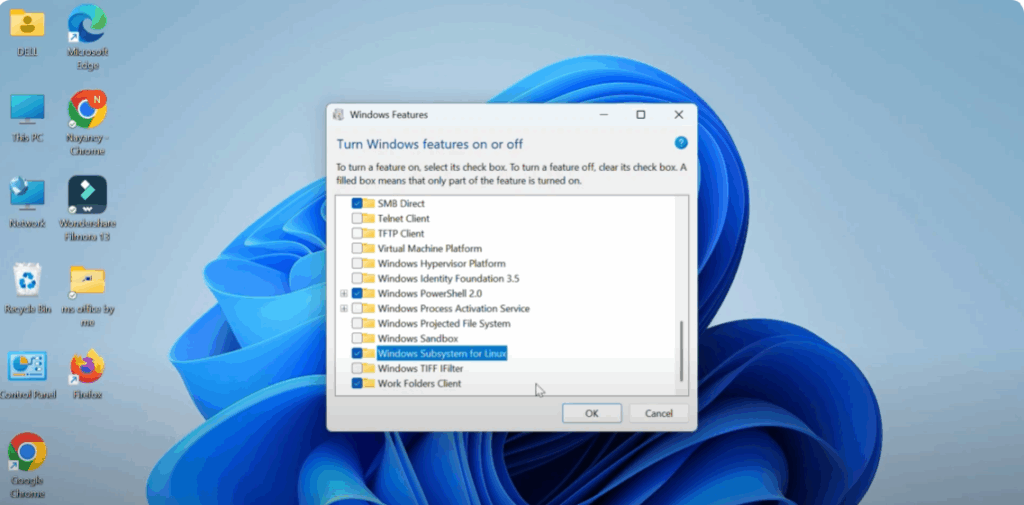
A new window will pop up with a long list of optional Windows features. Scroll down until you find a feature called Windows Subsystem for Linux. Once you find it, click the check box next to it so that it’s selected. Then click on the OK button at the bottom of the window.
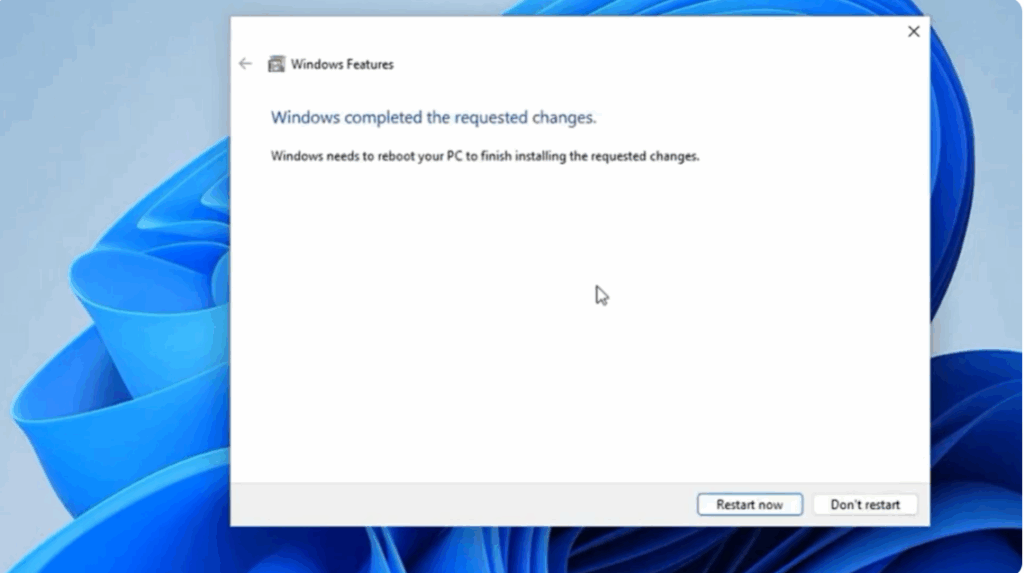
Windows will now begin to apply the changes. It may take a minute or two. After it’s done, it will ask you to restart your computer. Go ahead and do that. Restarting is very important because the changes won’t take effect until after a reboot.
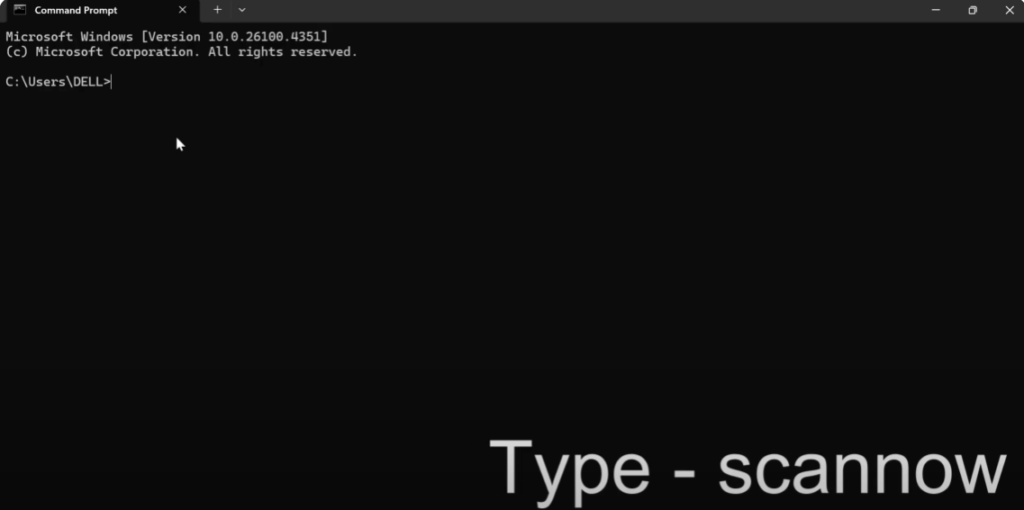
Now that we’ve enabled the required feature, click the Start button again. In the search bar, type cmd. You’ll see Command Prompt in the search results. Click on it.
In the command prompt window, type the following command and press Enter. This command runs the System File Checker tool, which scans all protected system files and replaces any corrupted ones with a clean version from the Windows cache.
Restart your computer again.
If you found this video helpful, don’t forget to like, share, and subscribe for more quick tutorials. Thanks for watching.


