
Dealing with a scanner that won’t connect in Windows 10 can be frustrating, especially when you need to digitize important documents quickly. This issue is quite common and can occur due to outdated drivers, incorrect settings, or conflicts with Windows services. Whether your scanner is connected via USB or network, there are several troubleshooting methods you can use to restore the connection and get your device working properly again. In this guide, we’ll walk you through practical solutions to repair scanner connectivity problems in Windows 10.
Method One: Check Windows Services
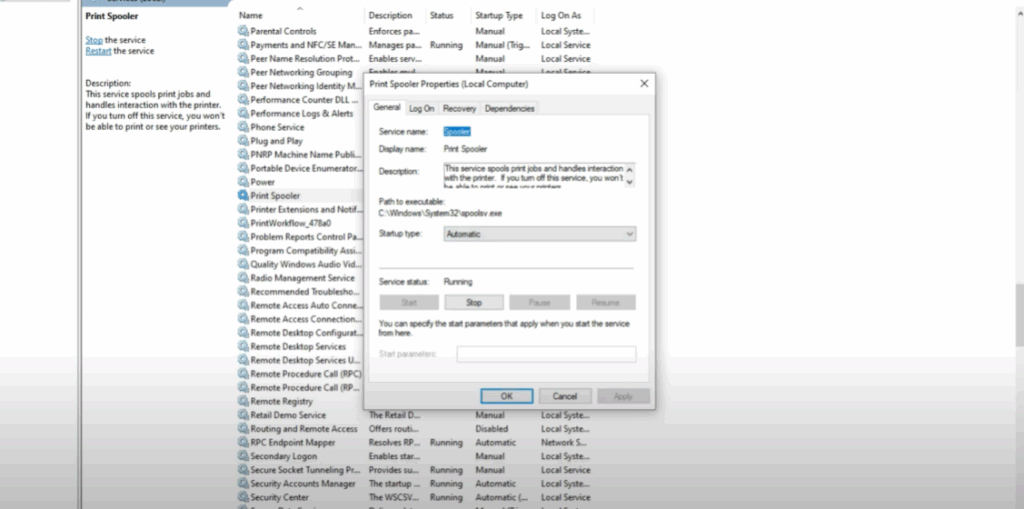
Click on the search box and type services. Open the result services. Now, we need to check two important services.
- Find Print Spooler, right click on it, and go to properties.
- Set Startup type to Automatic. Click Apply.
- Make sure the service is in a running state. If it’s stopped, click Start and then click OK.
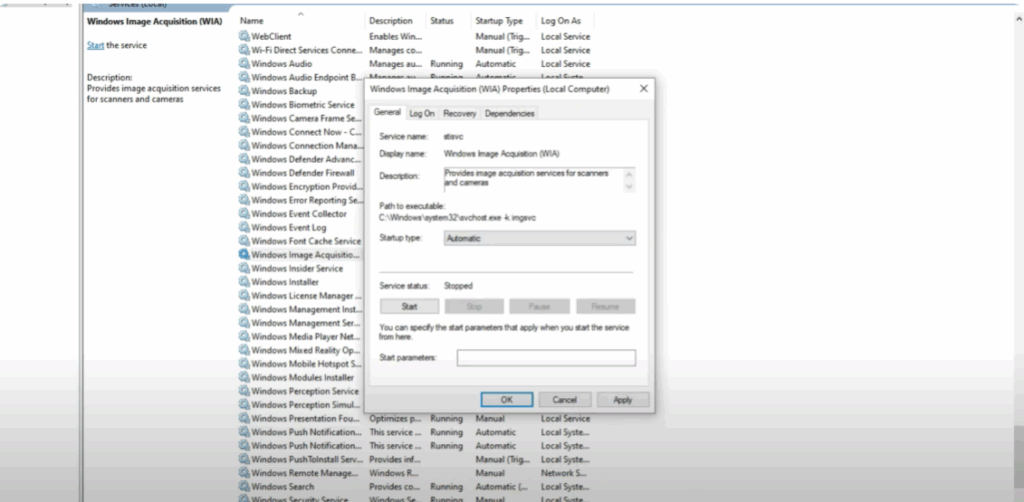
Now find Windows Image Acquisition (WIA).
- Right click on it and go to properties.
- Set Startup type to Automatic.
- Click Apply and then Start the service.
- Then click OK.
Close the services window and restart your system. This should fix the scanner issue.
Method Two: Update Scanner Driver
- Right click the Windows icon and select Device Manager.
- Once it’s open, locate your scanner driver in the Printer queues.
- Right click the scanner driver and select Update driver.
- Select Search automatically for drivers.
- Restart your system after updating.

Method Three: Update Windows 10
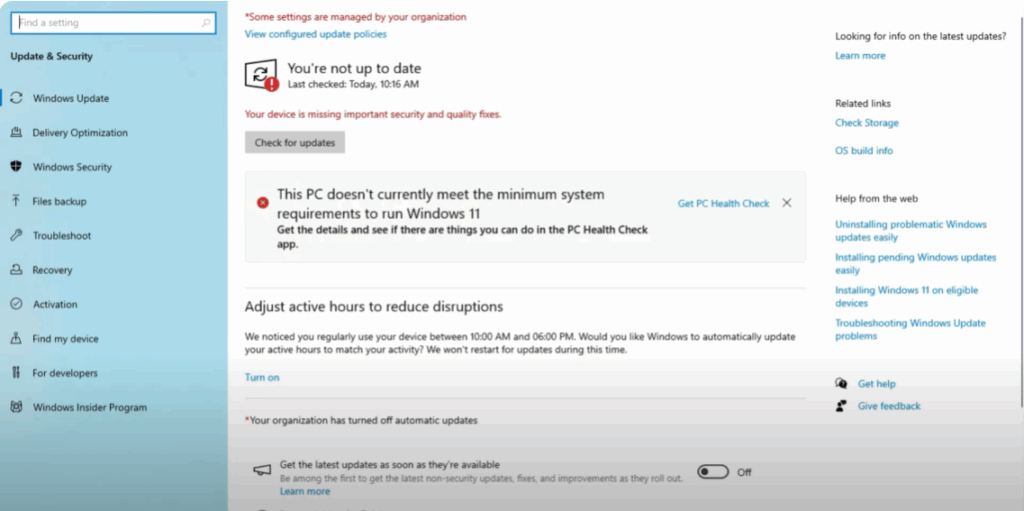
- Right click the Windows icon and go to Settings.
- Go to Update and Security.
- Click Check for updates.
- Install all available updates and restart your PC.
So these are the ways you can fix the scanner not working or connecting issue in Windows 10.


