
Accidentally formatting a drive can feel like a disaster—important files, photos, or documents may seem gone forever. But don’t panic! With the help of a free recovery tool called TestDisk, you can often bring back lost data safely. TestDisk is designed to recover deleted partitions and restore files from formatted or damaged drives, making it a powerful option even for beginners. In this guide, we’ll walk you through the easy steps to use TestDisk and recover your valuable data without stress.

Step 1: Download TestDisk
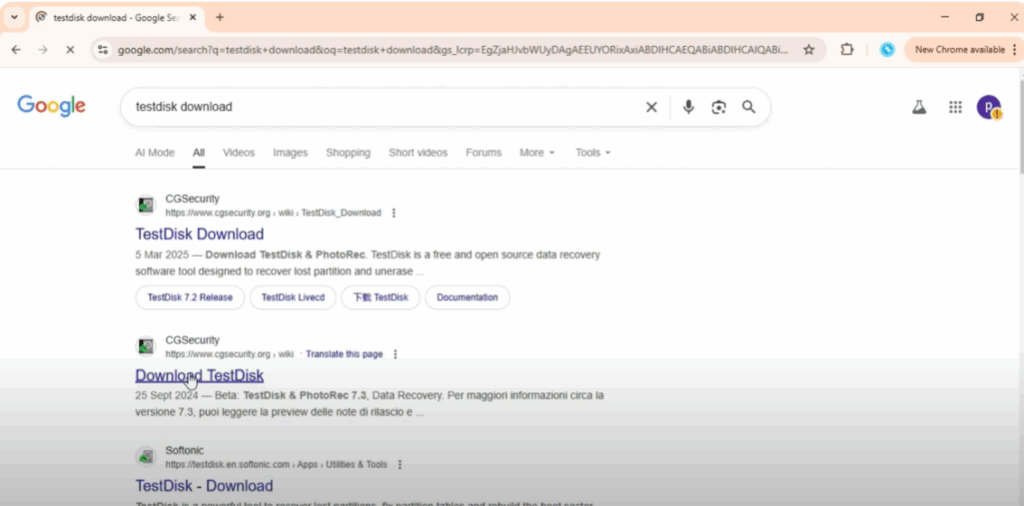
First, open your browser (I’m using Google Chrome). In the search bar, type “test disk download” and press Enter.
From the search results, click on the official website from cgsecurity.org. This is the trusted source to download the tool.
On the download page, you’ll find options for different operating systems:
- If you are using a 32-bit Windows version, click that option.
- If you are using a 64-bit Windows system, select the 64-bit option.
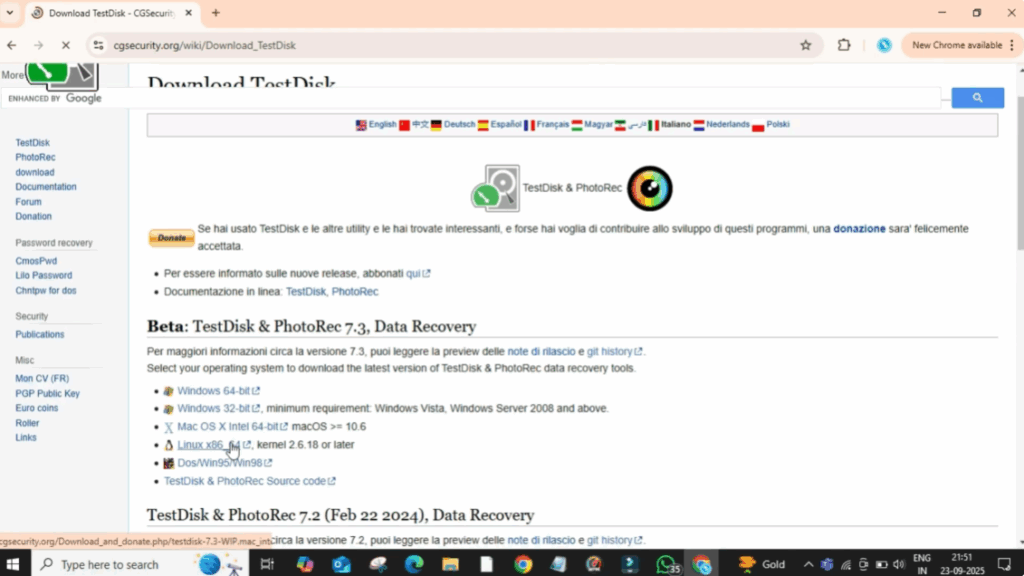
In my case, I’m on Windows 64-bit, so I’ll download that one. The download will start immediately and finish within a few moments depending on your internet speed.
Step 2: Extract TestDisk Files
After downloading, go to your Downloads folder, find the file, right-click on it, and choose “Extract Here.”
This will create a new folder with all the TestDisk files inside.
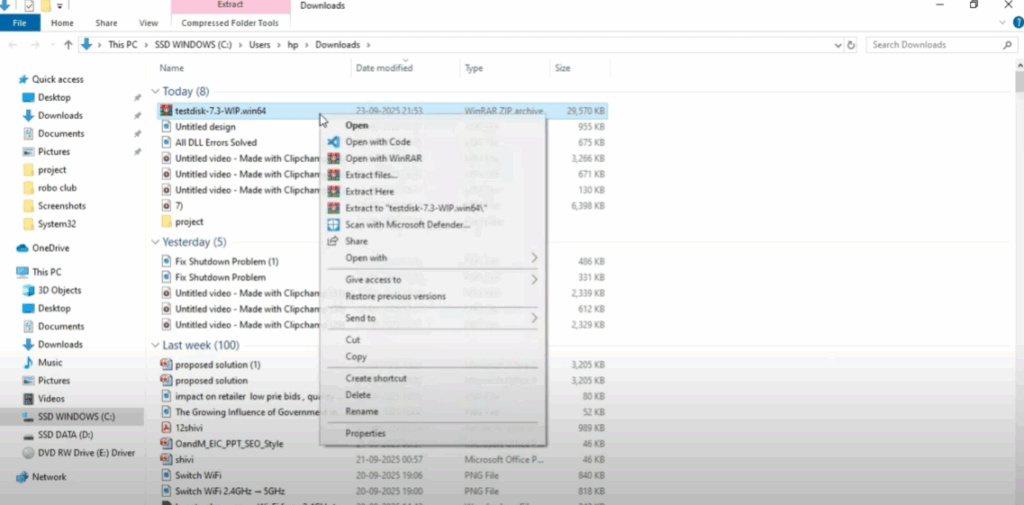
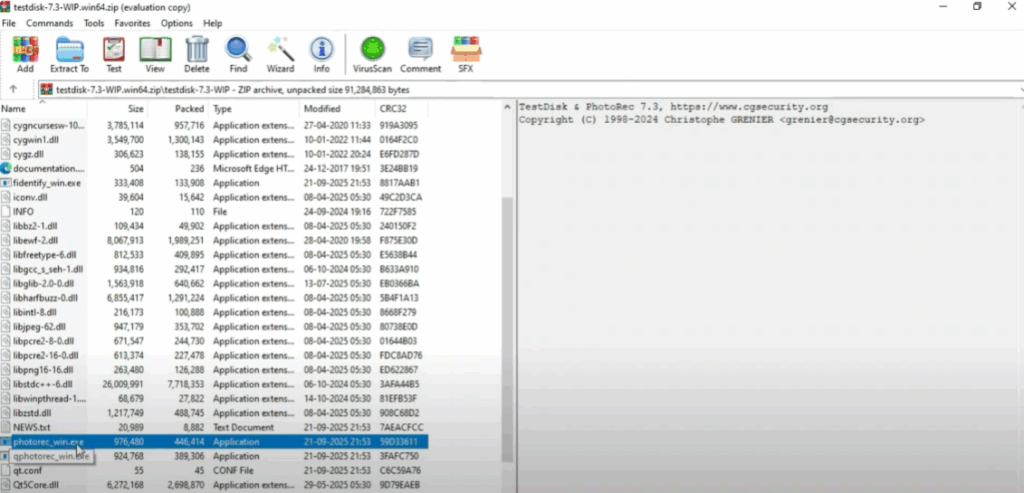
Now, open the folder and look for a file named photorec_.exe. Double-click on it to run the program. A command prompt-style black window will open on your screen. Don’t worry if it looks complicated — just follow these steps.
Step 3: Start Data Recovery
- Inside the program, press Enter to continue.
- A list of drives connected to your computer will appear. Select the drive you want to recover data from (for example, your C drive) and press Enter.
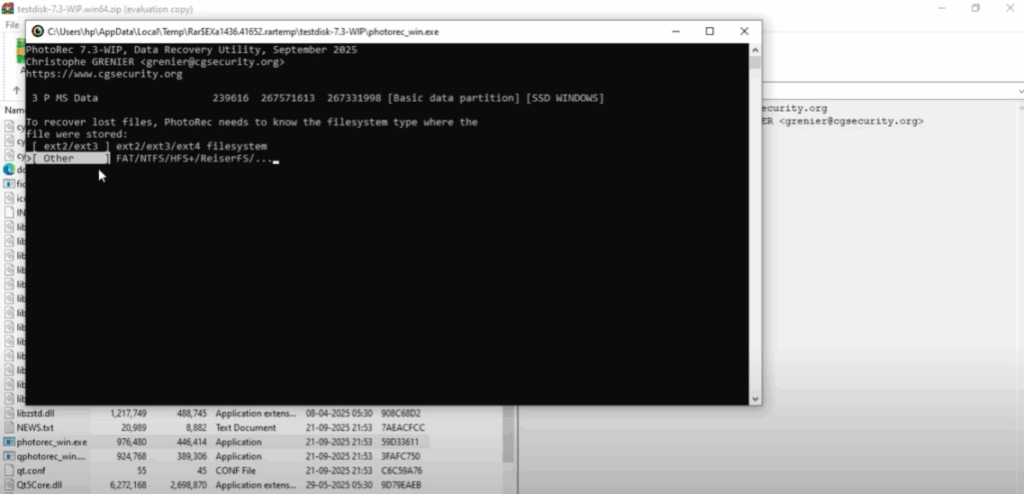
- The program will ask you to select the partition type. In most cases, just press Enter to continue with the default option.
Now, you will see two choices:
- Free – scans for deleted files in unused space.
- Whole – performs a deeper scan of the entire drive.
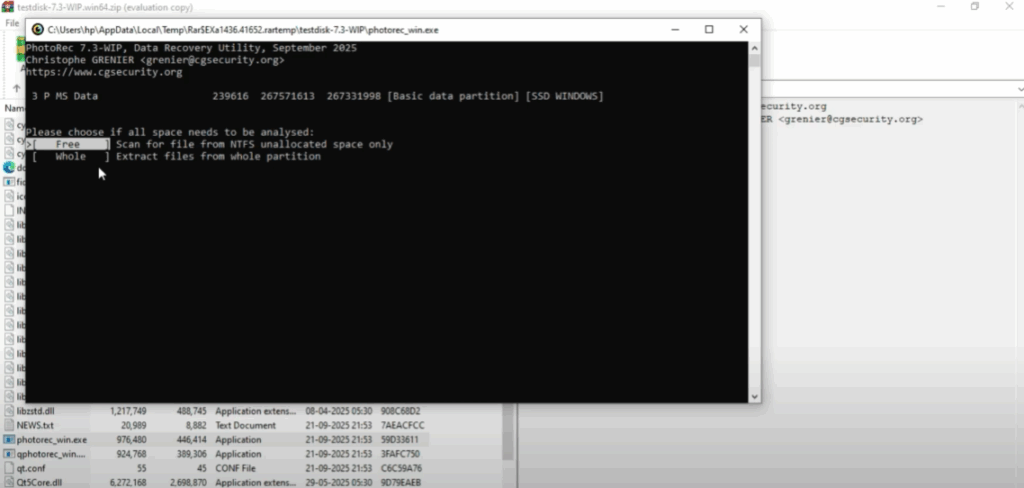
For this tutorial, select Free and press Enter.
Step 4: Choose Recovery Location
The program will then ask you where you want the recovered files to be saved. Important: Do not save files back to the same drive you’re recovering from, as it may overwrite your data.
Use the arrow keys to select another drive or folder, then press Enter.
Step 5: Recovery Process
TestDisk will begin scanning and recovering files. This process may take some time depending on the size of your drive and amount of data. Be patient and let it finish.
You’ll see files being listed as they are found and restored. Once the process is complete, you’ve successfully recovered data from a formatted drive using TestDisk.


