
Playing Minecraft with friends is way more fun when you have your own server. In 2025, setting up a Minecraft server is easier than ever—even if you’re not a tech expert. With your own server, you can control the game world, invite friends, add mods, and create custom rules. Whether you want to play survival mode together or build epic creations, having a server gives you full freedom. In this blog, we’ll walk you through the step-by-step process to create your own Minecraft server, using simple language and clear instructions. Get ready to build, explore, and play your way—with no limits!
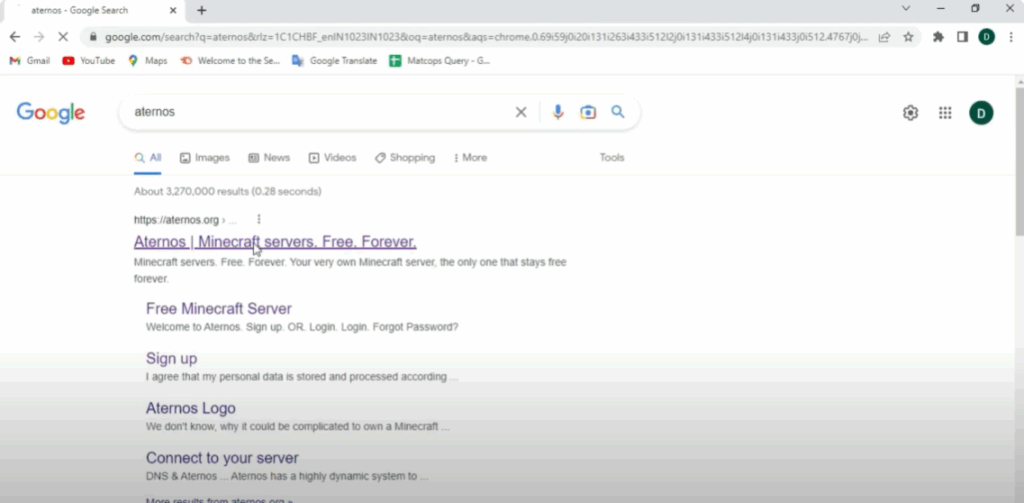
Step 1: Open Aternos Website
First, open Google Chrome (or any web browser you use) and search for Aternos.
Click on the official website link from the search results.
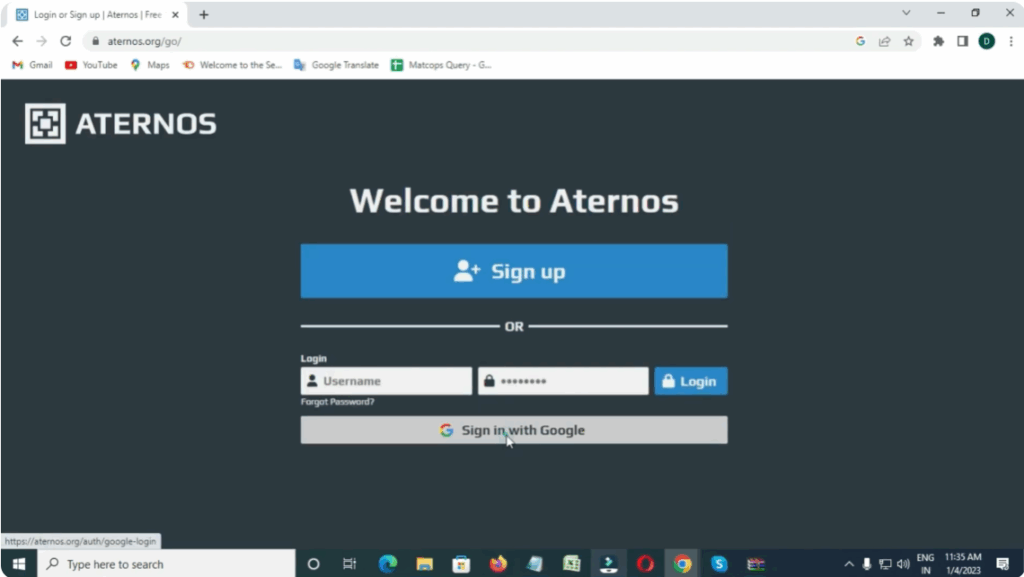
Step 2: Log In or Sign Up
Once the Aternos site opens, click on the Play button.
You can either enter your username and password or simply sign in with Google.
Choose your Gmail account and continue.
Step 3: Select Your Server
After logging in, you’ll see a list of servers.
Click on the third server listed — Mr. Deavine Y2Nx.
Here, you can change your username if you wish, or keep it the same.

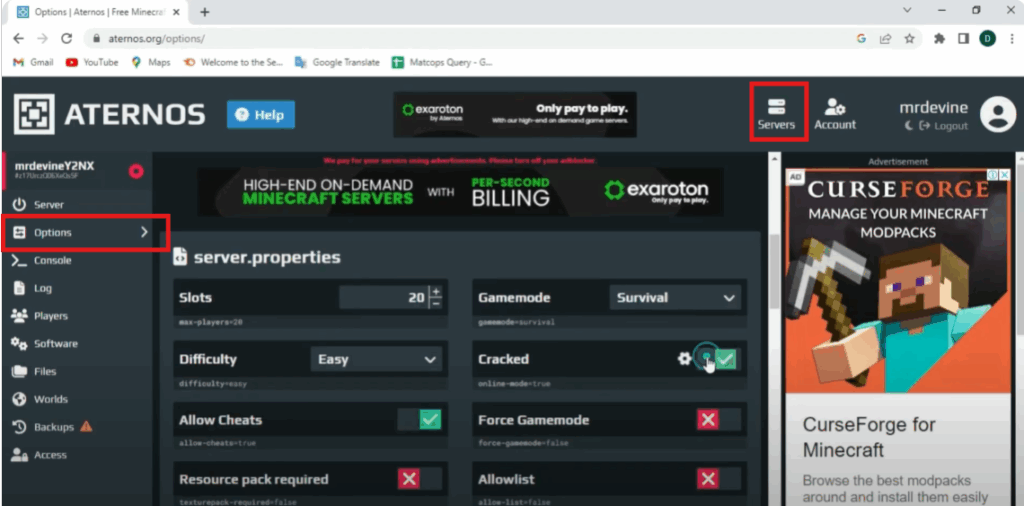
Step 4: Adjust Server Settings
Next, click on the Servers tab.
Then again, select the third server.
After that, go to Options.
Scroll down the settings and turn “Crack” to ON — this allows non-premium Minecraft accounts to connect.
You can also adjust:
- Difficulty level
- Number of player slots
- Time zone (make sure it’s set to Asia/Kolkata)
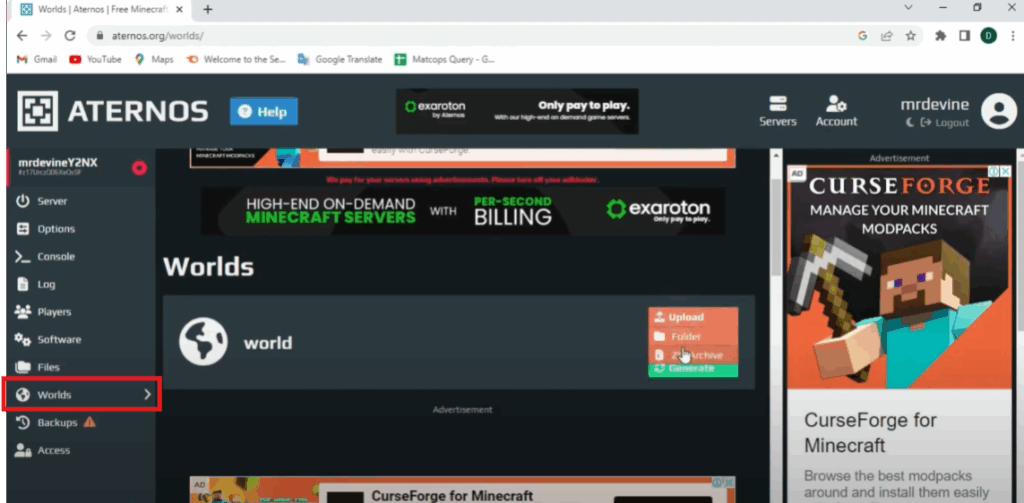
Step 5: Upload Your World
Click on the Worlds tab, then click on Upload.
Choose and upload the world file you want to use on your server.
Step 6: Start the Server
Once the world is uploaded, go back to the Server tab and hit the Start button.
You’ll see a pop-up asking if you accept the EULA.
Click Yes, I Accept, then click OK.
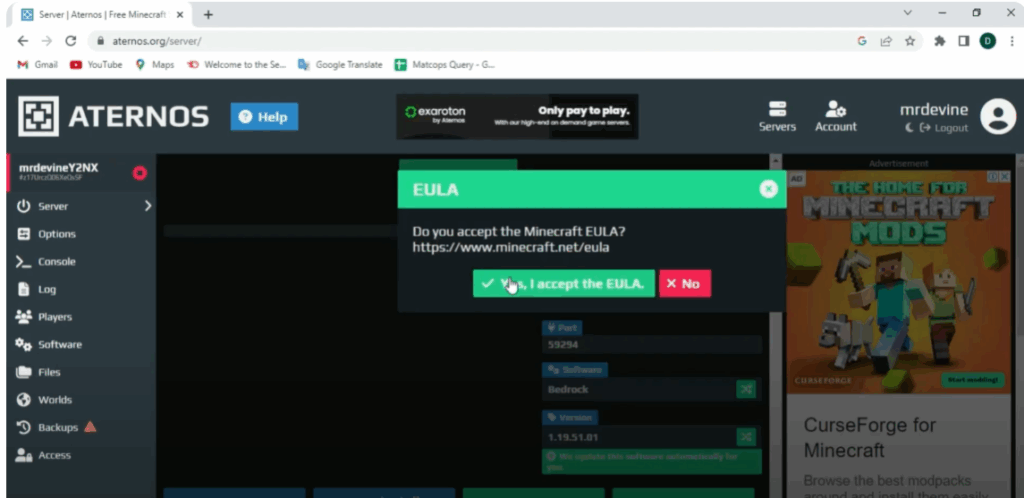
Make sure to allow any pop-ups or permissions that appear.
Step 7: Wait for the Server to Load
Now, give your server a little time to load.
Once it’s done — your Minecraft server is live and ready to play!


