
If you’ve ever noticed your laptop using Intel integrated graphics instead of your NVIDIA GPU or eGPU, you’re not alone! Many users face performance issues in games, editing software, or AI tools because Windows doesn’t always pick the powerful GPU automatically.
In this guide, we’ll show you step-by-step how to force Windows 10 or 11 to use your NVIDIA GPU or eGPU.
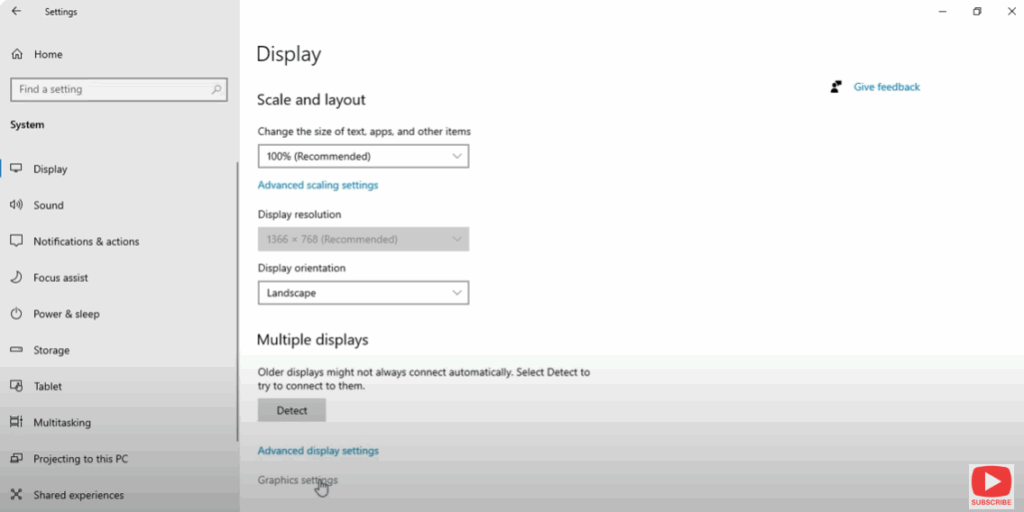
⚙️ Step 1: Set Default GPU via Graphics Settings
- Open Settings → System → Display.
- Scroll down and click Graphics settings.
- Under “Choose an app to set preference”, select your app or game:
- Choose Desktop app → Browse, and locate the
.exefile.
- Choose Desktop app → Browse, and locate the
- After adding it, click Options.
- Select High performance (NVIDIA GPU) and hit Save.
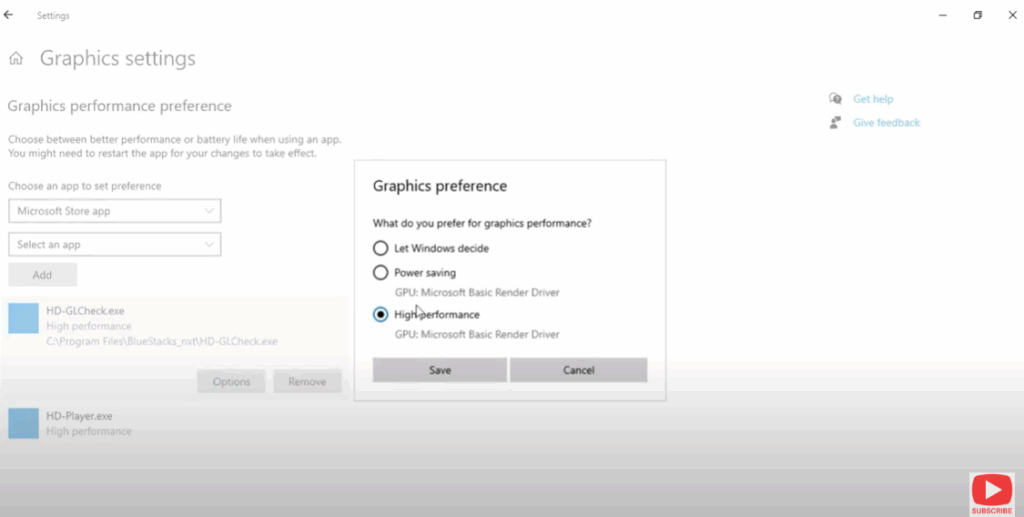
Now, that program will always use your NVIDIA GPU instead of the integrated one.
✅ Conclusion
By following these steps, you can easily force Windows 10 or 11 to use your NVIDIA GPU or eGPU, ensuring maximum performance for gaming, editing, and productivity tasks.
No more frustration with apps defaulting to your weaker integrated graphics — your system will now always utilize the full power of your GPU!


