
Seeing a usbxhci.sys Blue Screen error on your Windows 10 or 11 PC? Don’t panic—it’s a common issue related to your computer’s USB drivers, and it can usually be fixed with a few simple steps. This error might show up when plugging in a USB device or during startup, causing your system to crash or restart unexpectedly. In this blog, we’ll explain what the usbxhci.sys
error means and guide you through easy solutions to fix it, so your computer runs smoothly again. Let’s get started and solve this blue screen problem together!
🛠 Step-by-Step Solutions to Fix the usbxhci.sys Blue Screen
Below are methods you can try, preferably in sequence. Always back up your important data first.
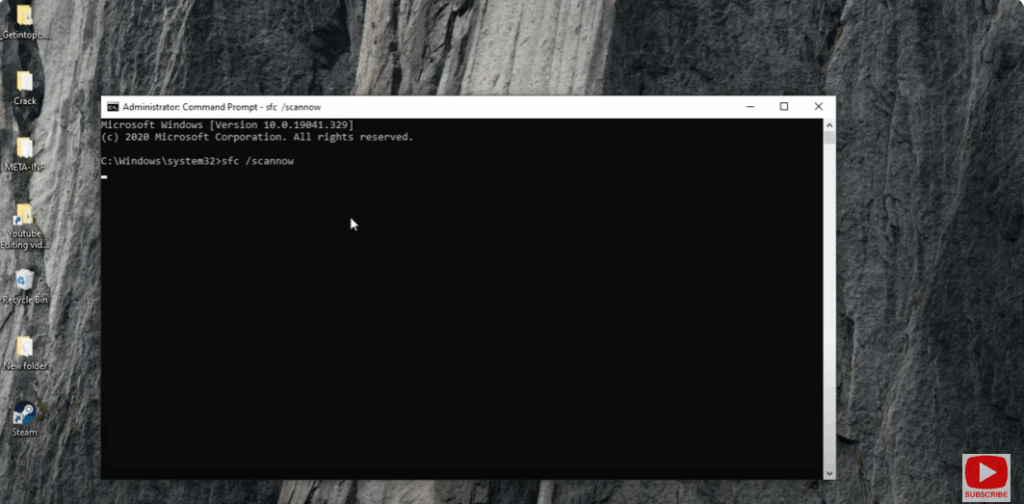
1. Run System File Checker & DISM
Corrupted system files (including drivers) often cause this error — repairing them helps.
- Open Command Prompt as Administrator
- Run:
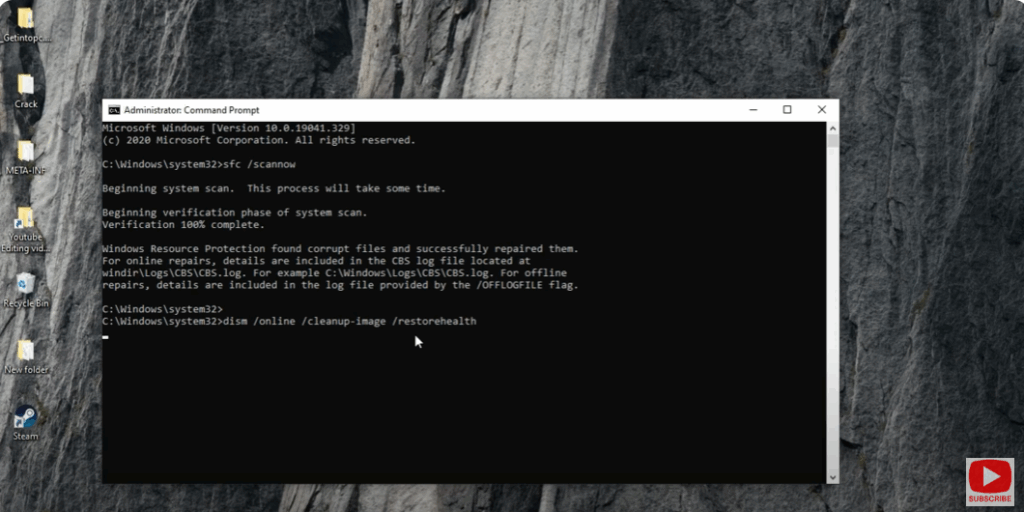
sfc /scannow
- After it finishes, run these DISM commands:
DISM /Online /Cleanup-Image /ScanHealth DISM /Online /Cleanup-Image /RestoreHealth - Reboot your system.
- This is recommended in USBXHCI.sys fix tutorials.
2. Reinstall / Update USB Drivers (especially USB xHCI / Host Controller)
Because usbxhci.sys is tied to USB controllers, reinstalling or updating USB drivers is a core fix.
- Open Device Manager (
devmgmt.msc) - Expand Universal Serial Bus controllers
- Right-click the relevant USB xHCI Host Controller or USB Root Hub → Uninstall device
- If prompted, check “Delete the driver software for this device”
- Do the same for other USB devices that might be involved
- Reboot — Windows will install default drivers again
- Optionally, update drivers from the motherboard or chipset manufacturer site
This is a commonly recommended solution.


