
Want to give your computer a fresh new look? Changing the wallpaper on your Windows 10 or 11 PC is one of the easiest ways to personalize your desktop. Whether you want a calming nature scene, a favorite photo, or something fun and colorful, Windows makes it simple to switch backgrounds in just a few clicks. In this blog, we’ll show you how to change your wallpaper step by step, so your screen looks exactly the way you want. Let’s get started!
🪟 Step 1: Right-click on the Desktop
- First, go to your desktop screen.
- Right-click anywhere on the blank area (not on an icon).
- From the menu that appears, click on “Personalize.”
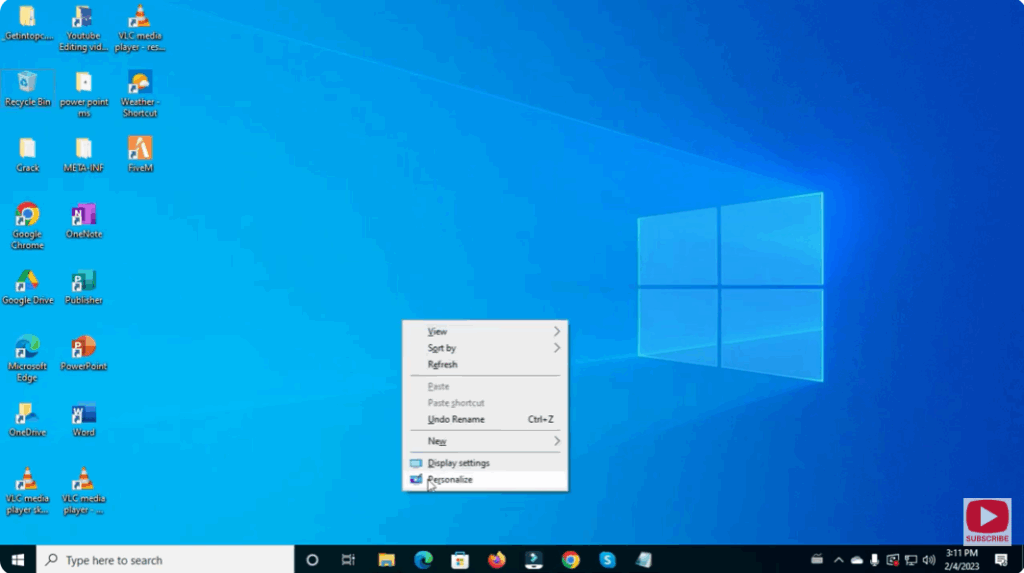
This will open the Personalization settings window in Windows.
🎨 Step 2: Open Background Settings
- In the Settings window, look for the “Background” section on the left panel.
- Here, you’ll see options to choose your background type — Picture, Solid color, or Slideshow.
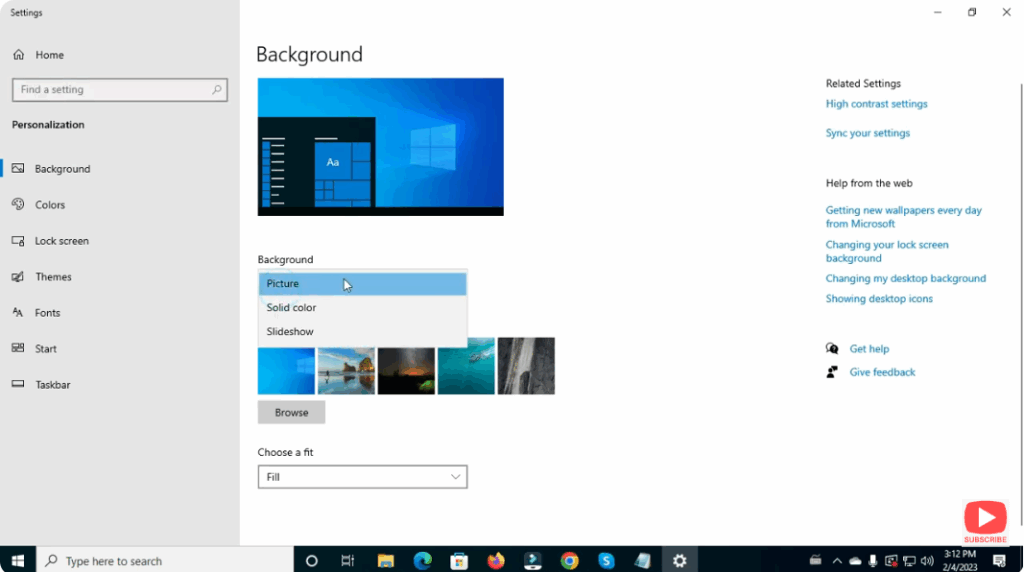
🖼️ Step 3: Choose Picture Wallpaper
- Under Background, select “Picture.”
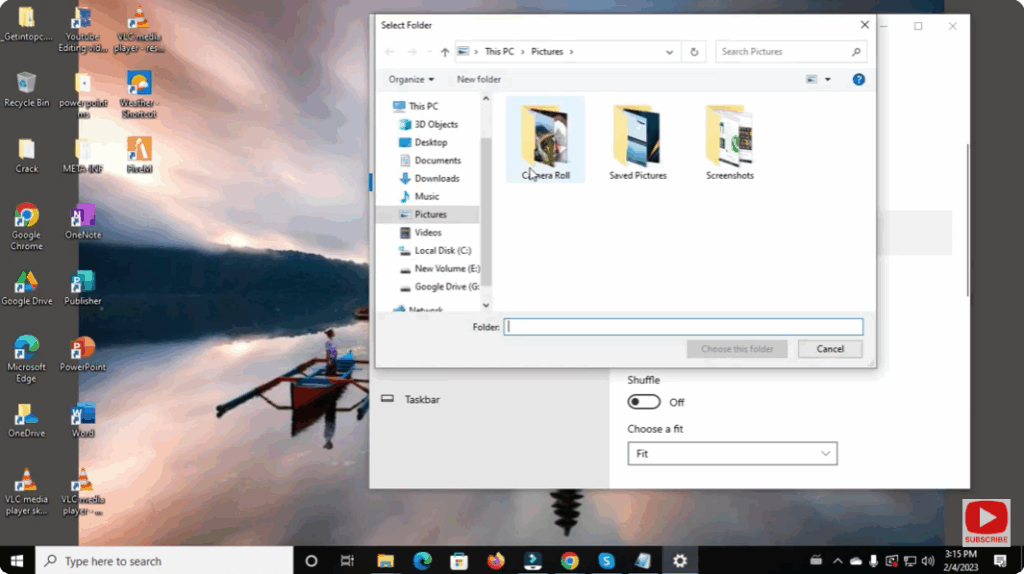
- Then, click on “Browse.”
- Select any image from your computer that you want to set as your wallpaper.
- Click “Choose picture.”
Your selected image will now instantly appear as your desktop wallpaper.
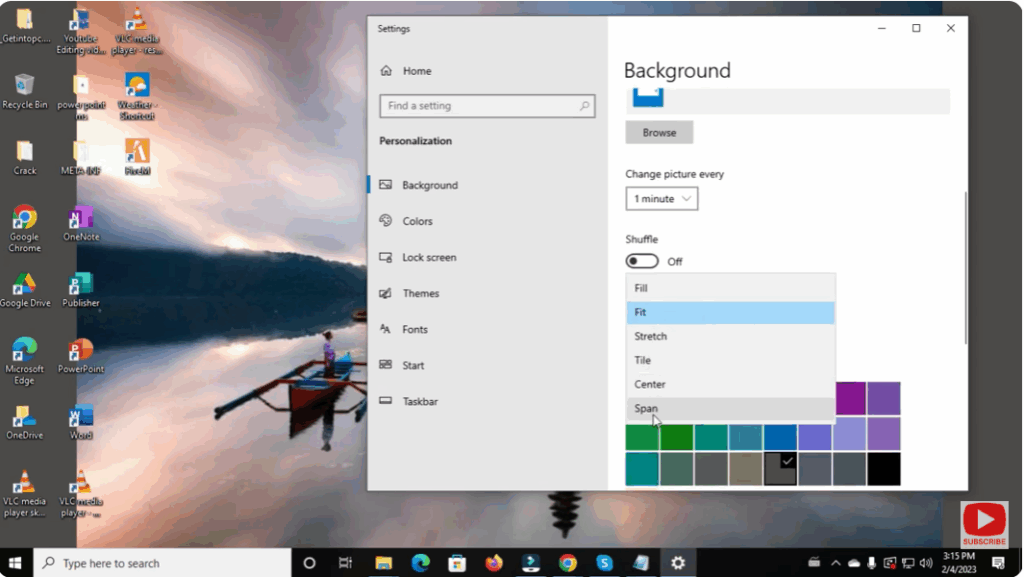
🖌️ Step 4: Adjust Fit (Optional)
- Below the image preview, there’s a “Choose a fit” option.
- You can select how the image should fit on your screen —
Fill, Fit, Stretch, Tile, Center, or Span. - Try each option and pick the one that looks best for your display.
📸 Step 5: Change to Solid Color or Slideshow (Optional)
If you want something different:
- Solid color: Select Solid color from the dropdown and choose your favorite color.
- Slideshow: Select Slideshow to automatically rotate multiple wallpapers from a chosen folder.
💡 Step 6: Close Settings
Once you’re satisfied with your wallpaper, simply close the Settings window.
Your changes are automatically saved, and your new background will remain until you change it again.


