

Want to make your PowerPoint presentation more interactive and engaging? One great way is to embed web content like videos, websites, or online tools directly into your slides. This means your audience can see live content without leaving the presentation. Whether it’s a YouTube video, a webpage, or a live chart, adding web content is easier than you might think. In this blog, we’ll show you how to embed web content into PowerPoint step by step, using simple instructions anyone can follow. Let’s bring your slides to life!

🧭 Step 1: Open Microsoft PowerPoint
Start by launching Microsoft PowerPoint on your computer. Open the presentation where you want to embed the web content, or create a new slide for demonstration.
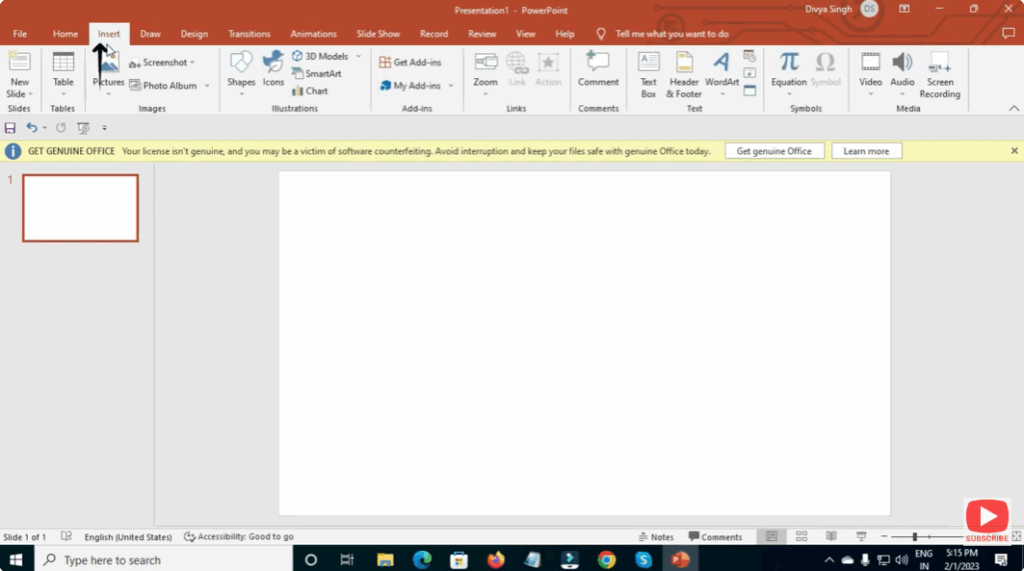
🌐 Step 2: Go to the “Insert” Tab
Click on the Insert tab in the top ribbon. This is where you’ll find all the tools to insert different elements into your presentation such as images, videos, links, and objects.
📎 Step 3: Choose “Add-ins” → “Store”
To embed web content, you’ll need to install an add-in.
Click Get Add-ins or My Add-ins, depending on your version of PowerPoint. In the search box, type Web Viewer or Web Page Viewer.
🧩 Step 4: Add the Web Viewer Add-in
Once you find the “Web Viewer” add-in, click Add to install it into PowerPoint. After installation, a new window or pane will open on your slide, where you can embed the URL of your desired website.
🔗 Step 5: Insert the Web URL
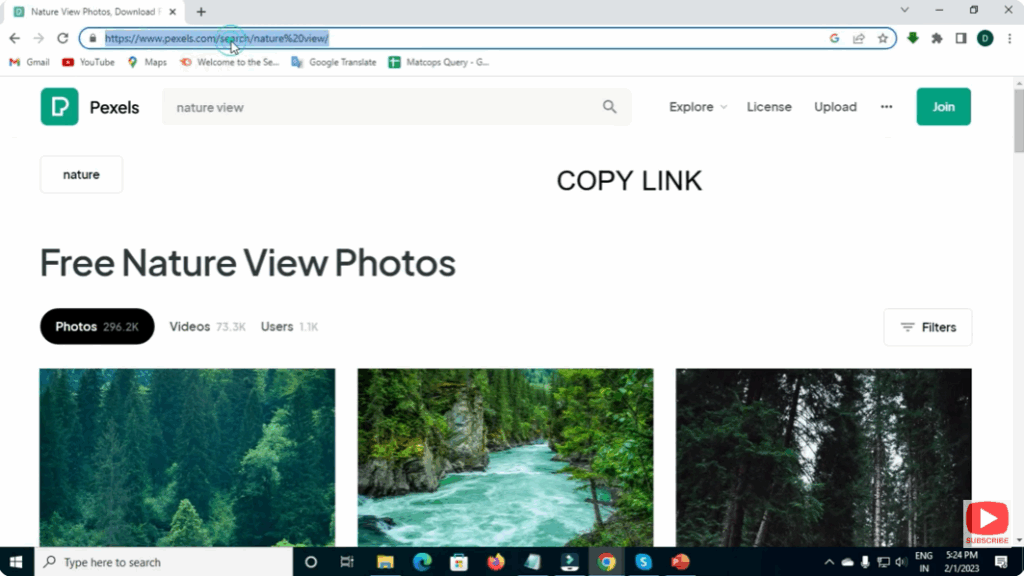
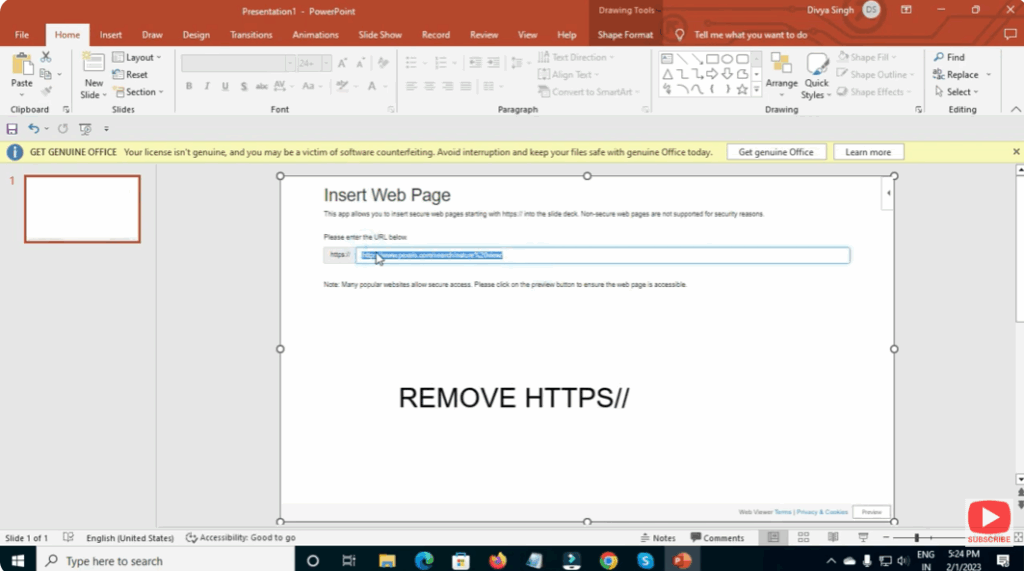
In the “Web Viewer” panel, paste the URL of the website or online content you want to display.
Make sure the website supports embedding and is publicly accessible (for example, a YouTube video or Google Map link).
Click Insert or Apply, and PowerPoint will automatically generate a preview of the web content.
🖥️ Step 6: Adjust and Test
Resize the embedded web frame to fit your slide layout. You can drag the corners or edges to adjust its position and size.
Now, run your presentation in Slide Show Mode to test the embedded content. You should see the live web page or online media directly within your slide.


