
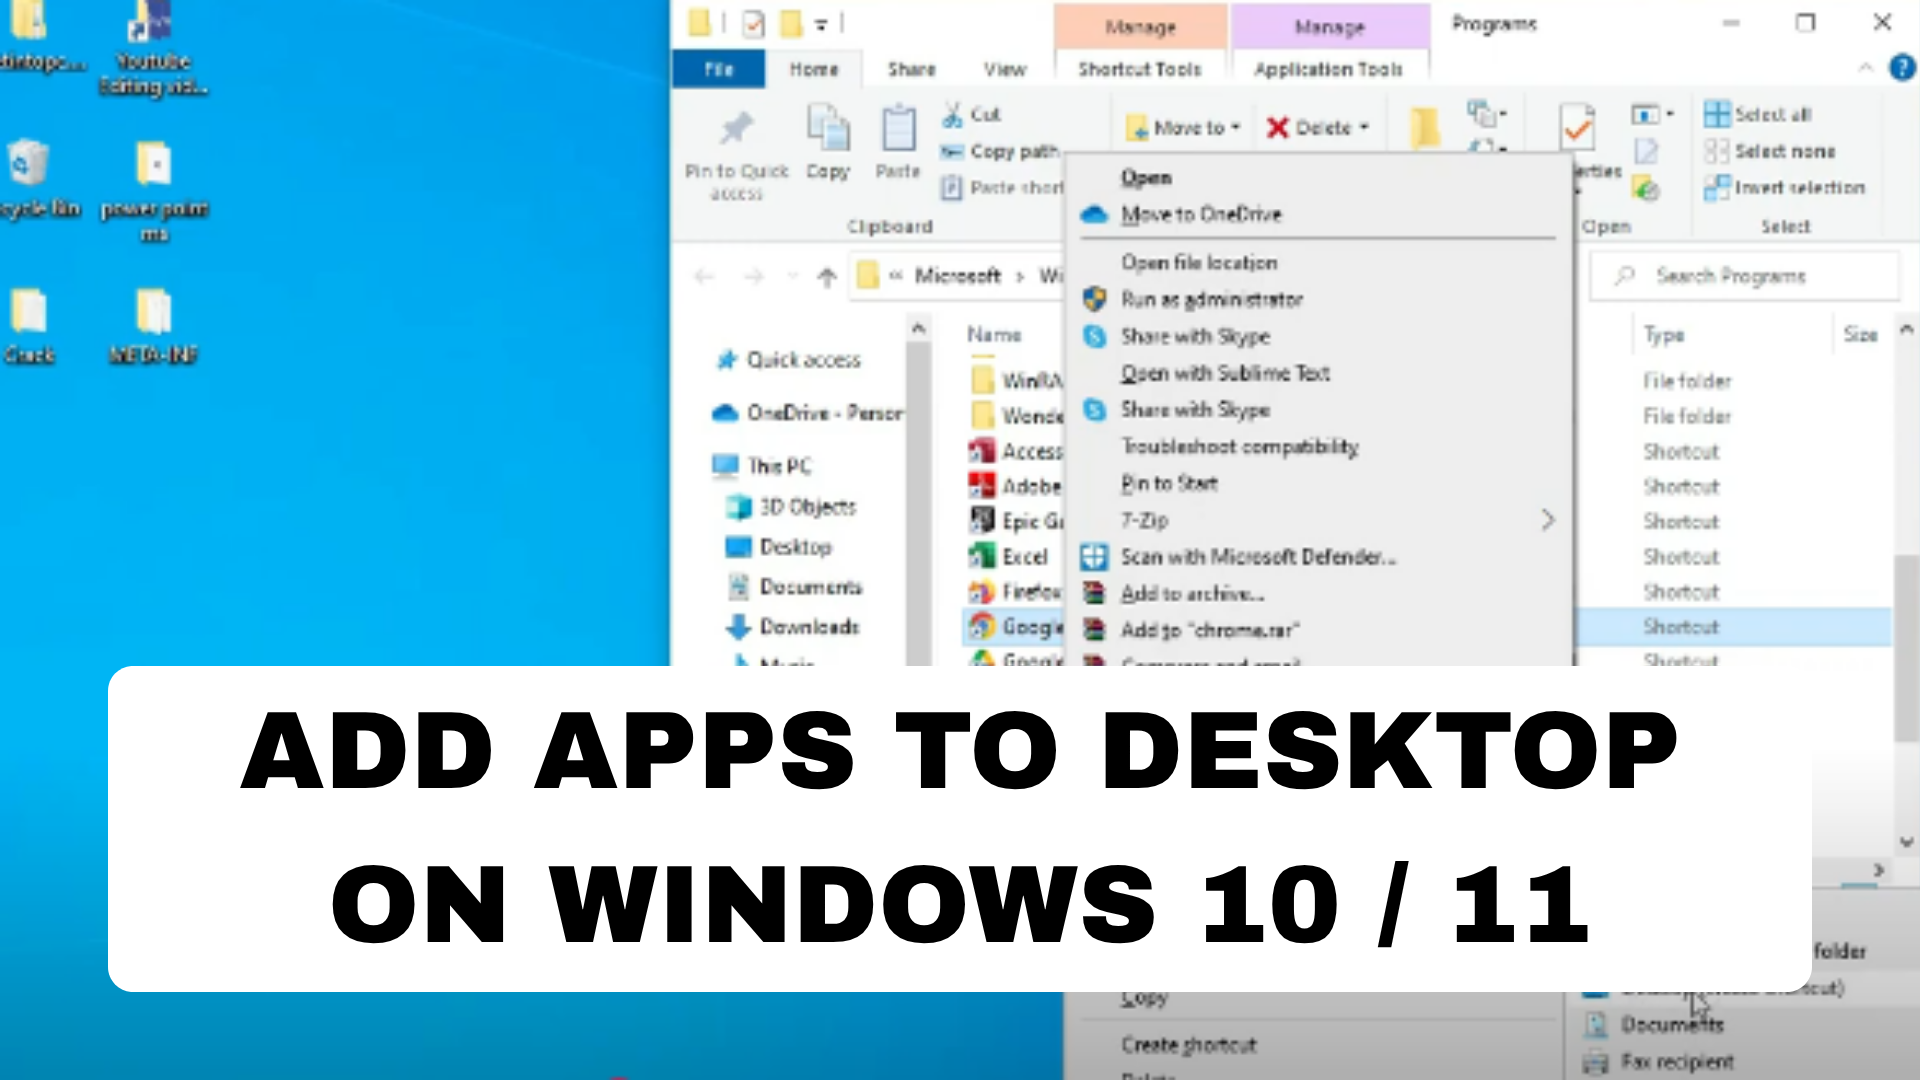
If you want quick access to your favorite apps in Windows 10 or 11, adding them to your desktop is the easiest way. Whether it’s Microsoft Edge, Chrome, or any other app, you can create shortcuts directly on your desktop in just a few clicks. You can do this by dragging apps from the Start Menu, using the “Send to Desktop” option, or opening the app’s file location to create a shortcut manually. In this blog, you’ll learn simple and quick methods to add apps to your desktop on Windows 10 and 11 for faster, one‑click access to everything you use most.
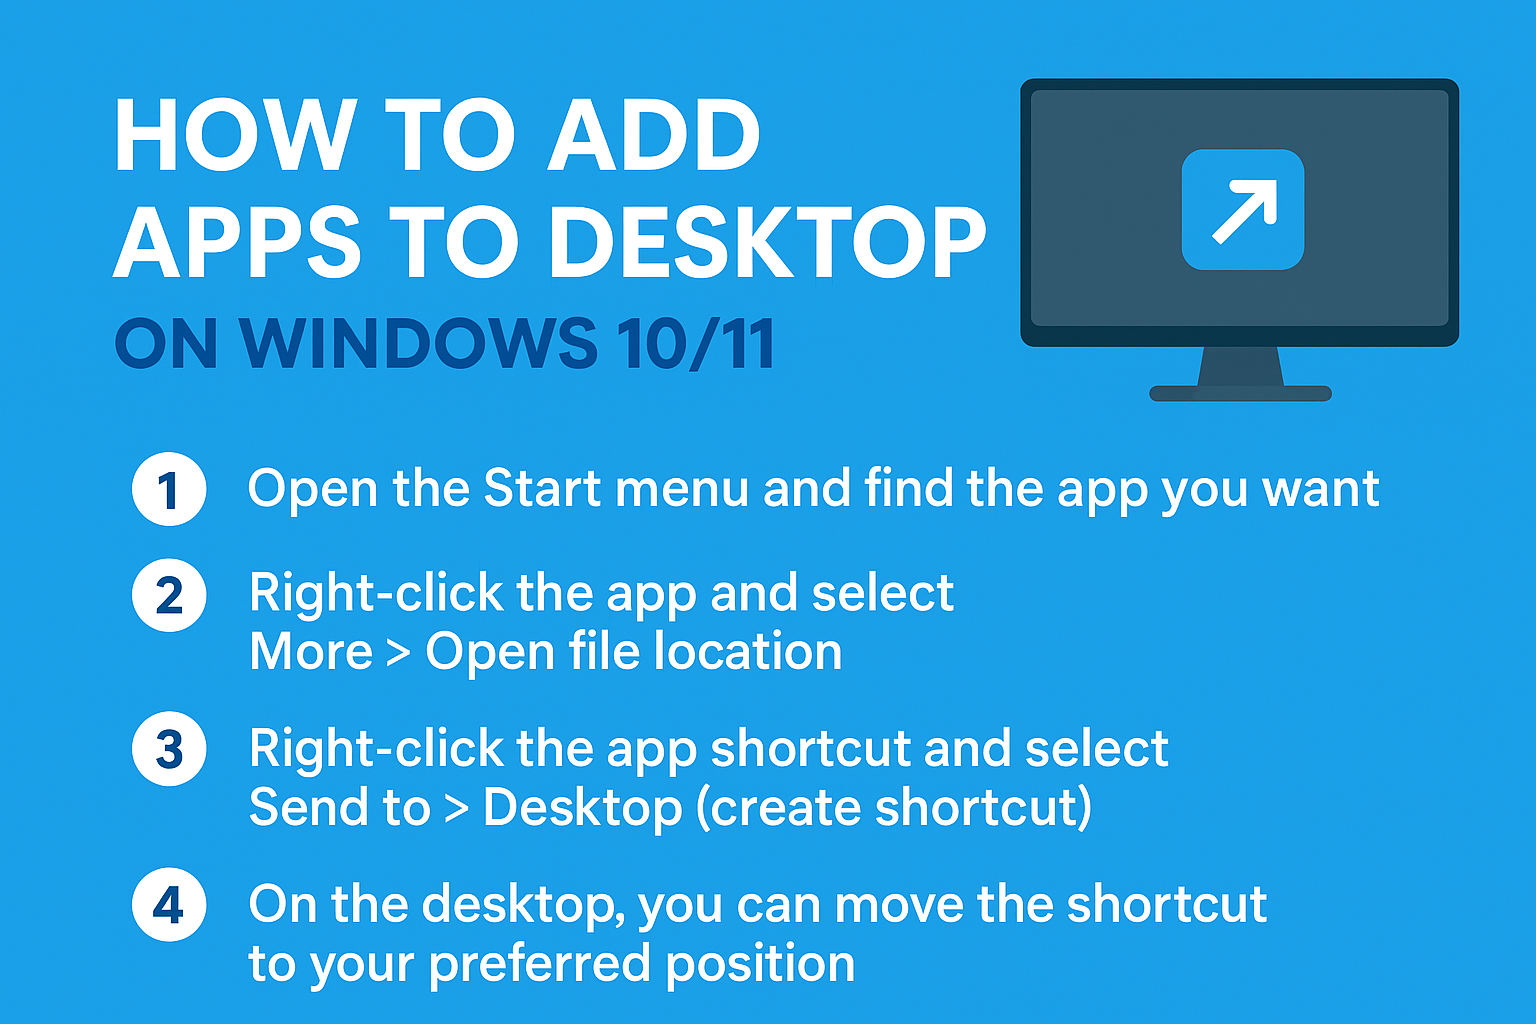
✅ Step 1: Find the App in the Start Menu
- Click the Start button (Windows icon) on your taskbar.
- Select All apps (or just scroll through the list).
- Locate the app you want to place on the desktop.
✅ Step 2: Create a Desktop Shortcut (Method A)
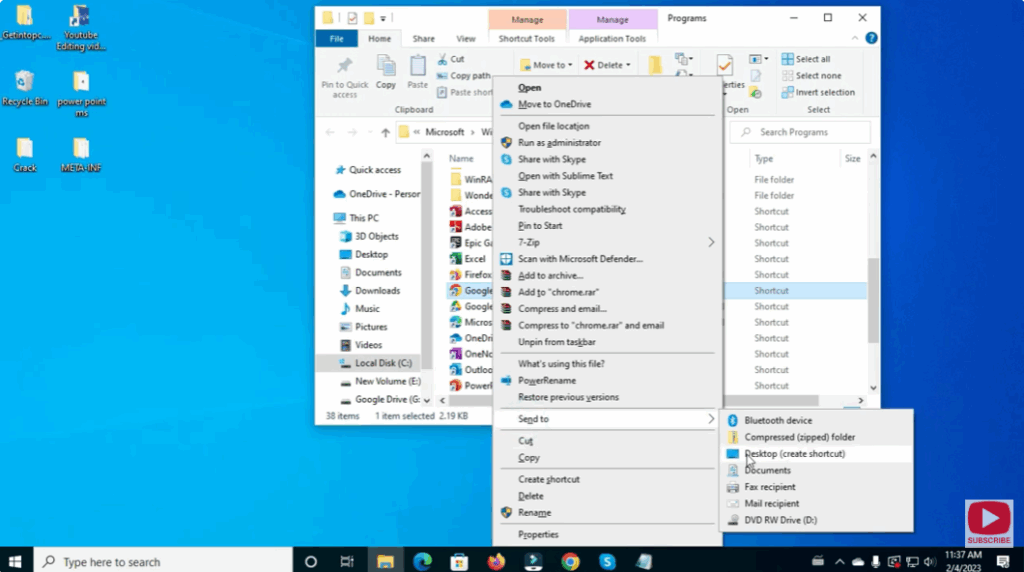
- Right-click the app in the Start menu.
- Choose More → Open file location (if available).
- In the File Explorer window containing the shortcut, right-click the app shortcut → Send to → Desktop (create shortcut).
- A new icon appears on your desktop for the app.
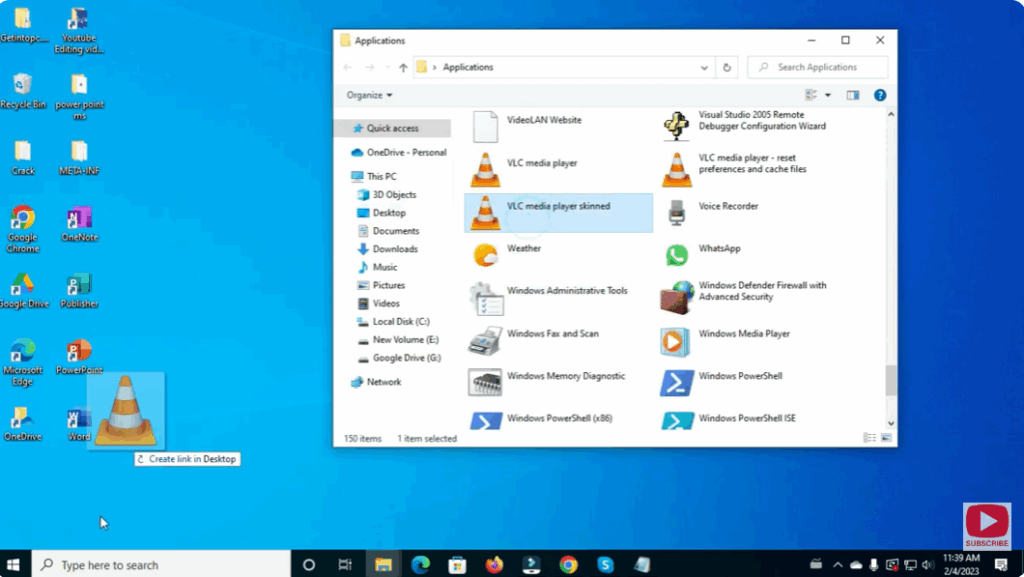
✅ Step 3: Create a Desktop Shortcut (Method B – Drag from Apps Folder)
- Press Windows + R, type
shell:AppsFolderand press Enter to open the hidden folder containing apps. - In that folder, find your app, click and drag it to the desktop. This creates a shortcut.
- On Windows 11, some users note drag-and-drop may not always work due to system restrictions.
✅ Step 4: Adjust/Organize the Desktop Icon
- On the desktop, you can drag the new shortcut icon to your preferred position.
- Right-click on the desktop → View → choose icon size (Large, Medium, Small).
- If you want to remove the shortcut later, right-click it and choose Delete—this only removes the shortcut, not the app.
🧧 Final Thoughts
Adding app shortcuts to your desktop in Windows 10/11 is a simple way to speed up your workflow. Whether you use the “Send to” method or drag from the Apps Folder, you’ll have easy access to your favorite applications with just a click.


