

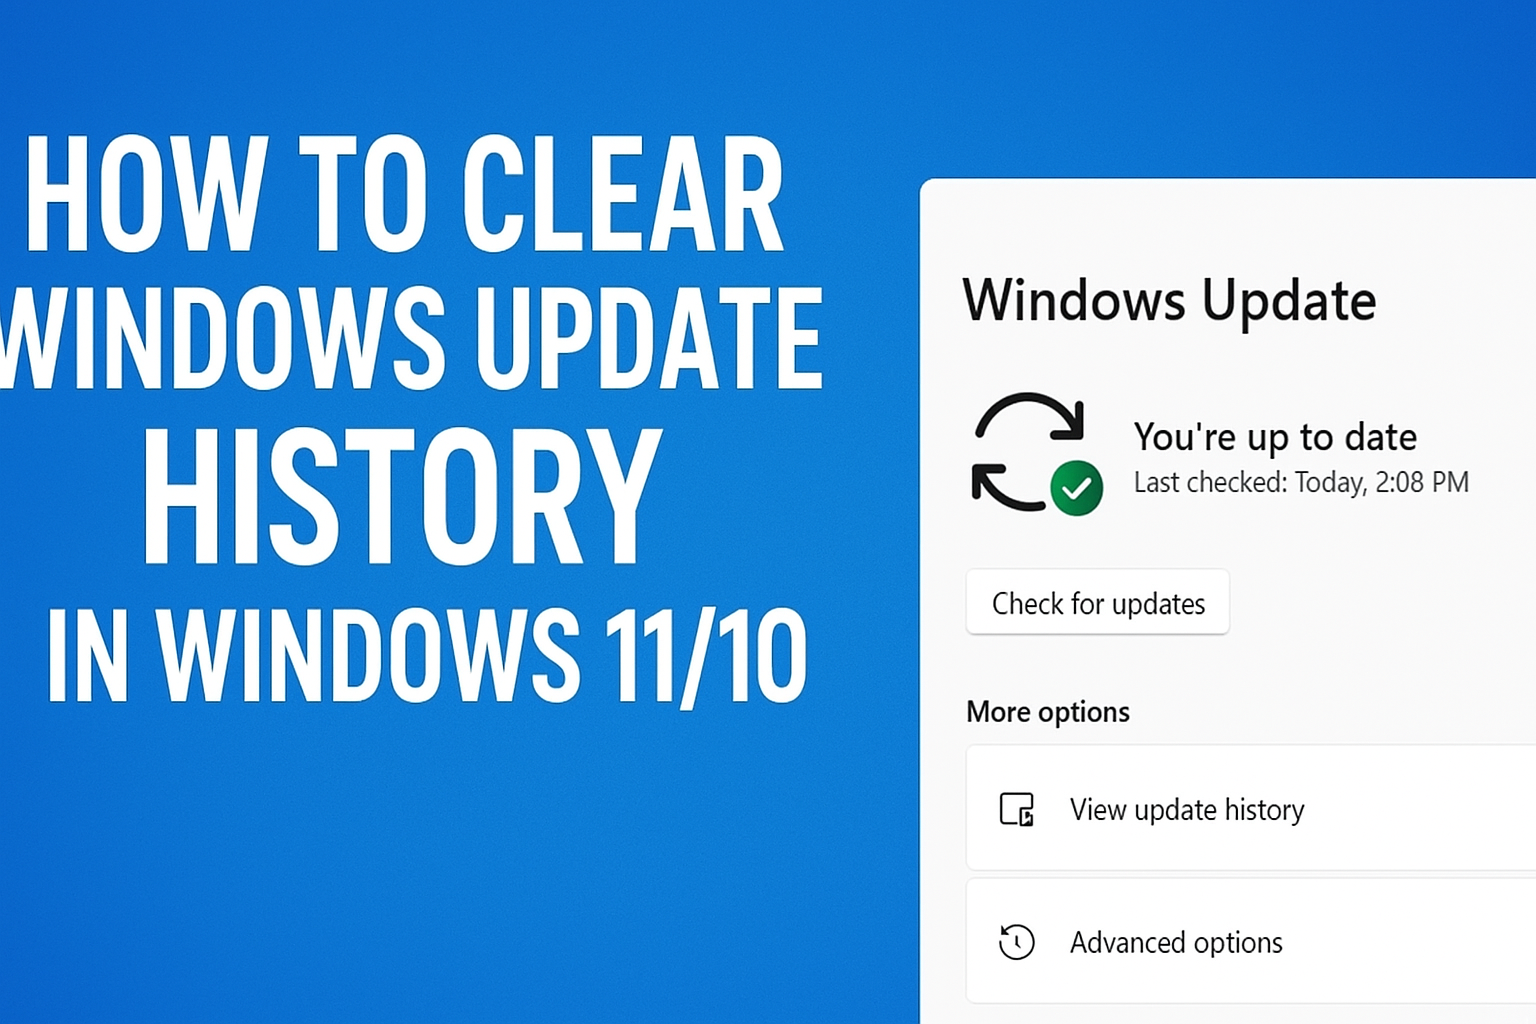
Is your Windows Update history getting too cluttered or causing problems on your Windows 10 or 11 PC? Sometimes, clearing the update history can help fix update errors or simply give your system a fresh start. While Windows doesn’t offer a direct button to clear it, there are easy steps you can follow to do it manually. In this blog, we’ll guide you through how to safely clear Windows Update history, so your system runs smoother and stays organized. Let’s clean things up!
Method 1: Clear Windows Update History Using Services and File Explorer
Step 1: Stop Windows Update Service
- Press Windows + R to open Run.
- Type:
services.mscand press Enter. - In the Services list, scroll and find Windows Update.
- Right-click Windows Update → click Stop.
Step 2: Delete the Update History Folder
- Open File Explorer.
- Go to this path:
C:\Windows\SoftwareDistribution\DataStore - Select all files → Right-click → Delete.
This removes the stored update history logs.
Step 3: Start the Windows Update Service Again
- Go back to Services Window.
- Right-click on Windows Update → Start.
Now Windows will rebuild the history database.
Method 2: Clear Windows Update History Using Command Prompt
If you prefer commands, follow this:
- Search for Command Prompt → Run as Administrator.
- Run these commands one by one:
net stop wuauserv
net stop bits
rd /s /q C:\Windows\SoftwareDistribution
net start wuauserv
net start bits
This stops update services, deletes history cache, and re-enables them.
Method 3: Use Disk Cleanup (Windows Built-in Tool)
- Press Windows + S, search Disk Cleanup, and open it.
- Select your C: drive.
- Check the box Windows Update Cleanup.
- Click OK → Delete Files.
This helps remove leftover update files and free storage.


