
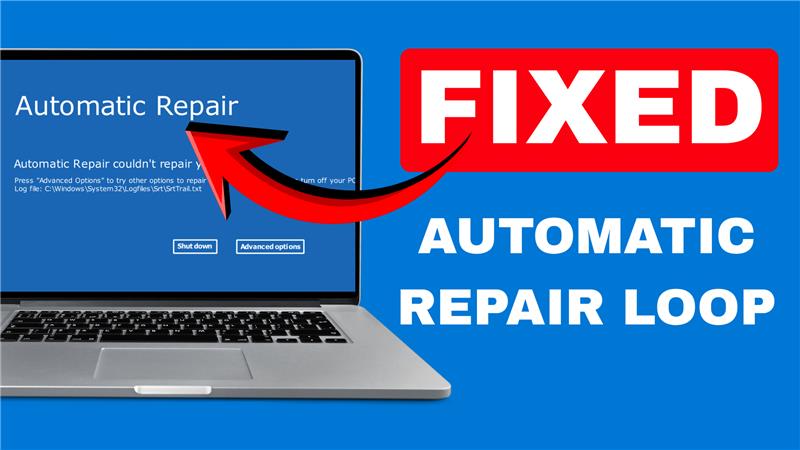
Seeing the message “Automatic Repair couldn’t repair your PC” on Windows 11? It can be scary when your computer won’t start properly and shows this error. But don’t panic—this is a common issue and can often be fixed with a few simple steps. In this blog, we’ll explain what causes this error and guide you through easy ways to fix it, so you can get your PC back up and running without losing your files. Let’s solve it together!
Step One: Boot Into Advanced Options
First, restart your computer. As soon as it starts and you see the Windows logo, press the power button to shut it down. Repeat this two to three times until you see the automatic repair screen.
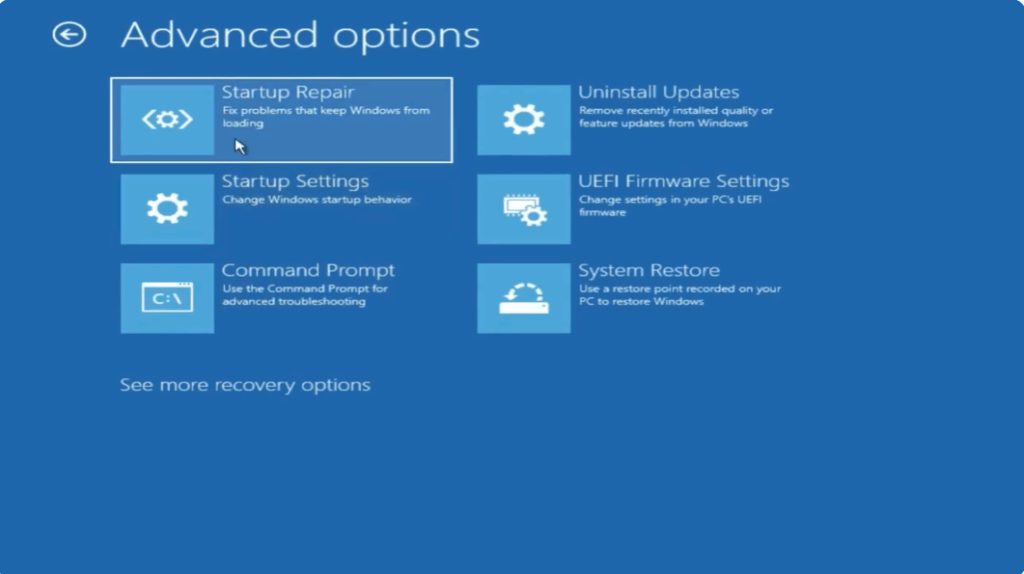
Once you’re on that screen, click Advanced options, then select Troubleshoot.
Here you’ll see options to reset your PC or uninstall recent updates, but we won’t do that right now. Instead, click on Advanced options again because we’re going to repair the computer first.

Step Two: Try Startup Repair
Click on Startup Repair, the first option. Let Windows scan and attempt to fix startup issues. If it doesn’t solve the problem, come back to the same Advanced Options screen again.
Step Three: Use Command Prompt for Manual Fix
Now click Command Prompt. We’ll run a few commands here to repair system files and boot issues.
Type the following commands one by one:
- Check disk – This checks your disk for errors and fixes them.
- Now the next command, sfc/scannow. This scans and repairs corrupted system files.
- gpupdate – This updates group policy settings. Works for some PCs.
- bootrec /fixmbr
- bootrec /fixboot
These commands repair the boot configuration. If they don’t work on your system, that’s okay.
Once all commands are done, type exit. Then close the command prompt.
Step Four: Restart Your PC
Click Continue to boot back into Windows. Your PC should now start normally.


