

When you get a new hard drive, you need to “initialize” it before you can use it on your Windows PC. Initializing means setting up the drive properly to store files. Using the Disk Management tool built into Windows, you can quickly initialize your drive, create a new partition, and format it to prepare for use. In this blog, you will learn simple, easy steps to start using your new drive by initializing it with Disk Management so your computer recognizes and works with it smoothly.
Steps to Initialize a New Drive in Windows 10/11
Step 1: Open Disk Management
- Press Windows Key + X on your keyboard.
- Select Disk Management from the list.
- Alternatively, you can press Windows Key + R, type
diskmgmt.msc, and press Enter.
- Alternatively, you can press Windows Key + R, type
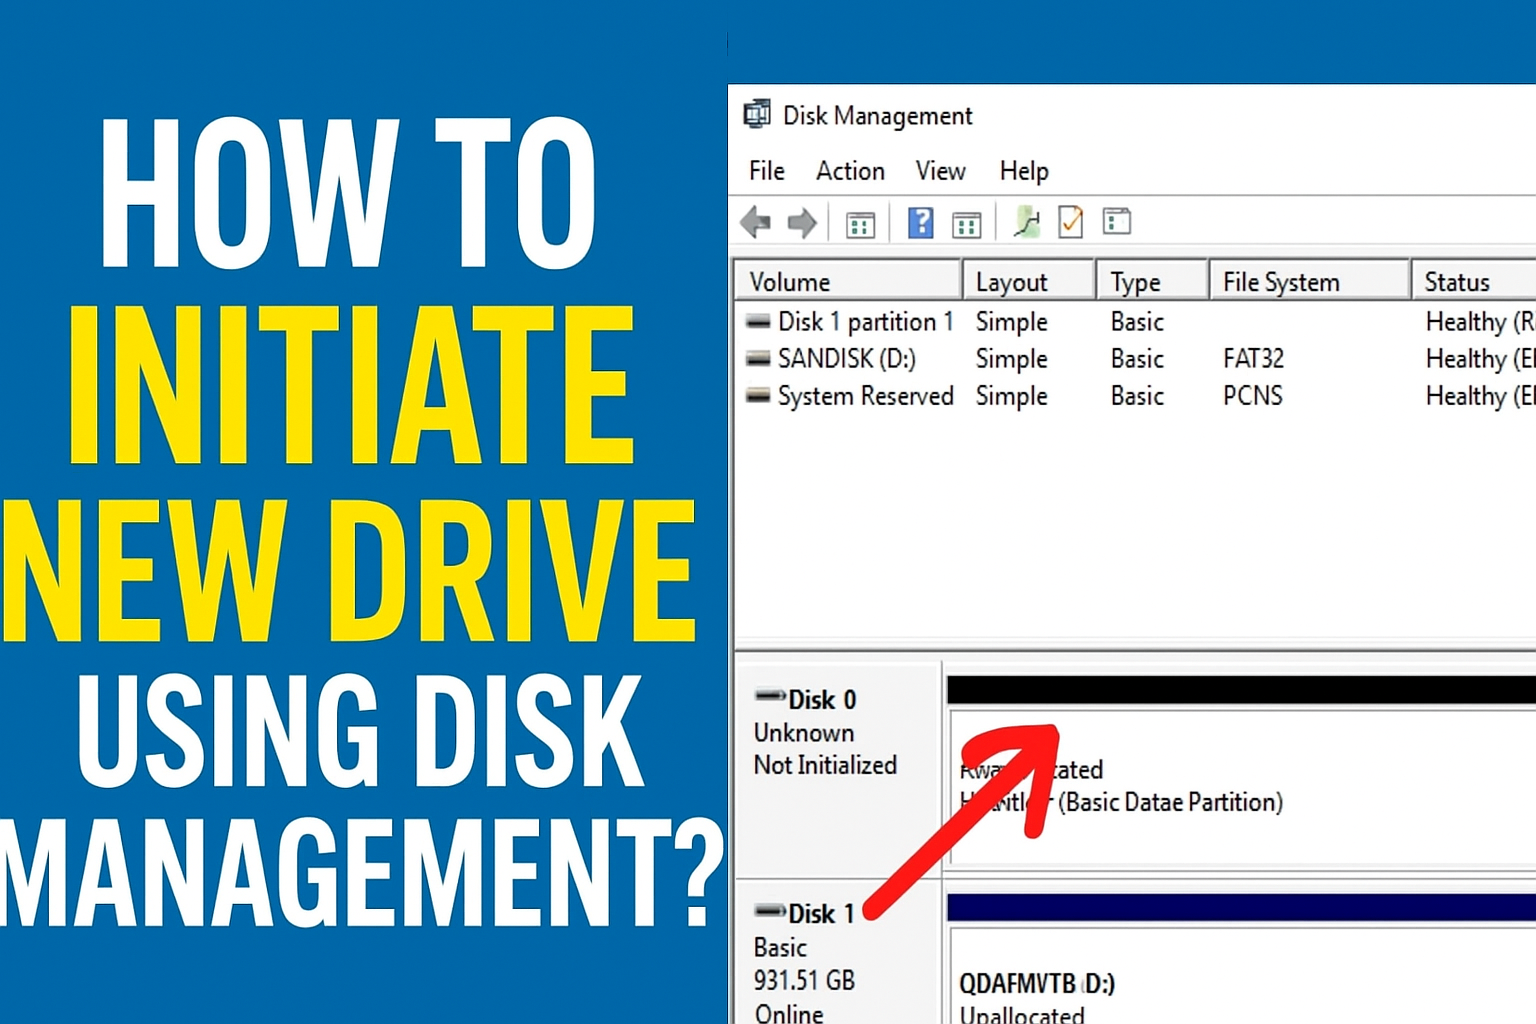
Step 2: Locate the New Drive
- Look for a disk labeled “Unknown” and “Not Initialized”.
- It may also appear as Unallocated Space with a black bar on top.
Step 3: Initialize the Drive
- Right-click on the disk name (e.g., Disk 1).
- Select Initialize Disk.
- Choose GPT (recommended) or MBR according to your needs.
- Click OK.
Step 4: Create a New Volume
- Right-click the Unallocated space.
- Select New Simple Volume.
- Click Next through the setup wizard.
Step 5: Assign a Drive Letter
- Choose any available letter like D, E, F, etc.
- Click Next.
Step 6: Format the Drive
- Choose NTFS (recommended).
- Set Allocation Unit Size to Default.
- Give your drive a name (e.g., NewDrive, DataDrive, SSD, Games etc.)
- Check Perform Quick Format.
- Click Finish.
Your new drive will now appear in File Explorer ready to use.
Conclusion
Initializing a new drive is a necessary step before Windows can recognize it. Using Disk Management ensures the drive is correctly partitioned and formatted. Whether you installed a new SSD to speed up your system or added storage for files and games, following these steps will help you get your new drive working quickly.


