
Every drive on your computer has a volume label, which is basically the name assigned to it. This label helps you easily identify different drives, like separating your system drive from external or backup drives. If you want to quickly check a drive’s volume label, you don’t need any extra software—Windows has a built-in tool for that. Using the Command Prompt, you can find the volume label in just a few simple steps. In this blog, we’ll show you how to get the drive volume label in Windows Command Prompt in easy language.
🛠 How to Use the vol Command
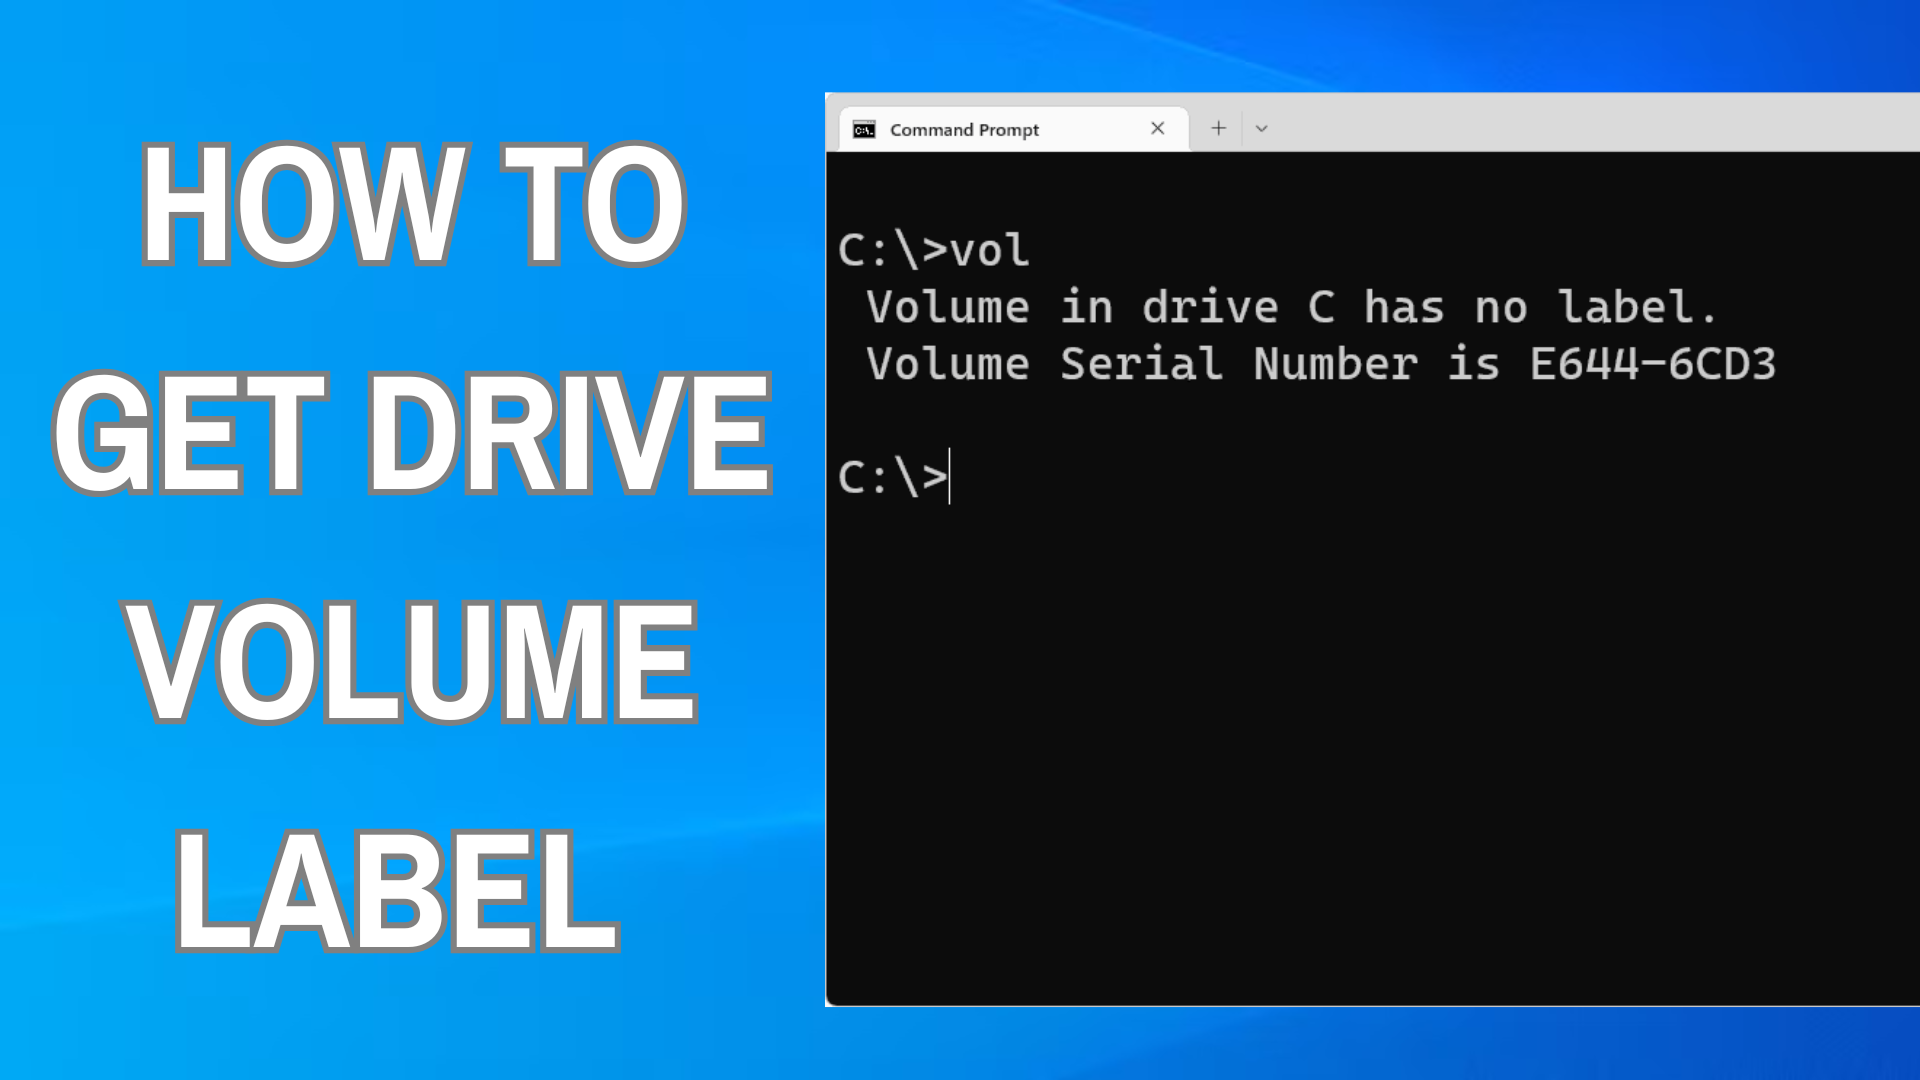
Here’s how you can display the volume label (and serial number) for any drive via Command Prompt:
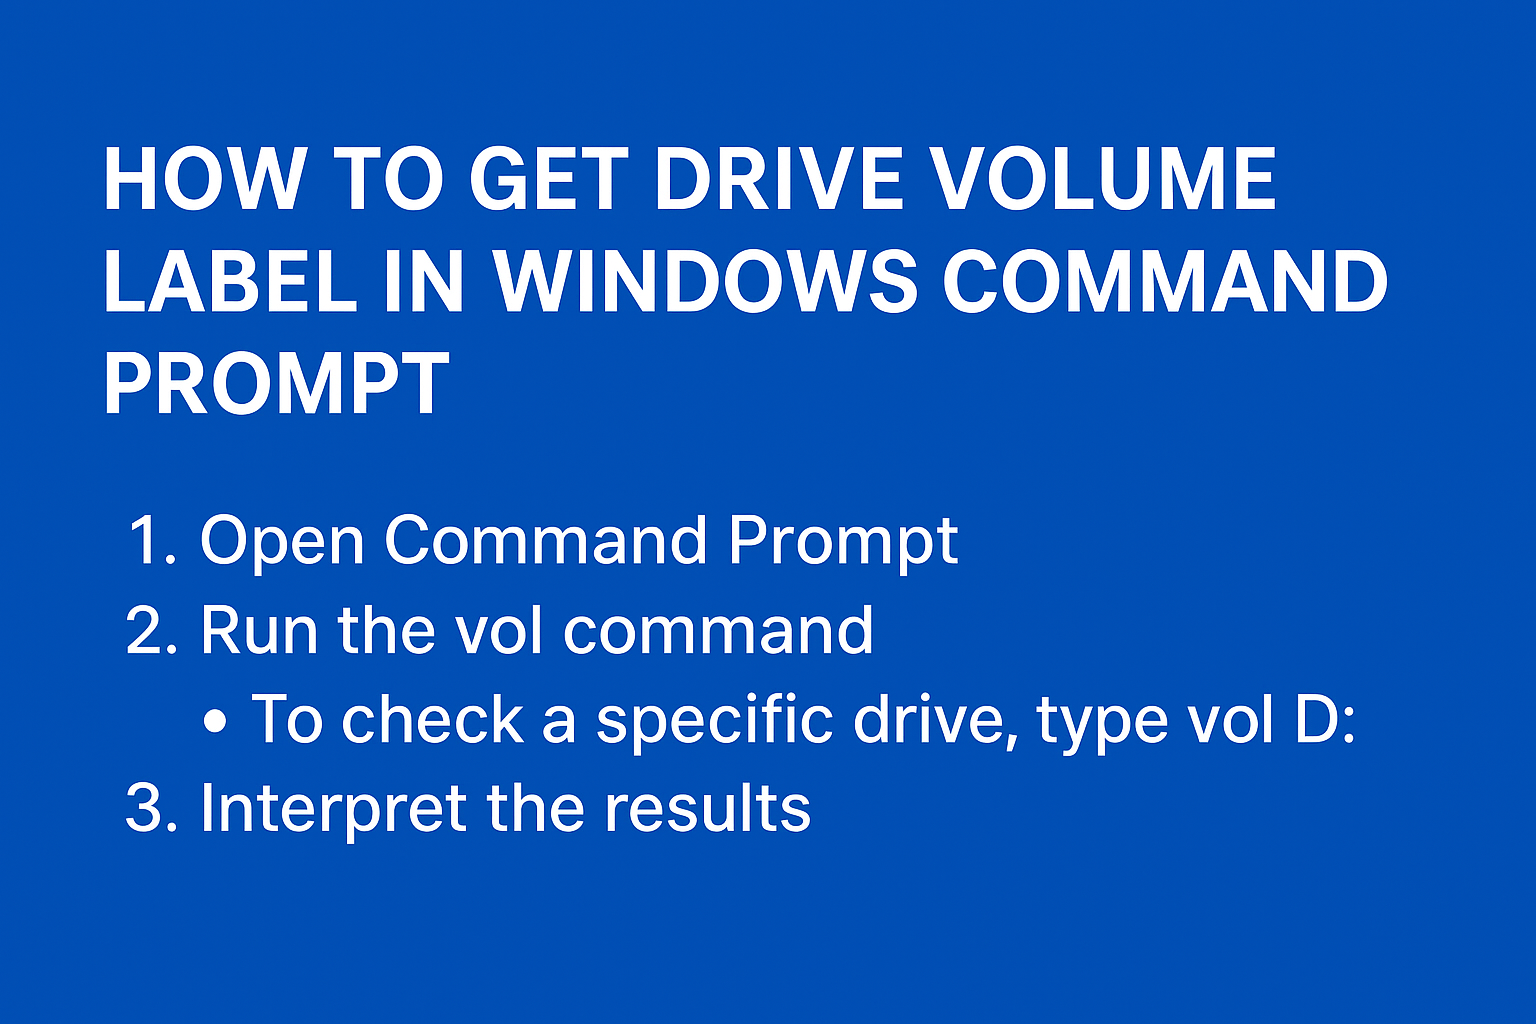
- Open Command Prompt
- Press Windows + R, type
cmd, and hit Enter. - Alternatively, search for “Command Prompt” in the Start menu and open it.
- Press Windows + R, type
- Run the
volCommand- To get the label of the current drive, simply type:
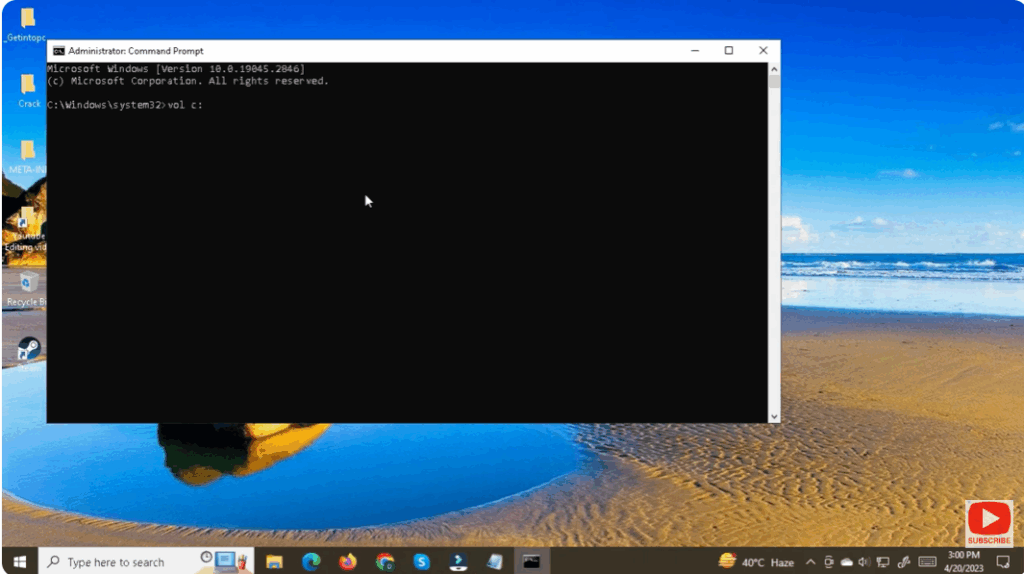
vol - To check a specific drive, add its letter. For example, to check drive C:
vol C: - Press Enter, and you’ll see output like:
Volume in drive D is MyData Volume Serial Number is 1234-ABCD
- To get the label of the current drive, simply type:
- Interpret the Results
- If the volume has no label, you might see:
Volume in drive D has no label - The serial number appears as pairs of hexadecimal digits separated by a dash.
- If the volume has no label, you might see:
🔧 Optional: Change or Remove a Volume Label
- If you want to rename a drive’s volume label, you can use the
labelcommand:label D: MyNewNameThis sets the label of drive D: to “MyNewName”. - To delete the existing label, simply run:
label D:And press Y to confirm deletion if prompted. - Note: On NTFS volumes, the label can be up to 32 characters long.


