
Sometimes you may need to share an Excel file in a format that looks the same on every computer. 📊 That’s where PDF comes in—it keeps your data neat, secure, and easy to open without requiring Excel. Converting an Excel sheet into a PDF is very simple and can be done directly within Excel itself. In this blog, we’ll explain step by step how to save an Excel file as a PDF, so you can share your spreadsheets in a clean and professional way.
Export via “Export” Tab (Modern Excel Versions)
- Open the Excel file you want to convert.
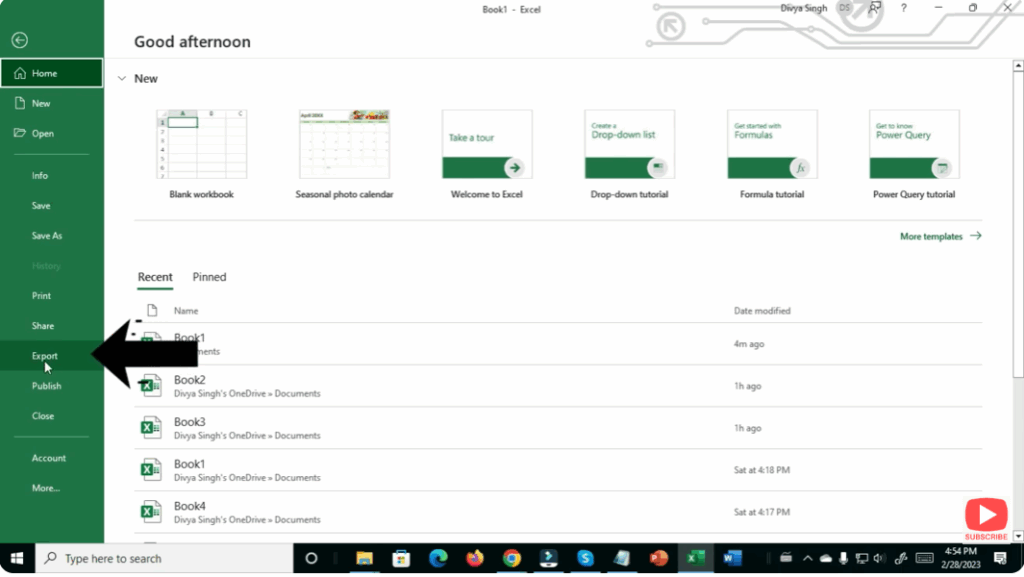
- Go to File → Export.
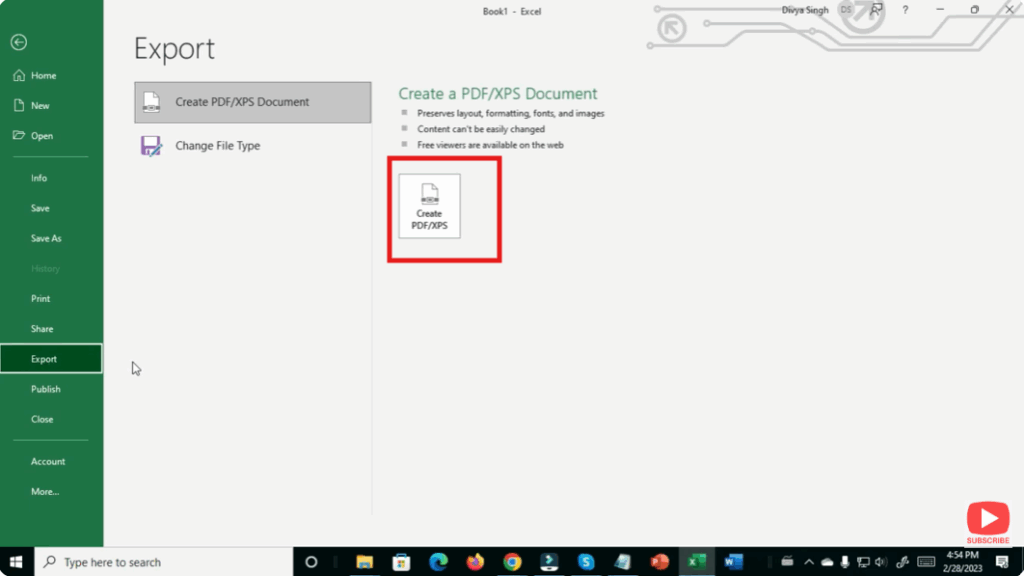
- Click Create PDF/XPS Document, then hit Create PDF/XPS.
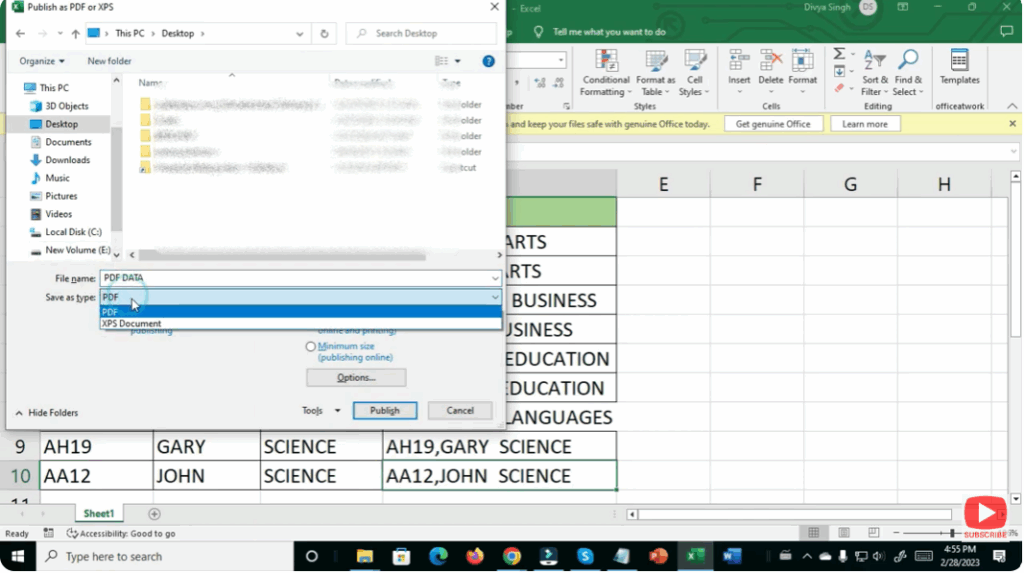
- In the Publish window that opens, you can:
- Select Optimize for Standard (better quality) or Minimum size (smaller PDF)
- Set a page range (All, Selection, or specific pages)
- Use Options… to customize which sheets or what content gets included.
- Click Publish. Excel will save the file as a PDF.
✅ Final Thoughts
Converting an Excelxlsx or .xls file to PDF is straightforward using Excel’s built-in features. Whether you use “Save As,” “Export,” or print-to-PDF, you have options to control the content, layout, size, and quality of the output PDF.


