
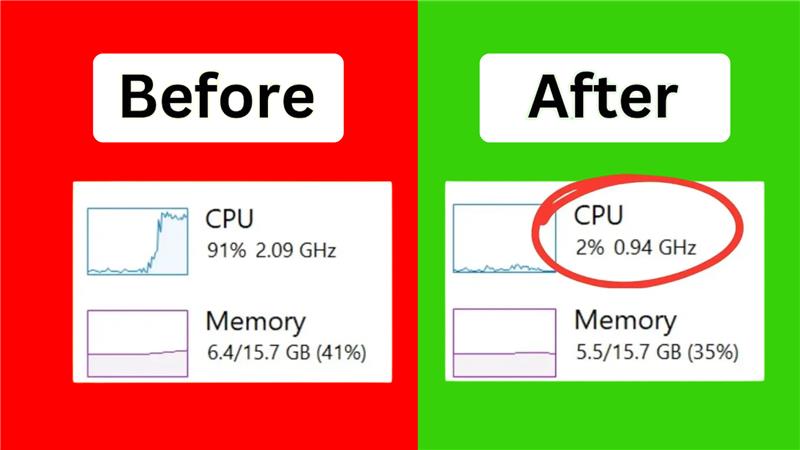
The System and Compressed Memory process in Windows 11 is meant to help manage your computer’s memory efficiently. But sometimes, it can start using too much CPU, RAM, or disk, which makes your PC slow and unresponsive. This issue can be frustrating, especially if you’re trying to work, play games, or multitask smoothly. The good news is, there are simple fixes you can try to bring usage back to normal. In this blog, we’ll explain in easy steps how to fix high CPU, RAM, and disk usage caused by System and Compressed Memory in Windows 11, so your computer runs faster again.
✅ Step-by-Step Fixes for High Usage
1. Restart Your PC
A simple reboot often clears temporary memory/compression glitches.
If usage falls after a restart, it could indicate a transient issue.
2. Reset Page File (Virtual Memory) to Automatic
- Right-click Start → Settings → System → About → Advanced system settings.
- In System Properties, go to the Advanced tab → Performance → Settings…
- Go to Advanced → Virtual memory → Change…
- Check Automatically manage paging file size for all drives and click OK.
- Restart your PC.
Many users noted this step significantly reduced the “System and Compressed Memory” resource drain.
3. Repair Corrupted System Files
Open an elevated Command Prompt (Run as administrator) and run:
sfc /scannow
DISM /Online /Cleanup-Image /RestoreHealth
This checks and repairs system files which, if corrupted, may cause memory/compression loops.
4. Update Drivers and Windows
Ensure your Windows 11 build is updated (Settings → Windows Update → Check for updates) and that key drivers — especially storage controller, chipset, and memory management — are current.
5. Disable Memory Compression (Advanced)
Warning: Disabling compression may affect performance, especially on systems with limited RAM. Use only if other fixes fail.
- Open Windows PowerShell as Administrator.
- Run:
Disable-MMAgent -MemoryCompressionThen restart your system.
If things improve, you can keep compression disabled — but remember it may have a cost.
6. Disable the SysMain Service
Since SysMain interacts with memory management:
- Press Win + R, type
services.msc, and Enter. - Find SysMain, right-click → Properties, set Startup type to Disabled, and click Stop.
- Reboot and check resource usage.
7. Perform a Clean Boot to Isolate Software Conflicts
- Press Win + R, type
msconfig, Enter. - Under Services tab, check Hide all Microsoft services, then click Disable all.
- Under Startup tab, click Open Task Manager and disable all startup items.
- Restart — if high usage disappears, re-enable services/startup items gradually to identify the culprit.
This helps identify third-party software that triggers memory/compression abuse.
8. Check Physical Drive and RAM Health
- If your drive is failing or has bad sectors, memory compression may over-use the disk. Run
chkdsk /for use drive diagnostics. - If RAM is defective, memory tasks may spike — consider testing with tools like Windows Memory Diagnostic.
🧭 Final Thoughts
High CPU, RAM, or disk usage by System and Compressed Memory in Windows 11 is often scary but fixable. The key steps: reset virtual memory, repair system files, update drivers/Windows, and isolate problematic software. If all else fails, disabling memory compression or SysMain can serve as a workaround — though with trade-offs.


