

Sometimes on Windows 10 or Windows 11, you may notice that the system is suddenly creating multiple user accounts automatically. This can be confusing and frustrating because it makes logging in messy and may cause problems with your files or settings. The good news is, this issue is quite common and can usually be fixed with a few simple steps. In this blog, we’ll explain in easy language how to stop Windows from creating multiple accounts automatically, so you can keep your PC organized and running smoothly.
Step-by-Step Fixes
1. Disable Automatic Login
- Press
Win + R, typenetplwiz, and press Enter. - In the User Accounts window, check “Users must enter a user name and password to use this computer”.
- Click Apply, then OK. After this, Windows won’t try to auto-login and mess up accounts.
2. Turn Off “Use My Sign-In Info” After Update
- Go to Settings → Accounts → Sign-in options.
- Find the option: “Use my sign-in info to automatically finish setting up after an update or restart” under Additional settings. Turn it off.
- This prevents Windows from re-creating or duplicating accounts after updates.
3. Remove Duplicate or Unwanted User Accounts
- Go to Settings → Accounts → Family & Other Users.
- Look for duplicate accounts (same/very similar names).
- Select the account you don’t want and click Remove → then Delete account and data.
- After deleting, restart the computer and check if the duplicates still appear.
4. Check and Clean the Registry
⚠️ Warning: Be careful when editing the registry. Back it up before making changes.
- Open
regeditviaWin + R → regedit. - Navigate to:
HKEY_LOCAL_MACHINE\SOFTWARE\Microsoft\Windows NT\CurrentVersion\ProfileList - In this key, look for duplicate or corrupted profile entries.
- If you find profile keys that shouldn’t exist, you can delete them.
- Restart your PC after making changes.
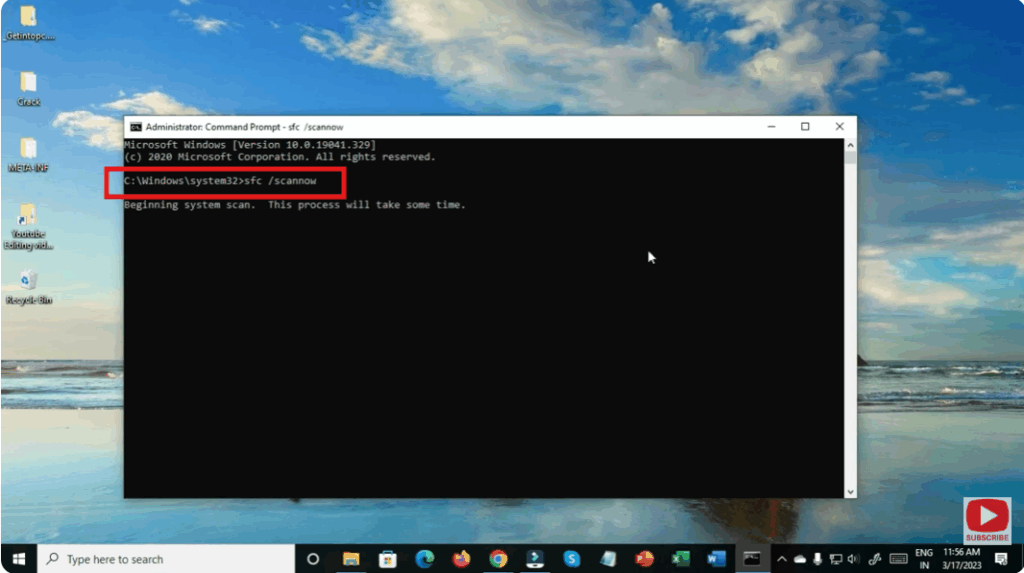
5. Run SFC (System File Checker) Scan
- Open Command Prompt as Administrator.
- Run:
sfc /scannow - This will check for corrupted system files and repair them.
- After the scan finishes, restart and check if the issue persists.
6. Scan for Malware
- Run a full antivirus / anti-malware scan on your PC. Some malware can create new accounts to gain access.
- Use a trusted antivirus tool or Windows Defender for this.
7. Perform System Restore (If the Problem Started Recently)
- Open Run (
Win + R), typerstrui, and hit Enter → opens System Restore. - Choose a restore point from before you started having this issue → follow onscreen instructions.
- This can undo the changes (like buggy updates) that triggered the account creation behavior.
8. Reset Windows (Last Resort)
If none of the above work:
- Go to Settings → System → Recovery.
- Choose Reset this PC, then select Keep my files.
- This reinstalls Windows and can fix underlying profile / account bugs — but ensures you back up important data first.
Conclusion
Seeing Windows create new user accounts on its own can be disconcerting. But in most cases, it’s not a mysterious bug — it’s either automatic login gone wrong, profile corruption, or registry issues. By disabling auto-login, cleaning up duplicate accounts, checking your registry, and running system scans, you can usually fix the issue and prevent Windows from making extra profiles.


