

Downloading and installing the Snapchat app on your Windows 10 or Windows 11 PC is a simple way to enjoy chatting, sharing snaps, and staying connected with friends right from your computer. Many people think Snapchat only works on mobile phones, but the good news is you can also use it on your PC with a few easy steps. In this beginner-friendly blog, we’ll explain in clear and simple language how to download and install Snapchat on your Windows PC, so you can start snapping and chatting without any hassle.
Install Snapchat via Microsoft Store
If Snapchat is available on the Microsoft Store in your region, this is the easiest way to install it:
- Open Microsoft Store on your Windows 11/10 PC.
- In the search bar, type “Snapchat” and press Enter.
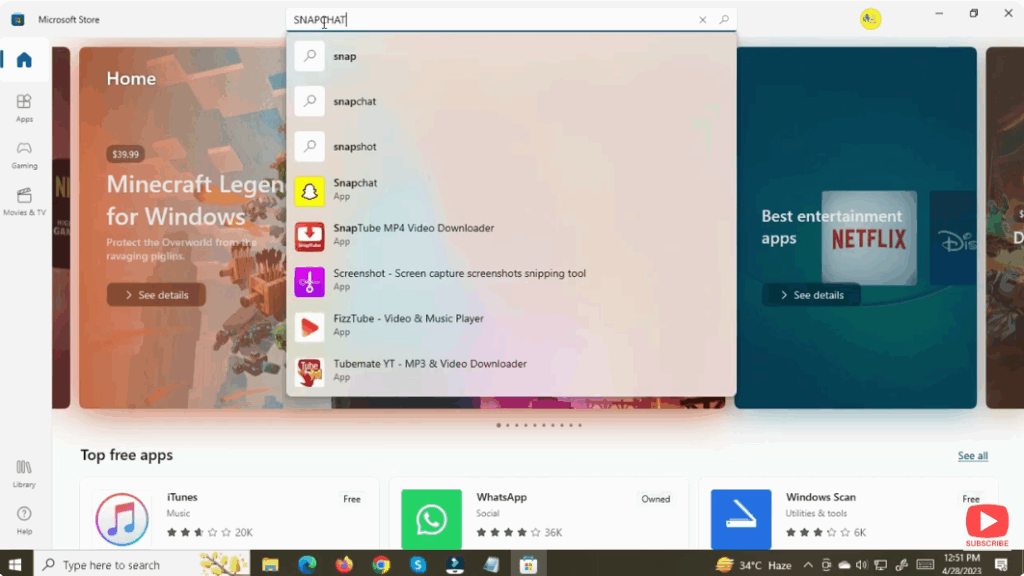
- If the app appears — click Get / Install.
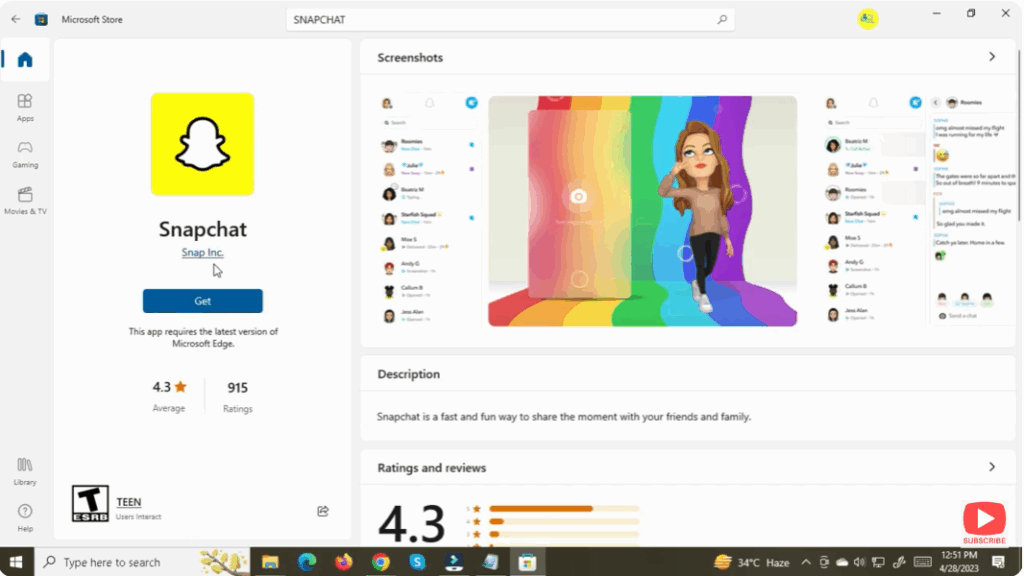
- Once installed, click Launch (or open Snapchat from the Start menu).
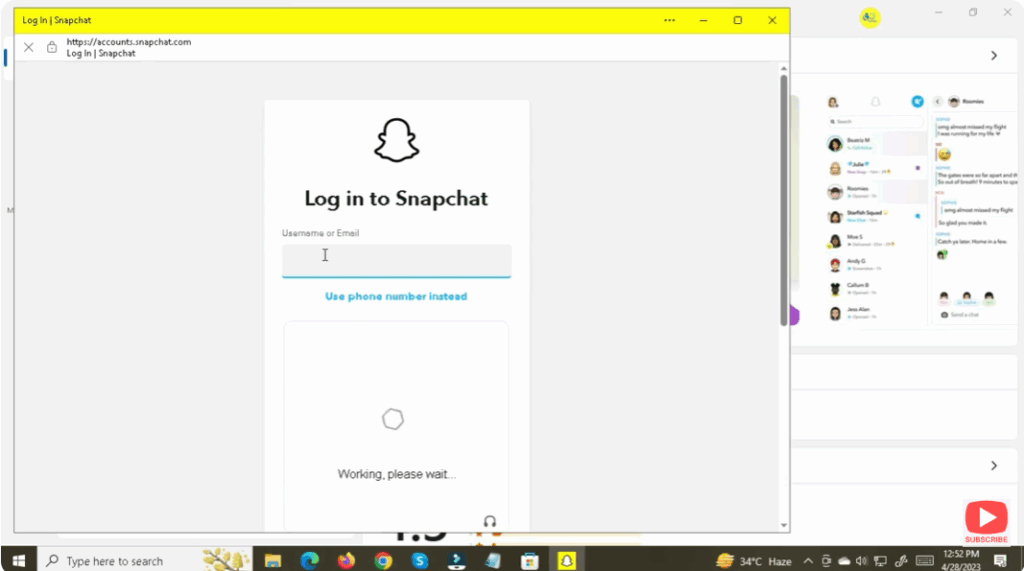
- Sign in with your Snapchat credentials (username/password) or scan the QR code from your phone (if using two-factor login).
This gives you a dedicated app environment on PC, similar to the mobile version.
Conclusion
Using Snapchat on a Windows PC is quite feasible — whether via the official Microsoft Store app. This method give you access to Snapchat’s core functionality: chats, stories, snaps, and more. Choose based on your PC’s specs and what works in your region.


