
The “This shortcut has been moved or changed” error in Windows 11 often pops up when you try to open a program or file using a desktop shortcut, but Windows can’t find the original location. This can be frustrating, especially if you rely on shortcuts to quickly access your apps and documents. The good news is, this problem usually happens because the file was moved, deleted, or the shortcut got broken—and it can be fixed easily. In this beginner-friendly blog, we’ll explain in simple language why this error appears and how to fix it step by step, so your shortcuts work smoothly again.
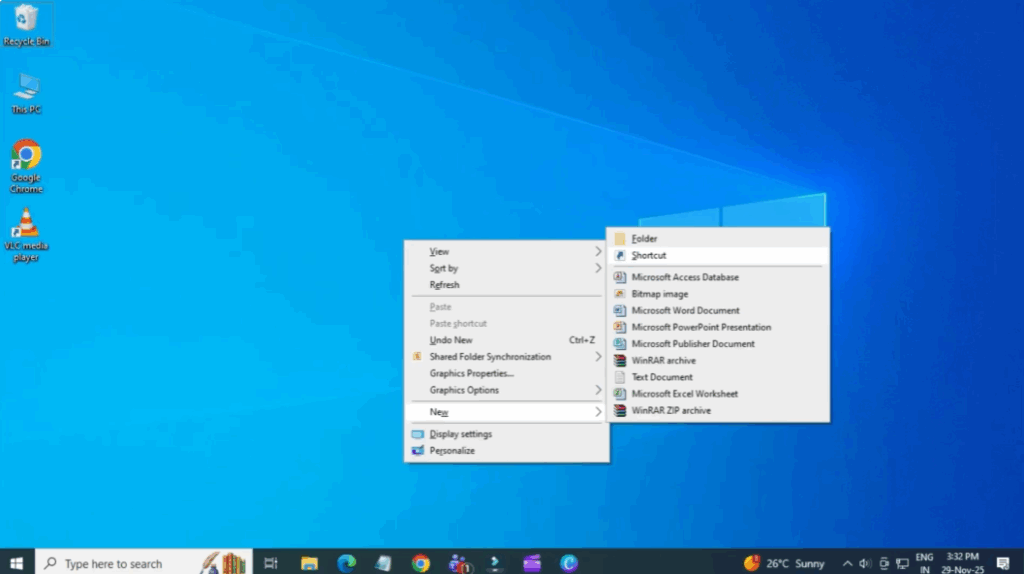
Create a New Shortcut
First, go to your desktop and right click on an empty area. From the menu, select New, and then click Shortcut. A window will appear asking for the location of the item.
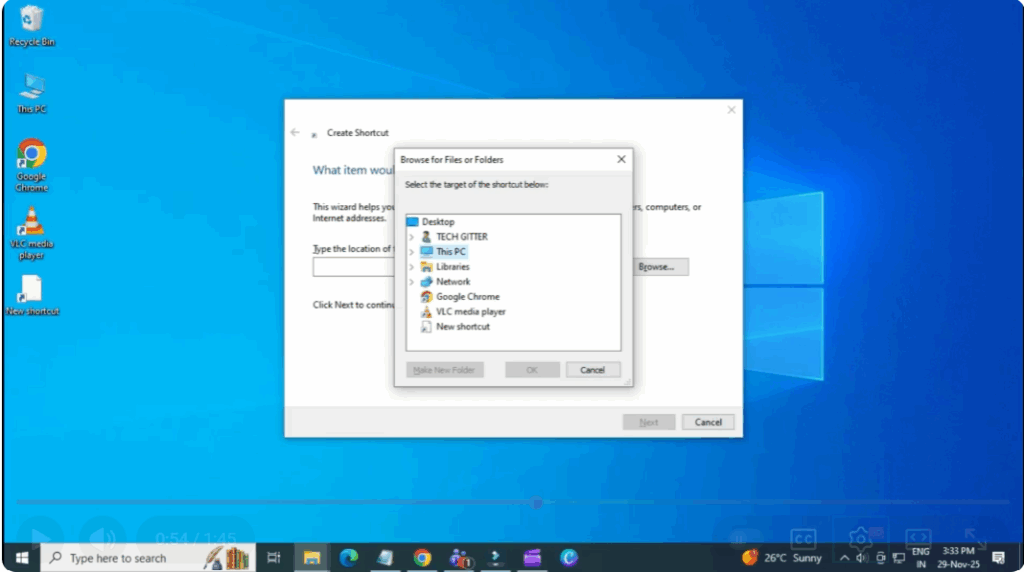
You can do this in two ways:
If you know the file path, you can paste it directly.
Or click Browse, then navigate to the folder where the file or program is located and select it. For example, if this shortcut was for a picture or a software program, just find the correct file and select it. Once done, click OK.
Name the Shortcut
Now, click Next and type a name for your shortcut. This can be anything you want—for example: photos, chrome, or my app. Once you’ve named it, click Finish, and your new working shortcut will appear on the desktop.

And that’s it! The shortcut error is now fixed. As long as the original file stays in the same location, this shortcut will continue to work without showing any errors.


