

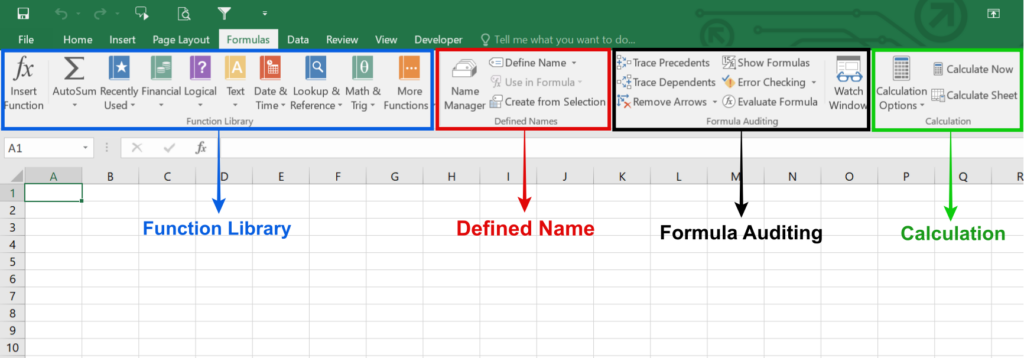
The Formula tab in Microsoft Excel is your main hub for working with functions, formulas, and advanced calculations that make spreadsheets powerful. Hidden by default, it gives quick access to AutoSum, recently used formulas, named ranges, and formula auditing tools. In this blog, you’ll learn easy steps to enable the Formula tab and use its features to create complex calculations effortlessly.
✍️ How to Use the Formula Tab — Basic Workflow
Here’s a typical workflow when you want to insert or use a formula:
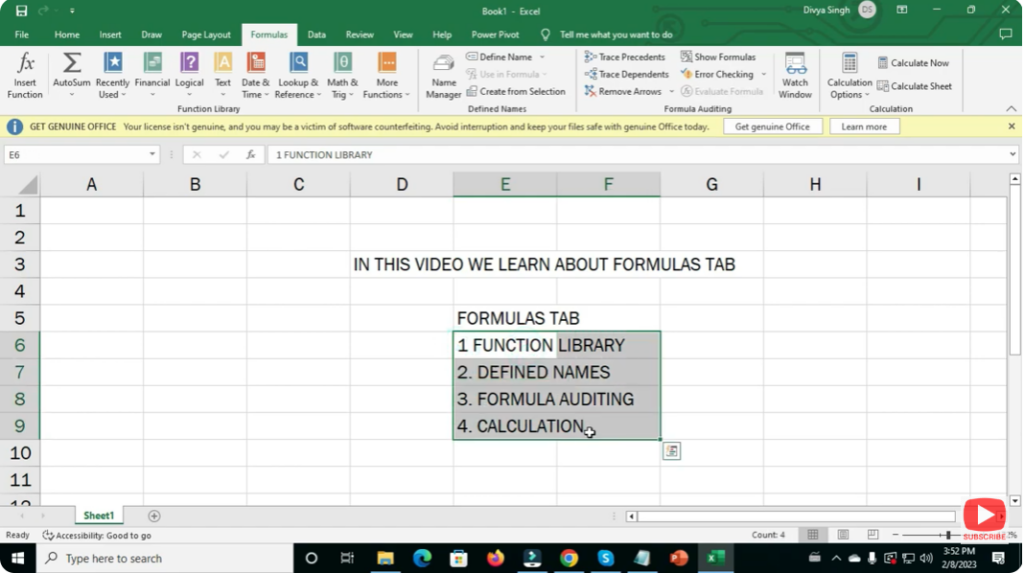
- Go to the Formula Tab
Click on the “Formulas” tab on the ribbon to reveal all formula tools. - Insert a Function / Formula
- Use Insert Function (or press
Shift + F3) to browse Excel’s function library. - Or, directly type formula in a cell: start with
=followed by a function name or cell references. - Excel’s AutoComplete will help show matching function names as you type.
- Use Insert Function (or press
- Provide Arguments / Cell References
After selecting a function, Excel prompts you (or you manually type) the arguments — could be cell ranges, numbers, text, etc. - Press Enter → Get Results
Excel computes and shows result in the cell; the formula remains visible in the formula bar when the cell is selected. - Use Named Ranges (Optional)
Using named ranges instead of raw cell coordinates makes formulas more readable and easier to manage — especially for large data sets. - Audit or Debug (if needed)
For complex worksheets, use the formula-auditing tools: trace dependencies, evaluate parts of formulas, or display all formulas instead of results
✅ Final Thoughts
The Formula Tab is the heart of Excel’s power. Whether you’re a beginner doing simple sums or an advanced user building complex financial models — mastering this tab dramatically boosts your efficiency.


