
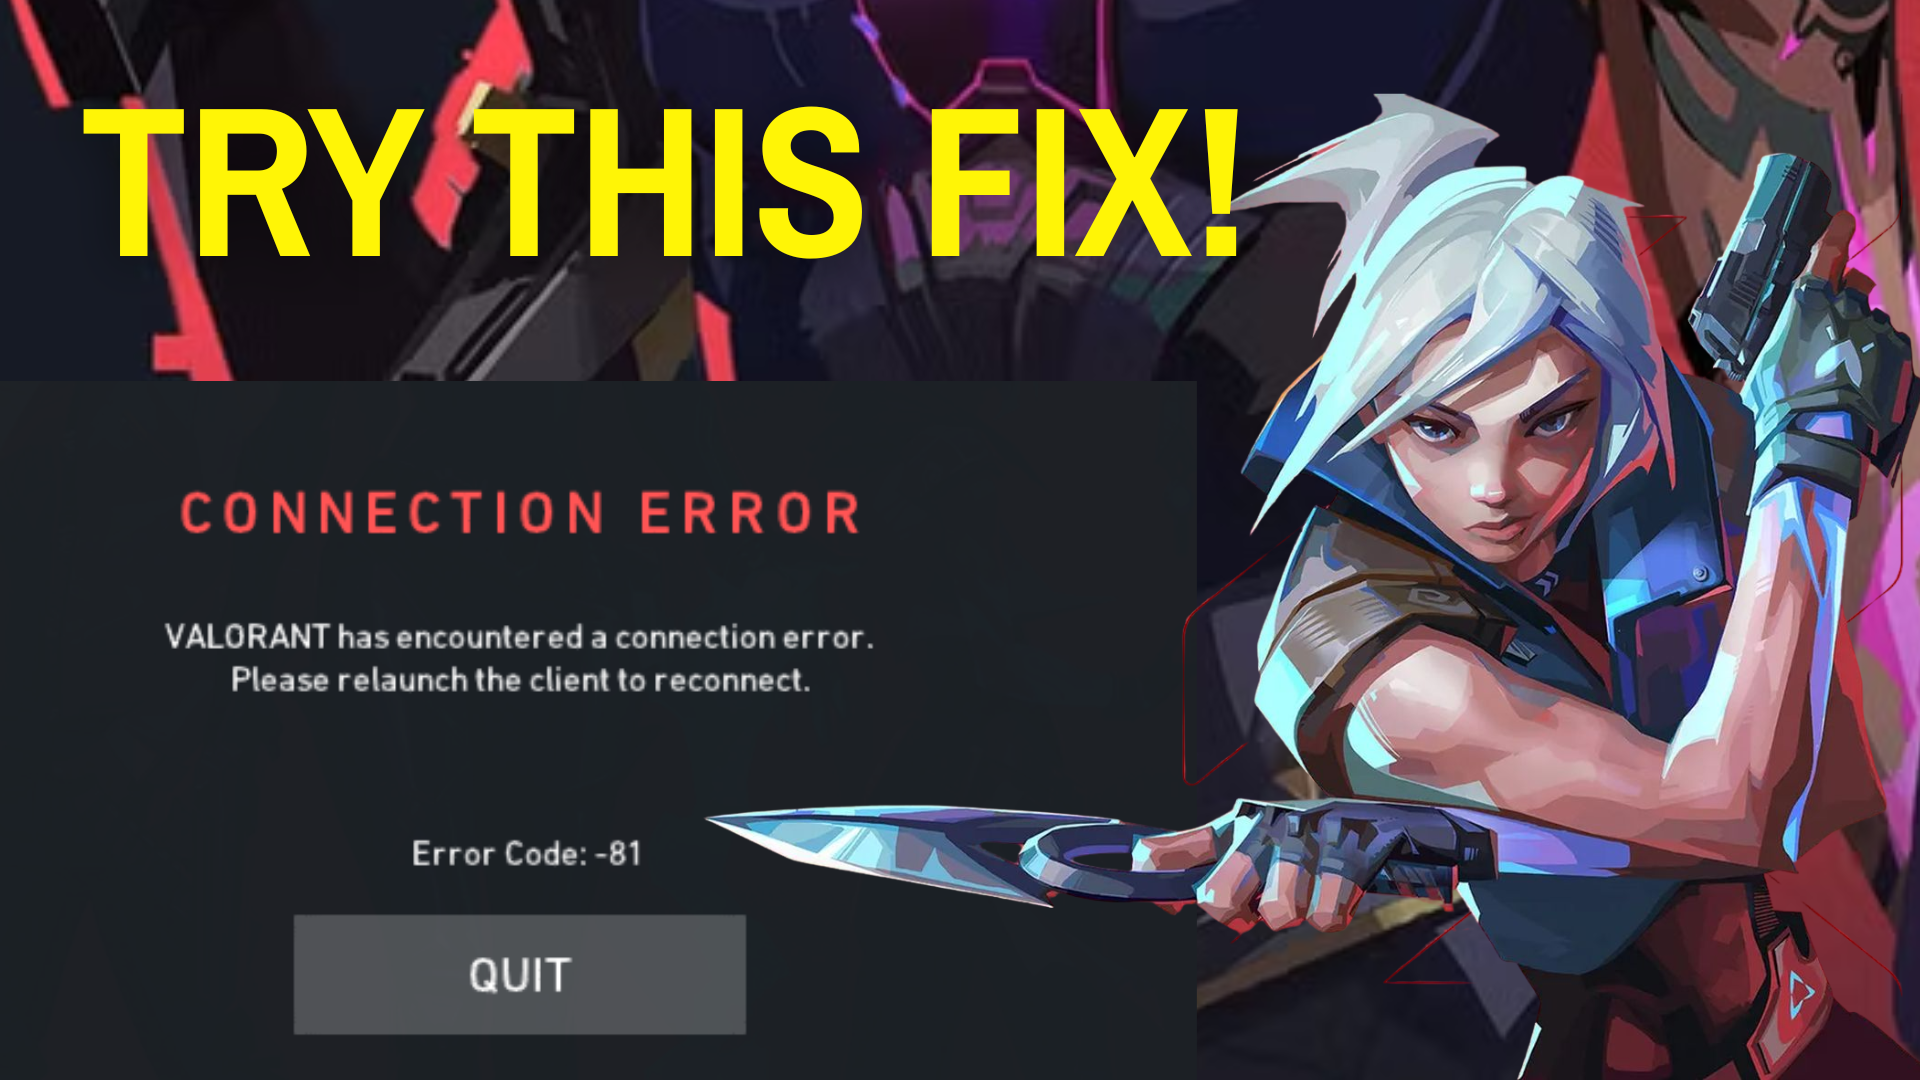
Valorant players sometimes encounter the VAN-81 connection error, which prevents the game from connecting to servers, causing frustrating gameplay interruptions. This issue can be due to network problems, firewall blocks, or game files corruption. In this blog, you’ll learn easy and effective fixes to resolve the VAN-81 error quickly, including checking your network settings, adjusting firewall rules, and repairing game files to get back into the action fast.
1. Close Riot Client Background Processes
First, we need to make sure that the Riot client and related background processes aren’t running.
- Open Task Manager
- Look for anything related to Riot Client
- Right-click and select End Task
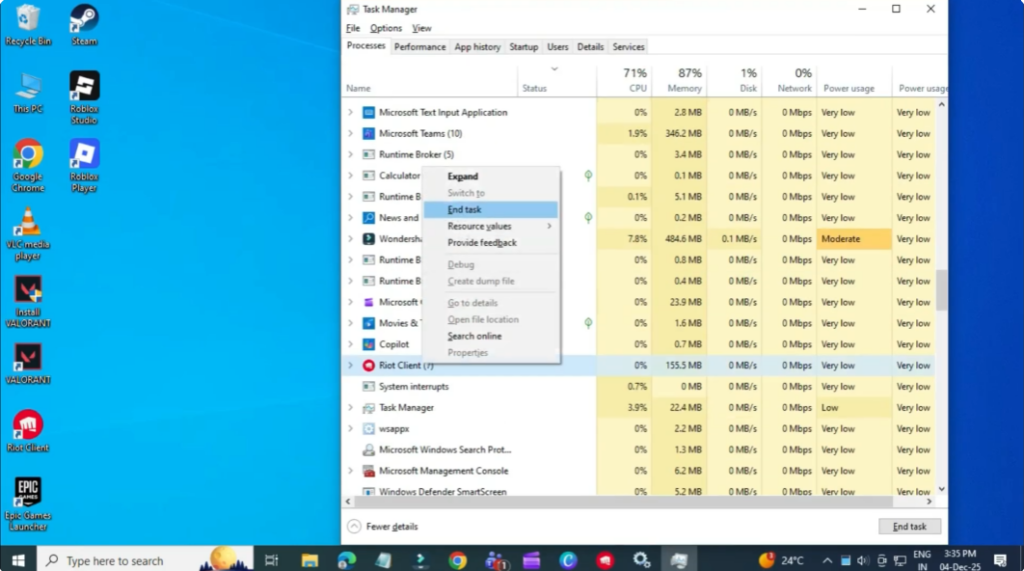
This ensures no stuck processes interfere with Valorant’s security system.
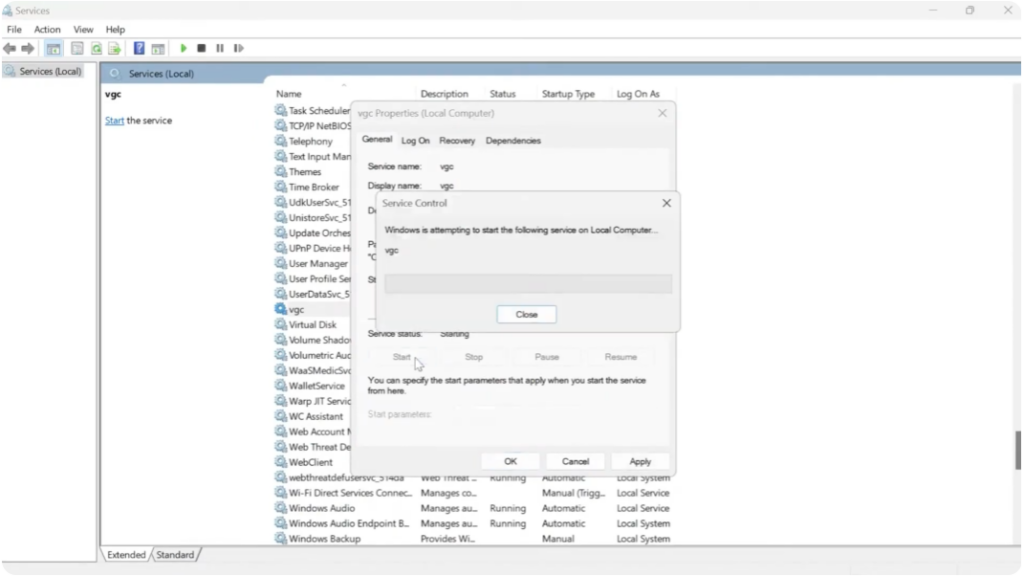
2. Enable and Start the VGC Service
Next, we’ll check an important Windows service called VGC, which is required for Valorant to launch.
- Open the Services window
- Scroll down and find the service named VGC
- Set Startup type to Automatic
- Make sure the service is Running
- If it’s stopped, click Start and save your settings
3. Make Sure VGC Is Enabled in System Configuration
After that, open msconfig.
- Go to the Services tab
- Find VGC
- Make sure it has a check mark
- Click Apply and restart your PC
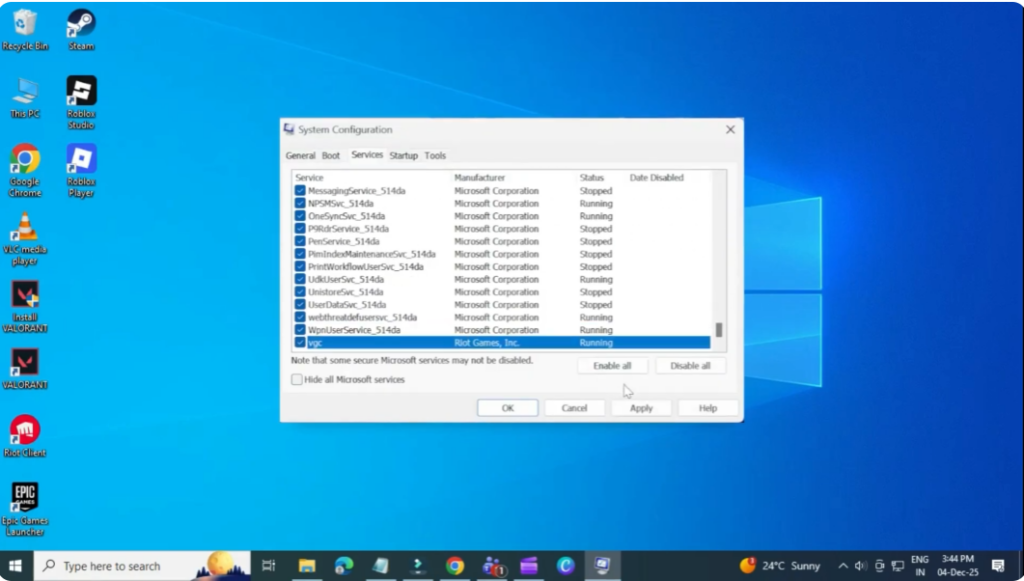
For most players, this fixes the VAN 81 error immediately.
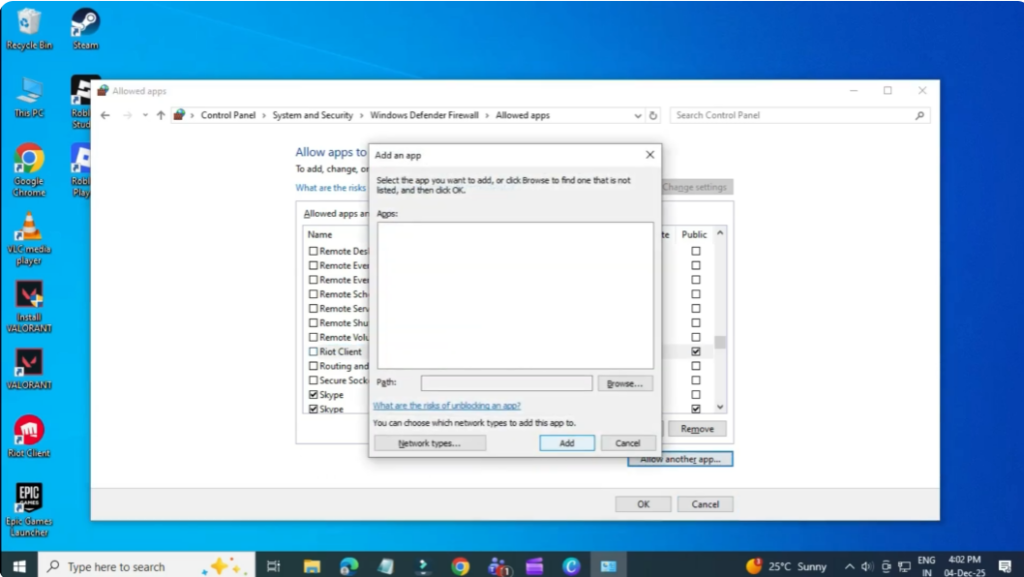
4. Allow Riot Client Through Windows Firewall
If the issue continues, the firewall may be blocking Valorant.
- Open Windows Defender Firewall
- Click Allow an app through firewall
- Make sure Riot Client is allowed for both Private and Public networks
- If it’s not there, add or enable it manually
Tip: If you’re using a VPN, disconnect it.
VPNs can interfere with Valorant’s anti-cheat system and trigger VAN 81.
5. Advanced Fix – Remove and Reinstall Vanguard
If none of the above worked, you may need to fully reinstall Riot Vanguard (Valorant’s anti-cheat).
Steps:
- Run Command Prompt as Administrator
- Enter the two delete commands for VGC and VGK
- Restart your PC
- Go to Program Files and delete the Riot Vanguard folder
- Open the Riot Client again
- Vanguard will reinstall automatically
This resolves deeper security conflicts that cause the VAN 81 error.
Final Words
After following these steps, Valorant should launch without the VAN 81 connection error.


