
Calculating hours worked in Excel is one of the simplest ways to track time for projects, employees, or personal tasks. Instead of doing manual math, Excel lets you enter start and end times, then automatically calculate the total hours worked with easy formulas. This saves time, reduces errors, and makes managing schedules or payroll much more efficient. In this beginner-friendly blog, we’ll explain in clear, step-by-step language how to calculate hours worked in Excel the simple way, so you can keep your data organized and accurate.
Step-by-Step: How to Calculate Hours Worked in Excel
Follow these steps to calculate hours worked using Start Time, End Time, and a simple formula.
Step 1: Enter Start Time and End Time
Create a simple table like this:
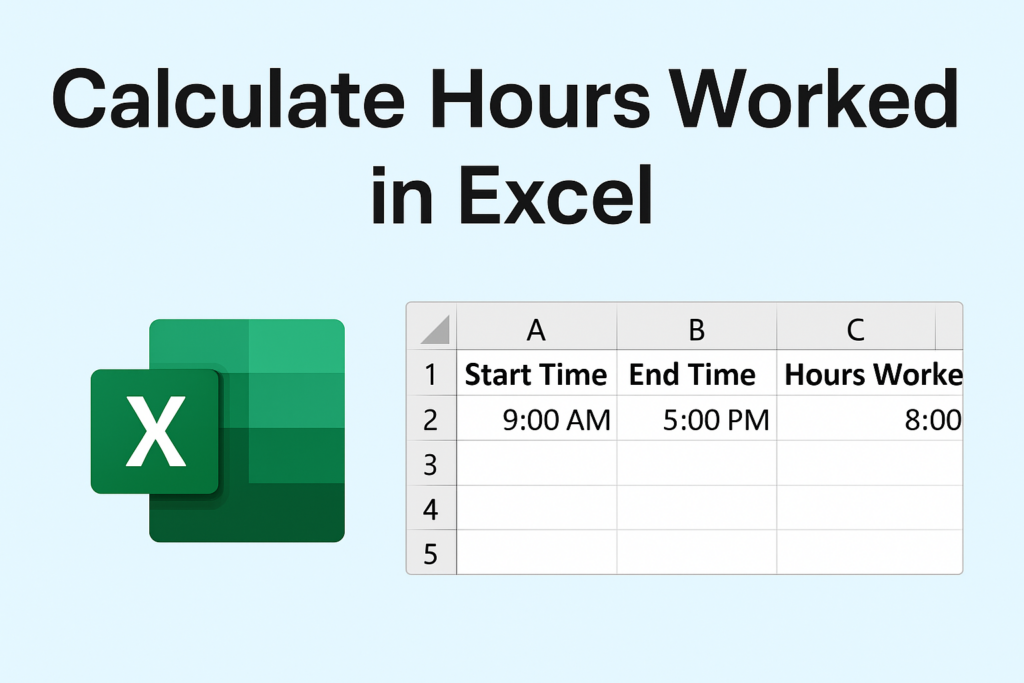
| A | B | C |
|---|---|---|
| Start Time | End Time | Hours Worked |
Now enter the times in Excel using proper time format:
- Start Time →
9:00 AM - End Time →
5:00 PM
Tip: You can enter time using AM/PM or 24-hour format.
Step 2: Apply Time Format
- Select the Start Time and End Time cells.
- Right-click → Format Cells → Time.
- Choose a standard time format (e.g.,
1:30 PM).
This ensures Excel understands the values as time.
Step 3: Use the Formula to Calculate Total Hours
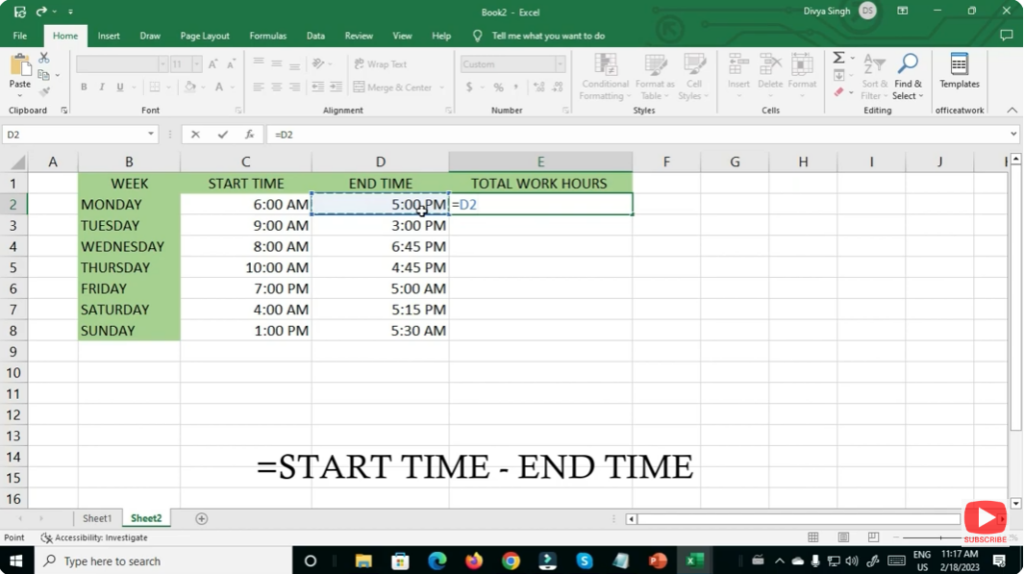
In the Hours Worked column, enter the following formula:
= B2 - A2
This subtracts the Start Time from the End Time.
Step 4: Change Format to Display Hours
The result may appear in a default format. To fix it:
- Select the Hours Worked cell.
- Right-click → Format Cells → Custom.
- Enter this format:
[h]:mm
This ensures hours display correctly—even if the employee worked more than 24 hours.
Step 5: Handling Overnight Shifts (Optional)
If time crosses midnight (e.g., 10 PM to 6 AM), use this formula:
=IF(B2 < A2, B2 + 1, B2) - A2
This ensures correct calculation even when the end time is on the next day.
Step 6: Copy the Formula for More Entries
Drag the fill handle down to apply the formula to additional rows.


