
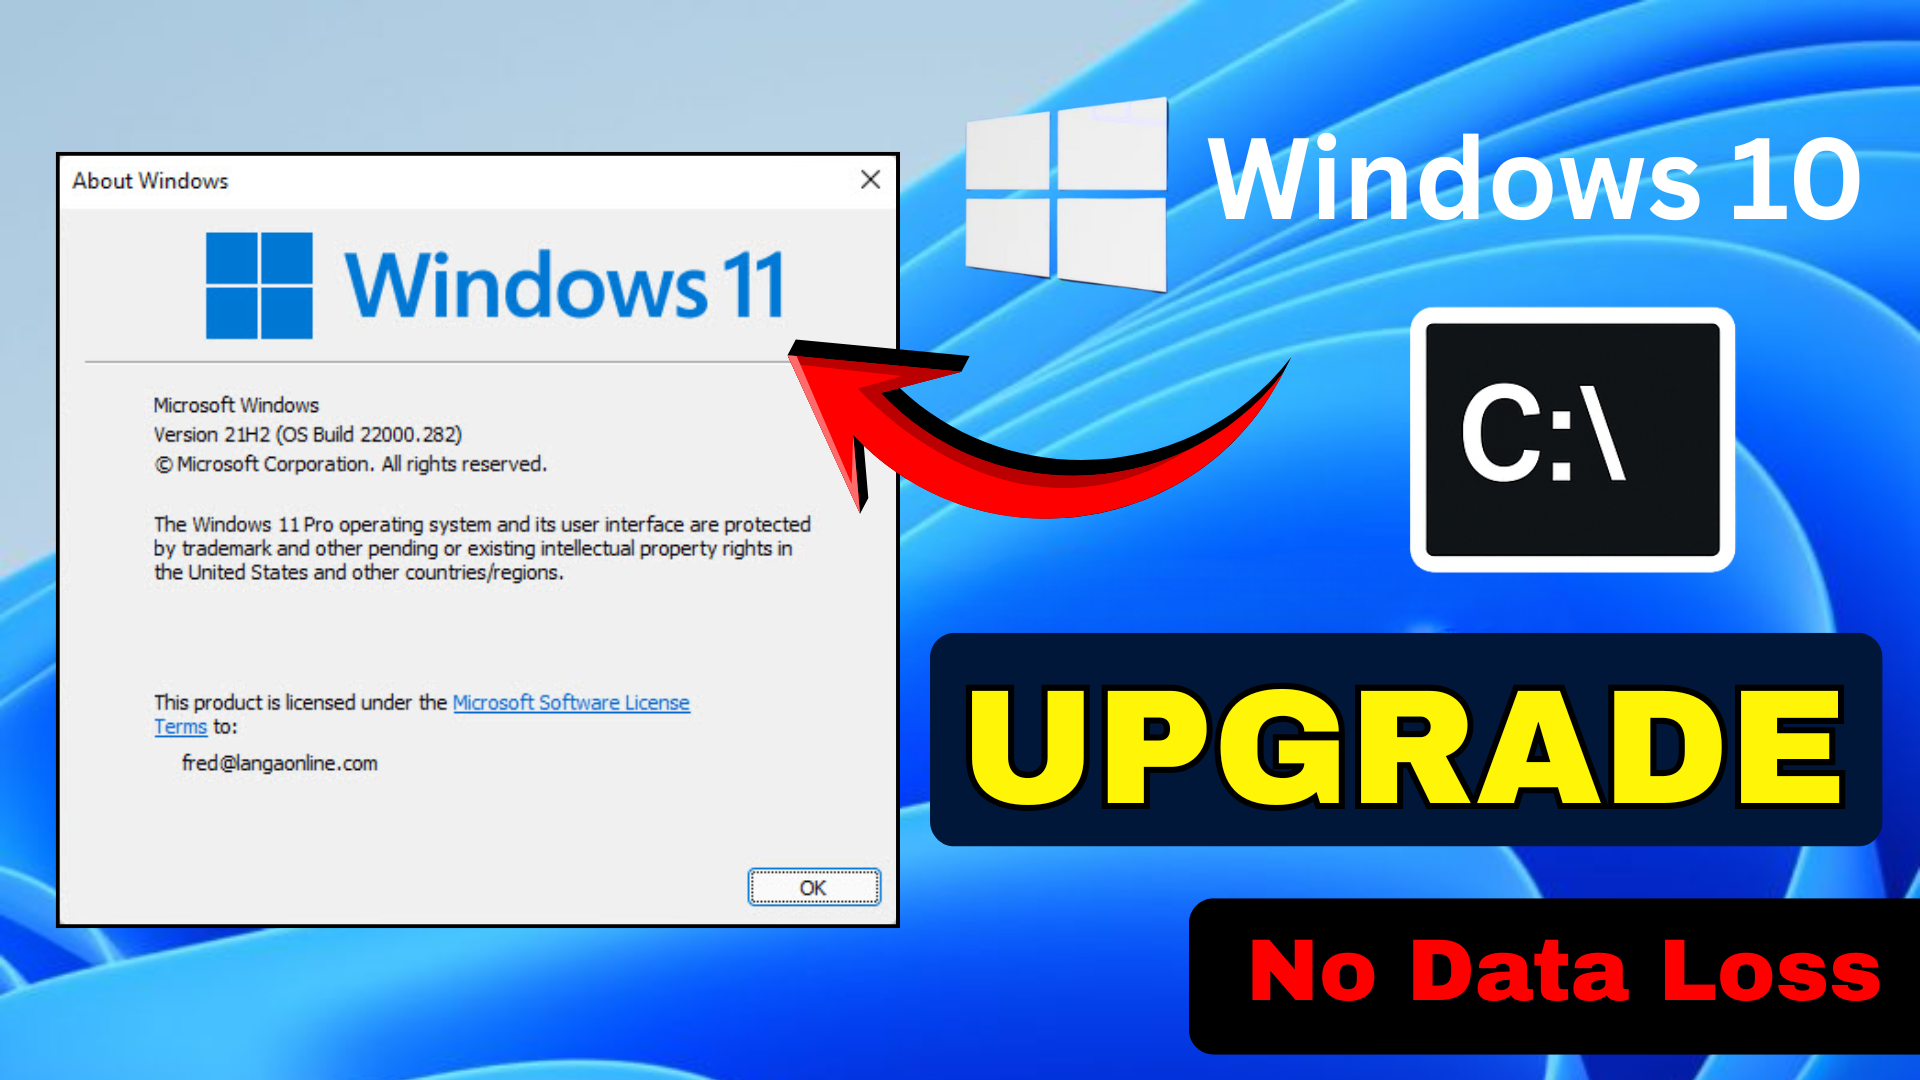
Upgrading from Windows 10 to Windows 11 is easier than ever using a simple command prompt method that bypasses the standard setup wizard. This quick CMD command checks compatibility, downloads the latest Windows 11 ISO, and performs a clean in-place upgrade while preserving your files and apps. In this blog, you’ll learn the exact one-line command to type, plus safety precautions to ensure a smooth transition to Windows 11 without data loss or complications.
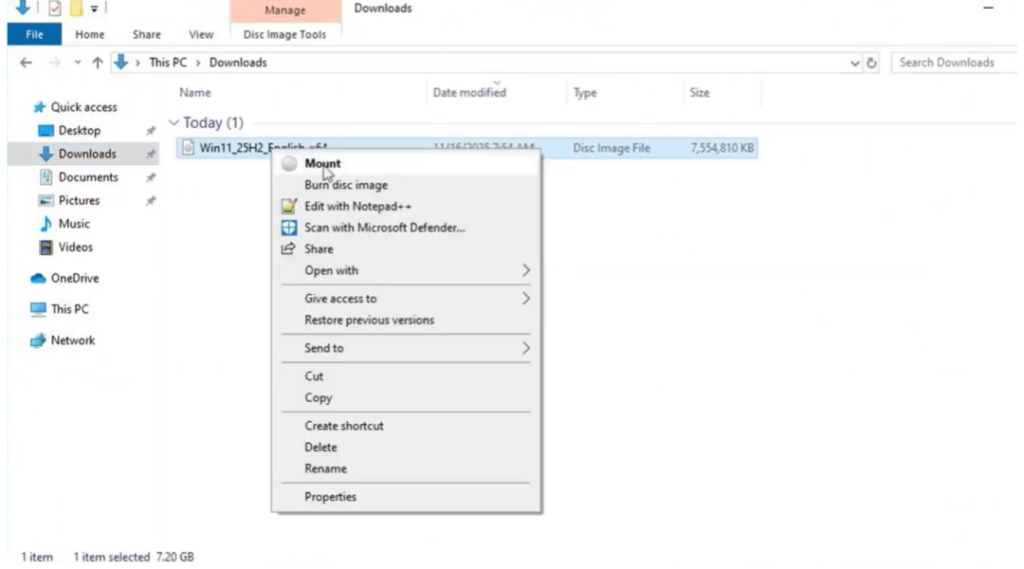
First, download the latest Windows 11 ISO file from the official Microsoft website. Once downloaded, right click the ISO file and select Mount. Open the mounted drive and you’ll see all the setup files required for the upgrade.
Now, you need to open the Command Prompt inside this folder. An easy way to do this is to click on the folder’s address bar, type cmd, and press Enter. A command window will open already pointing to this folder.
Among all the files, we mainly need the setup.exe file because that’s what we use to upgrade from Windows 10 to Windows 11 on unsupported hardware. Now, type this command exactly:
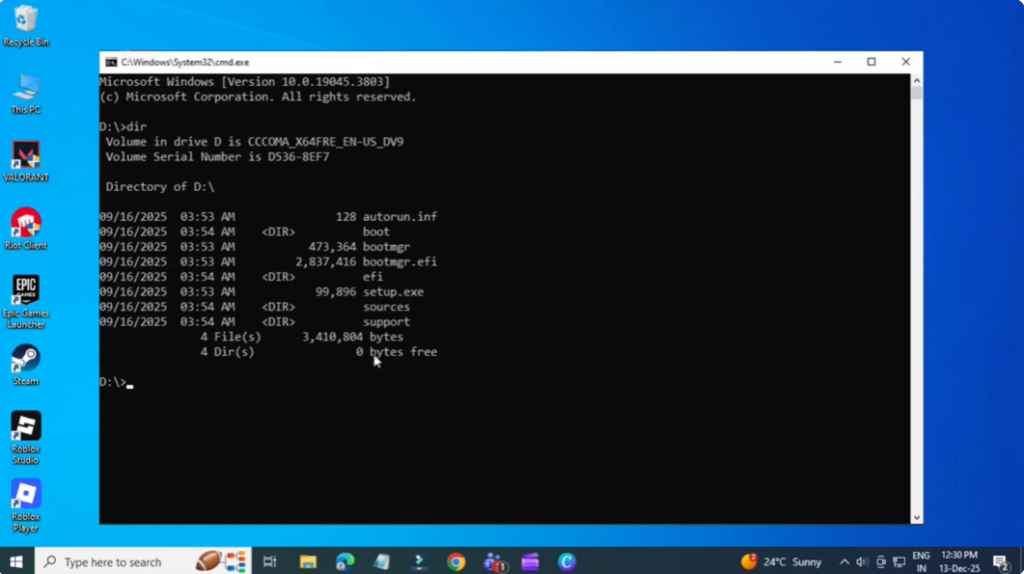
setup.exe /ROS server /compad ignore warning /migrate drivers
All this command allows you to upgrade to Windows 11 without TPM 2.0.

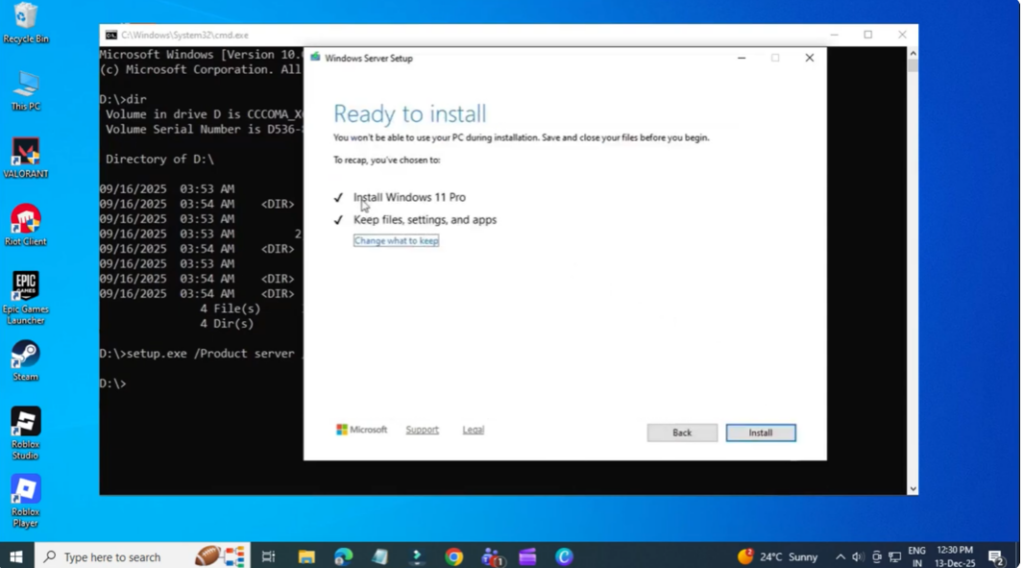
Press Enter. Click Yes. Then select Change how setup downloads updates. Choose Not right now. Click Next. Accept the terms. The system will now upgrade while keeping your files, settings, and applications. You won’t lose any data.
The upgrade usually takes about 25 to 30 minutes, so please wait patiently. And here is the final result. My computer is now successfully upgraded to Windows 11, even though the hardware is officially unsupported and all my data is still intact.


