

Dealing with Google Chrome crashing again and again on Windows 10 or 11 can be incredibly frustrating, especially when you rely on the browser for work, study, or entertainment. Instead of smooth browsing, Chrome may suddenly freeze, shut down, or restart repeatedly—often caused by corrupted files, outdated extensions, or system conflicts. The good news is, there are simple fixes that can help you get Chrome stable and running properly again. In this beginner-friendly blog, we’ll walk you through easy solutions to fix Google Chrome crashing issues on Windows 10 and 11, so you can enjoy uninterrupted browsing.

Step 1: Open File Explorer
First, go to the Windows menu, search for File Explorer, and open it. Click on This PC, then open the C drive, where most system programs are stored.
Step 2: Locate the Chrome Application Folder
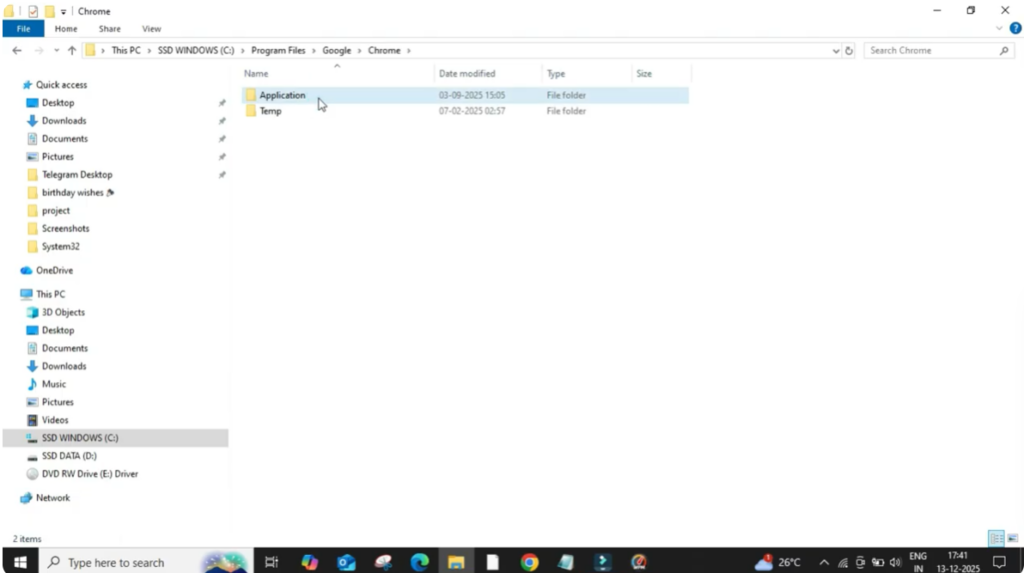
Inside the C drive, scroll down and open the Program Files folder. Now look for the Google folder and open it. Next, open the Chrome folder, and then click on Application.
Step 3: Rename the Chrome Application File
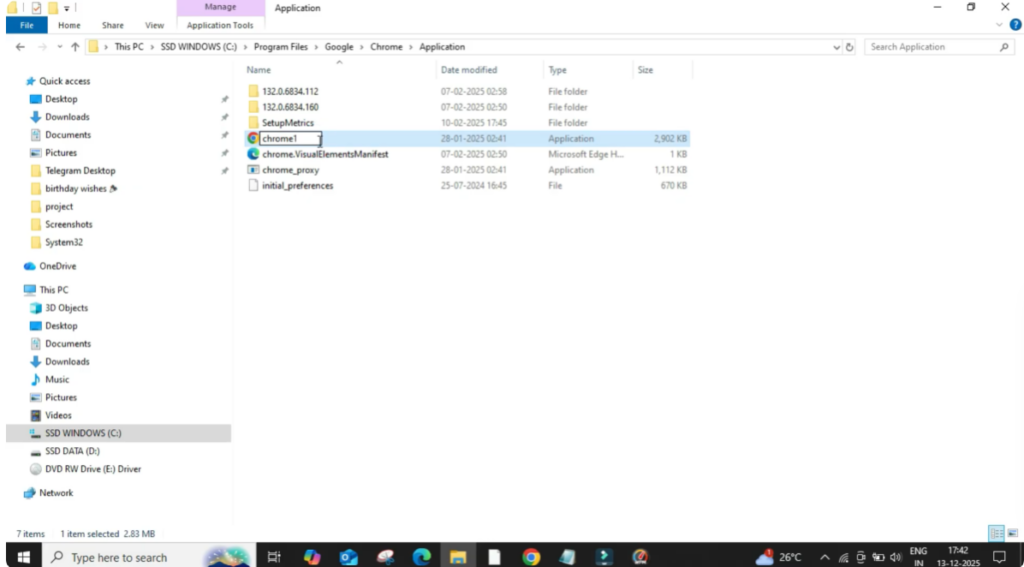
In the Application folder, you will see the main Chrome application file that launches the browser.
Right-click on this Chrome application and rename it from Chrome to Chrome1.
This step helps reset the launching path, which is often the reason Google Chrome keeps crashing. Make sure the new name is saved correctly.
Step 4: Create a New Desktop Shortcut
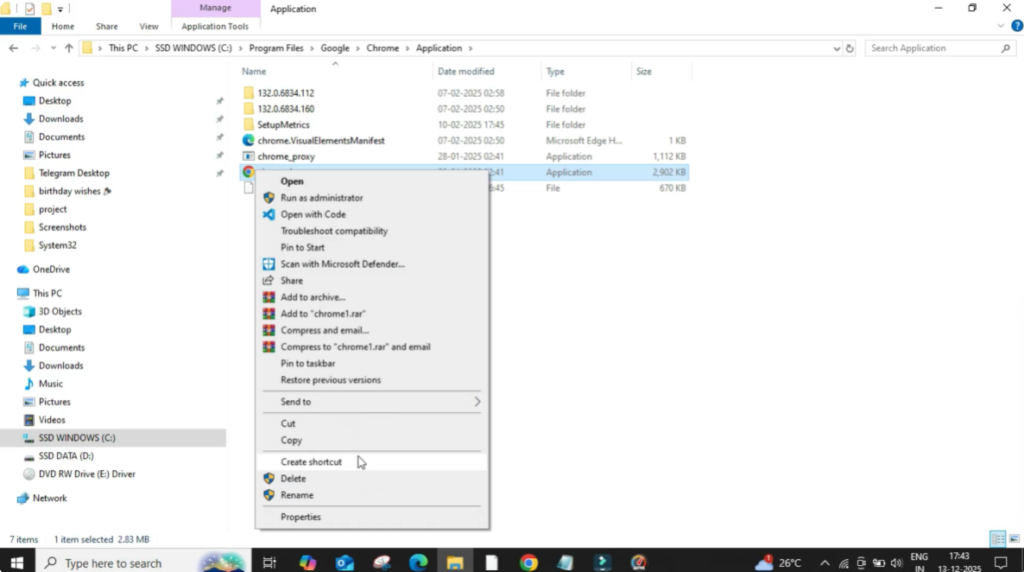
Now, right-click on the renamed file again, select Show more options, go to Send to, and choose Desktop (Create shortcut). This will create a fresh Chrome shortcut on your desktop.
Step 5: Open Chrome and Restart Your PC
Go to your desktop and double-click the newly created Chrome shortcut. Chrome should now open normally without crashing.
Once it opens successfully, restart your computer to finalize the fix.
Final Check
After restarting, try opening Chrome again using the desktop shortcut. It should run smoothly without any crashes or errors.
This simple trick resolves Google Chrome crashing issues for most users.


