
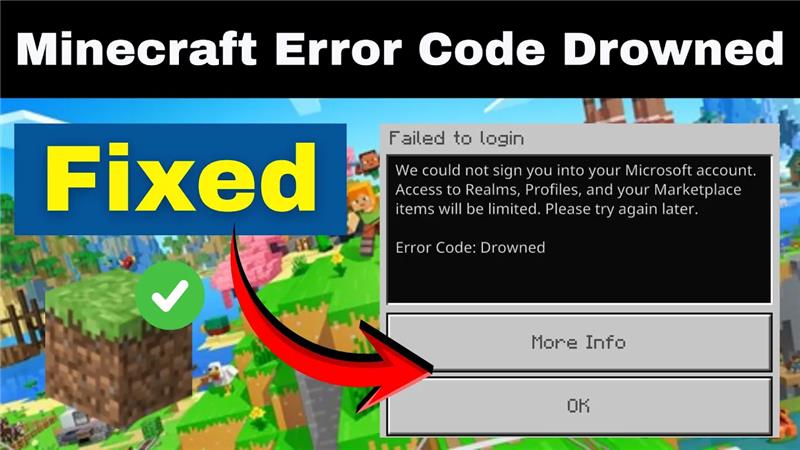
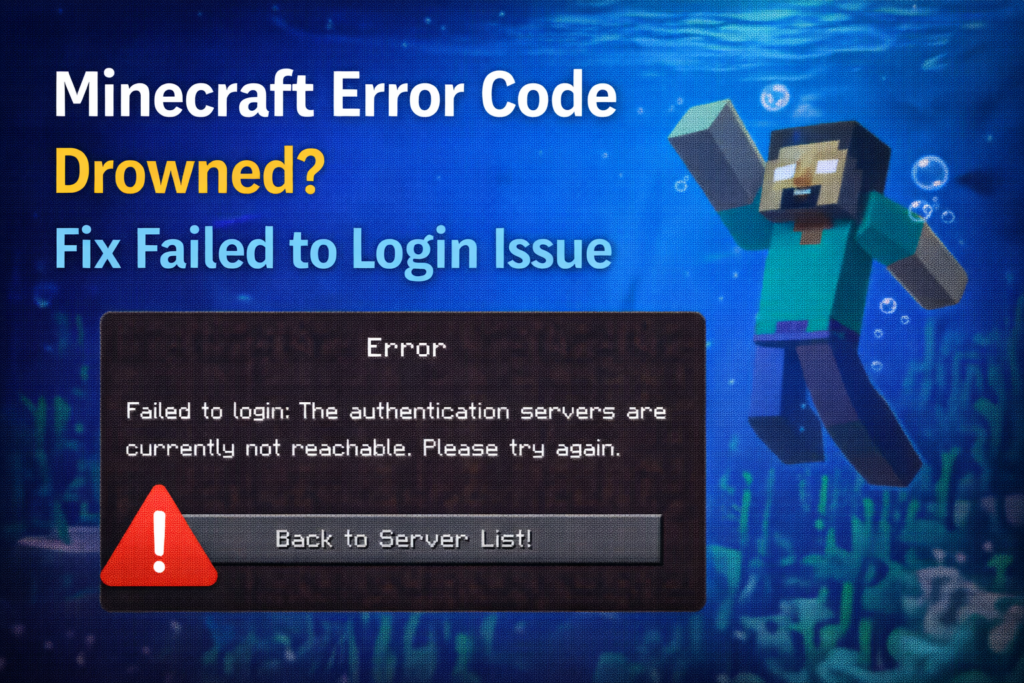
Running into Minecraft Error Code Drowned can be frustrating, especially when it blocks you from logging in and enjoying the game. This error usually appears as a “Failed to Login” message and is often linked to account authentication problems, server issues, or corrupted game files. Instead of diving into your world, you’re left stuck at the login screen. The good news is, there are straightforward fixes that can help you resolve it quickly. In this beginner-friendly blog, we’ll walk you through how to fix Minecraft Error Code Drowned and solve the failed login issue, so you can get back to building and exploring without interruptions.
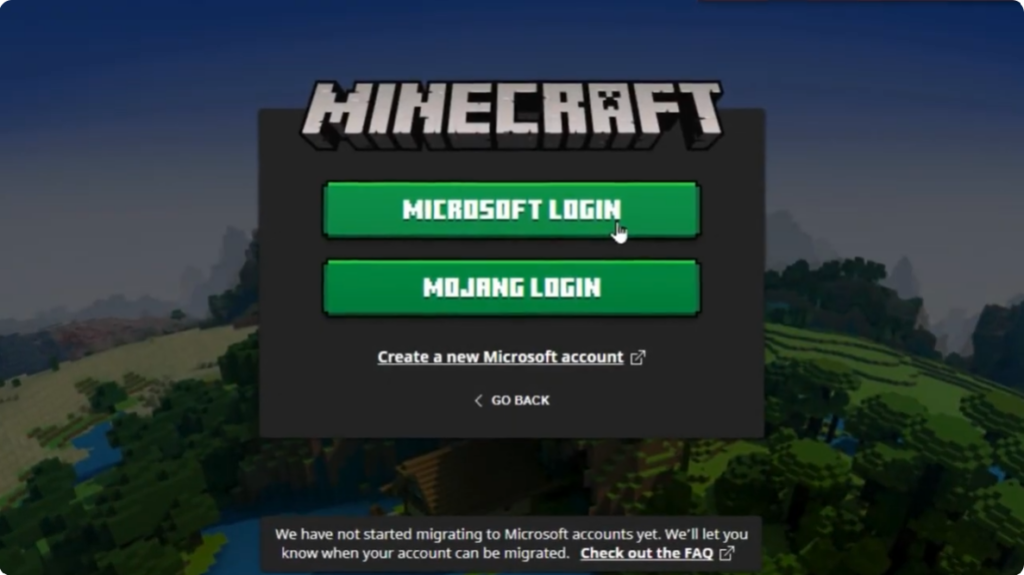
Method One: Sign Out and Sign Back In
First of all, try launching the Minecraft application and simply sign out of your Microsoft account, then sign back in again. If this option is not available for you, or if you’ve already tried this and it didn’t work, then move on to the next method.
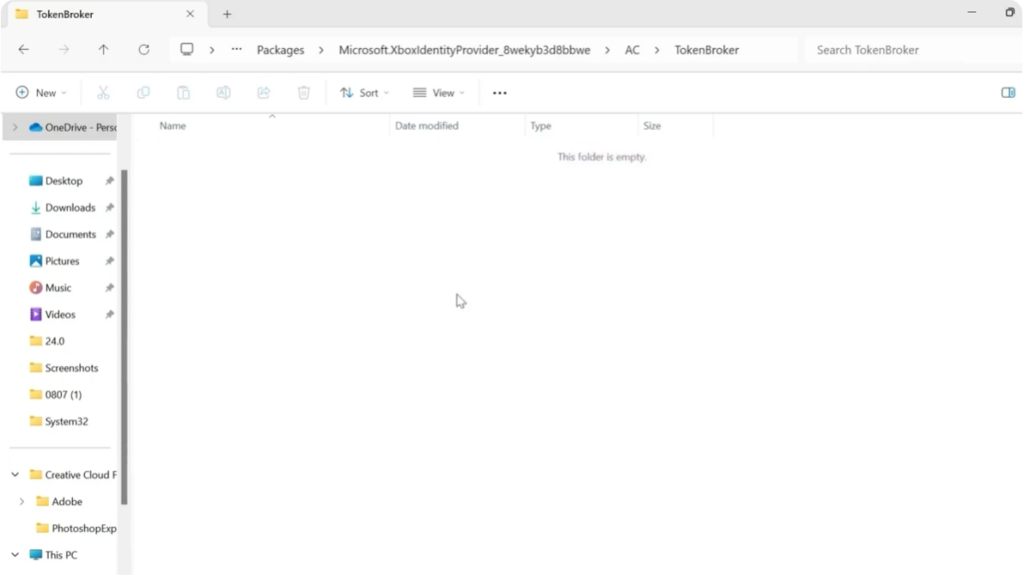
Method Two: Clear Xbox Identity Cache
Now come over to the Start menu, search for Run, and open it. In the Run box, type percent app data percent and press Enter. From here, click on the AppData folder at the top. Then go into Local.
Scroll down and open the Packages folder. Inside Packages, find the folder named Microsoft.XboxIdentityProvider and double click it. Now open the AC folder, then open TokenBroker. Inside this folder, delete everything you see. Once done, close this window.
Method Three: Change DNS Settings
Next, open the Start menu, search for Control Panel, and open it. Set View by to Category. Then go to Network and Internet and open Network and Sharing Center.
From the left side, click on Change adapter settings. Now right click on the network you’re currently connected to, Wi-Fi or Ethernet, and select Properties. Scroll down and select Internet Protocol Version 4 (IPv4), then click Properties.
Select Use the following DNS server addresses and enter:
- Preferred DNS: 8.8.8.8
- Alternate DNS: 8.8.4.4
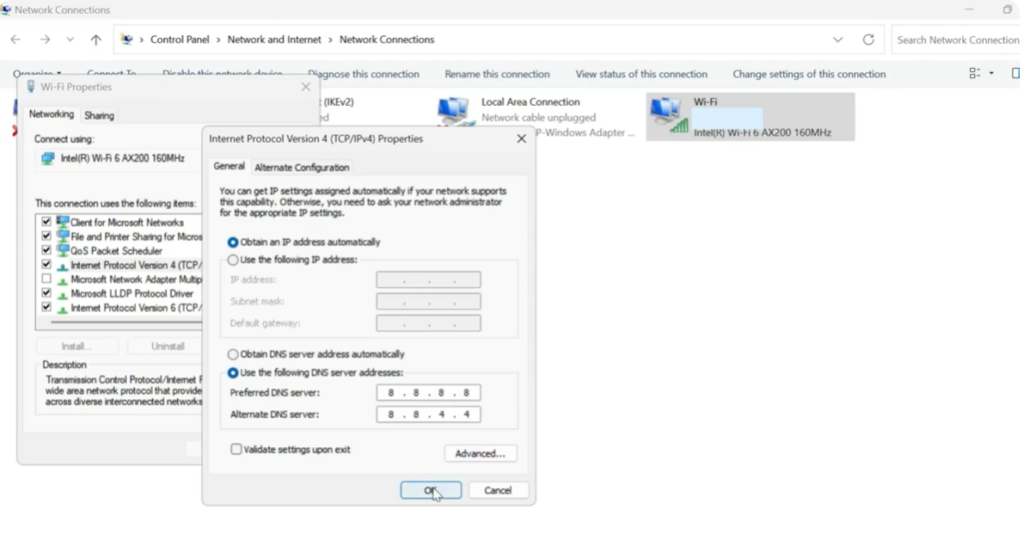
Click OK, close all windows, and try launching Minecraft again.
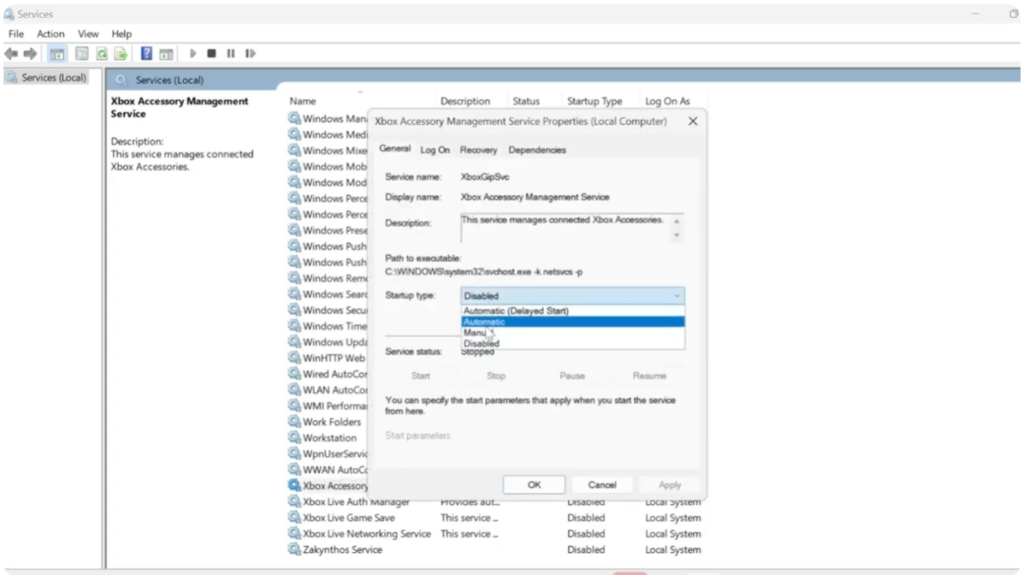
Method Four: Enable Xbox Services
If the issue still isn’t fixed, go back to the Start menu, search for Services, and open it. Scroll down until you find the Xbox services, including Xbox Live Auth Manager, Xbox Live Game Save, Xbox Networking Service, and Xbox Accessory Management Service.
Double click each one, set Startup type to Automatic, click Apply and OK, and make sure the service status is set to Running. Repeat this for all Xbox services.
Method Five: Check Minecraft Server Status
Finally, if none of these methods work, open any browser and search for Minecraft server status. Click on the official Minecraft server status page. If any server is down, that could be the reason for this error. In that case, you’ll simply need to wait a few hours until Minecraft fixes the server issue.


