

Networking IP sharing in Steam can affect how your games connect to servers, especially when you’re networking multiple devices or dealing with dynamic IP setups. Enabling or disabling Steam’s networking IP sharing features can help resolve connectivity issues, improve stability, and reduce lag in some setups. In this blog, you’ll learn a clear, step-by-step guide to enable or disable Steam networking IP sharing, troubleshoot common network problems, and optimize your Steam connection for smoother online gaming.
Step 1: Open Steam Application
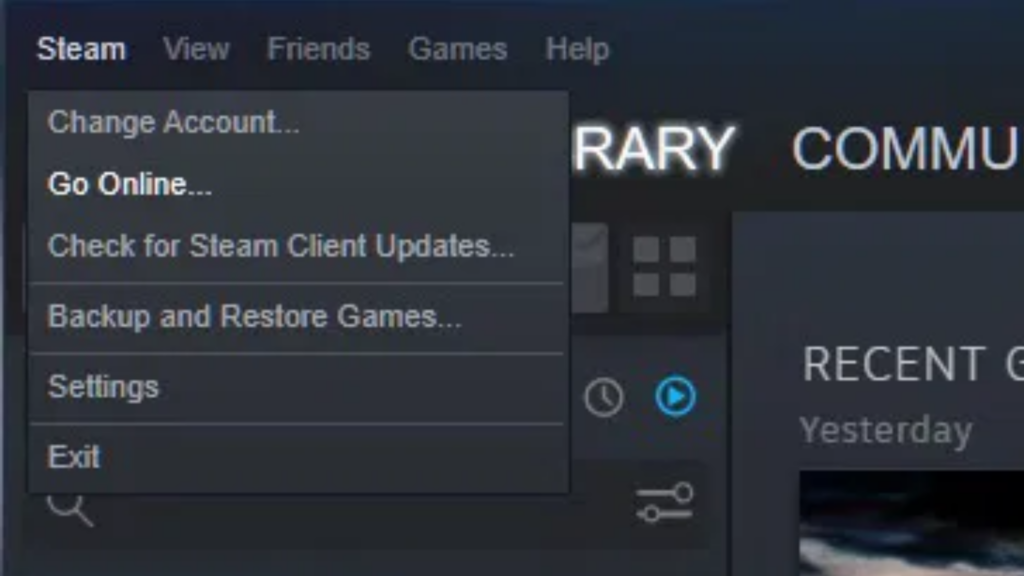
Firstly, open the Steam application on your computer and make sure you are logged into your account. Once Steam is open, look at the top left corner of the window and click on the Steam menu.
From the drop-down list, click on Settings, which will open a new settings window with several options.
Step 2: Open In-Game Settings
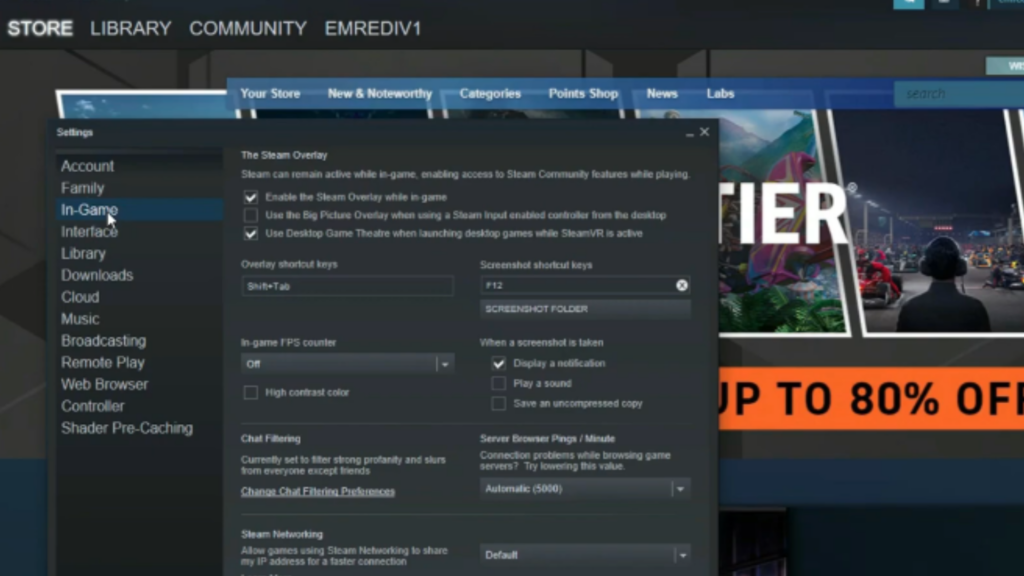
Now, in the left side panel, click on the In-Game section. After opening the in-game settings, scroll a little until you find the option called Steam Networking.
Step 3: Manage Steam Networking IP Address Sharing
Here you will see a setting named Allow Steam networking to share IP address, which controls how your IP address is shared during online multiplayer sessions.
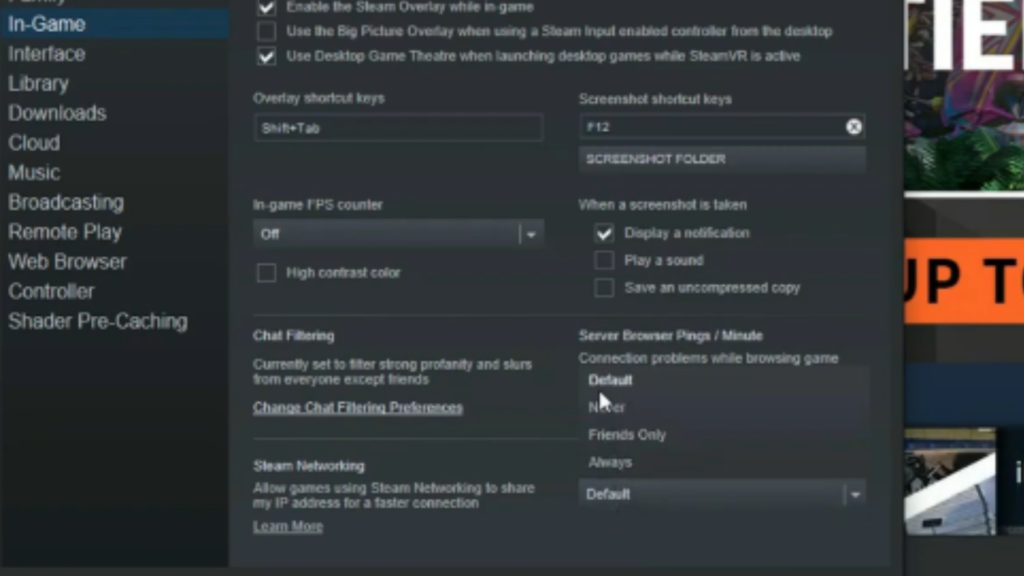
In this section, you will get multiple options such as:
- Default
- Never
- Friends
- Always
If you select Never, your IP address will not be shared, which is best for maximum privacy.
Choosing Friends means your IP address will only be shared with people on your friends list.
Selecting Always allows Steam to share your IP address during all networking sessions.
You can choose the option that suits your needs depending on whether you prioritize privacy or smoother connectivity in multiplayer games.
Step 4: Save Settings Automatically
Once you select your preferred option, the settings are saved automatically, so there is no need to click any extra button.

Conclusion
That’s it. You have successfully enabled or disabled Steam networking IP sharing.


