

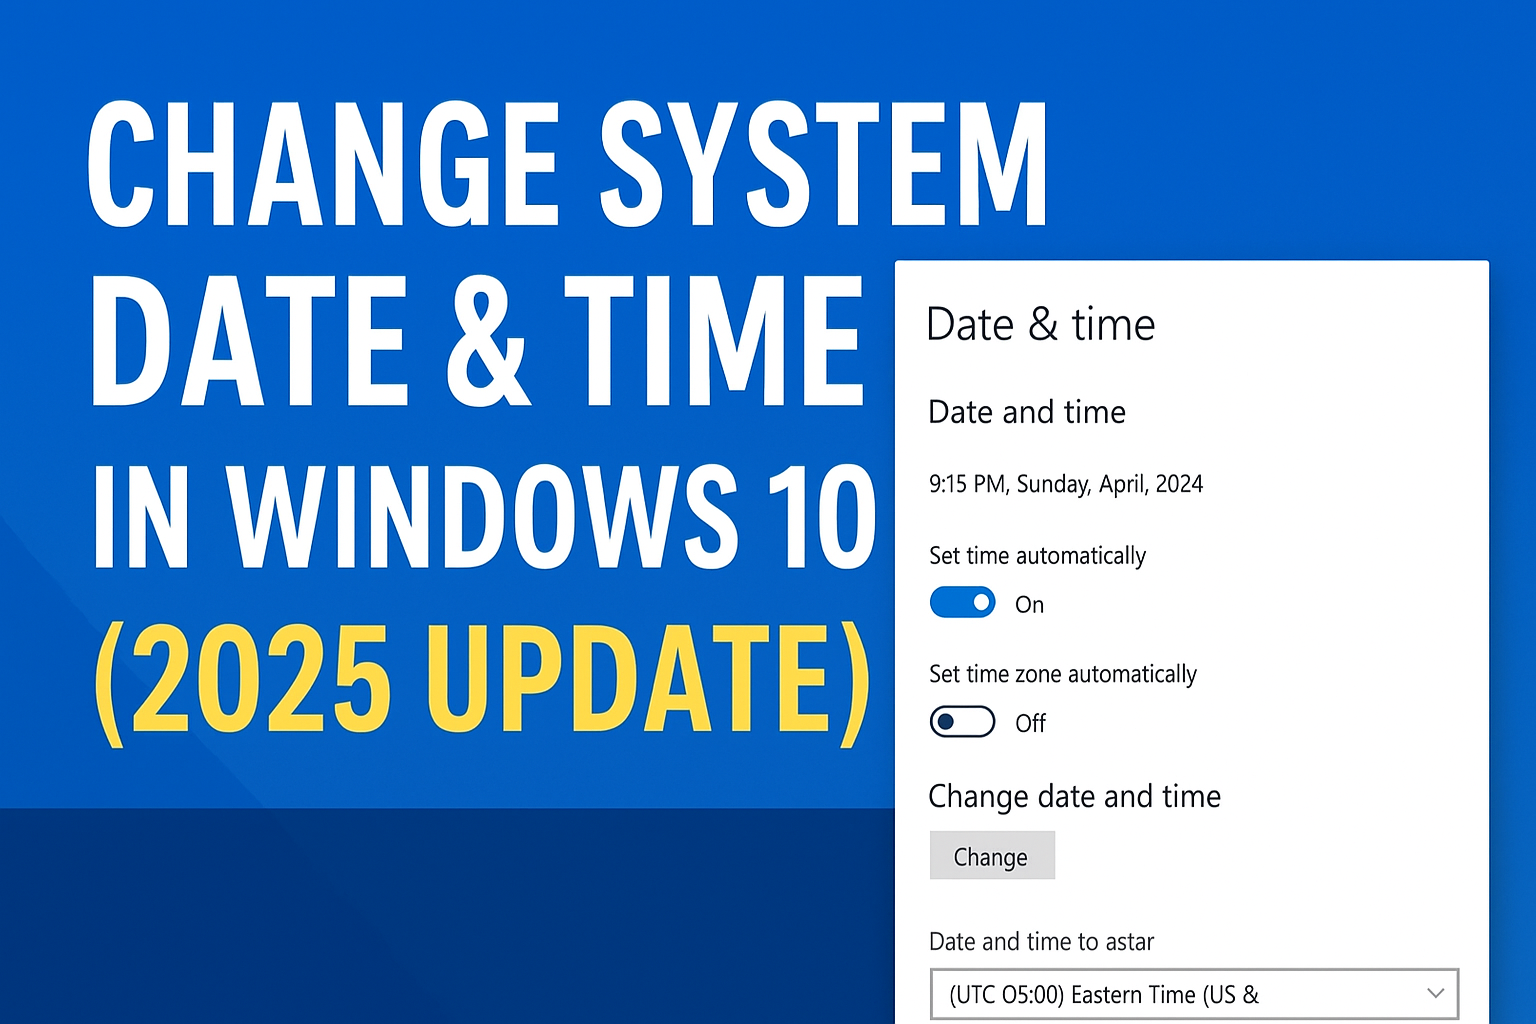
Welcome back to Tech Gitter Official. In today’s guide, we will learn how to change the date and time in Windows 10.
Step 1: Open Date and Time Settings
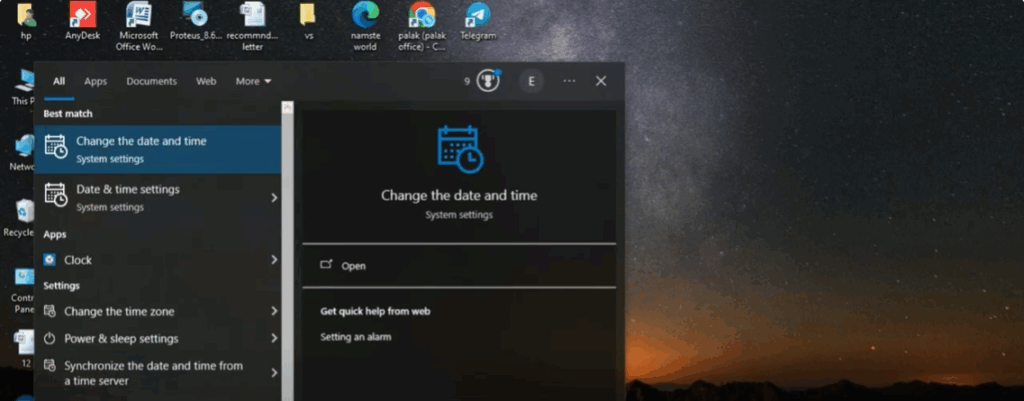
First, click on the search bar and type time. You will see options related to date and time. Click on it.
Step 2: Automatic Time Option
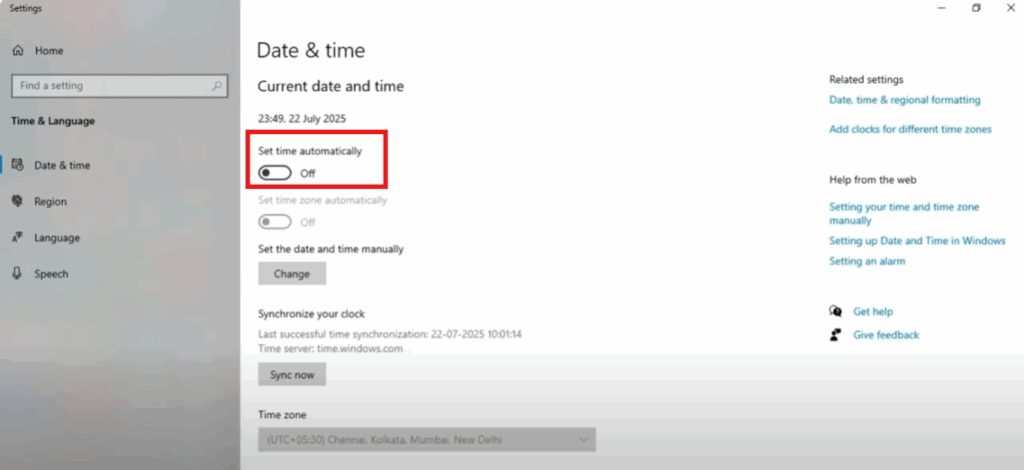
The Date and Time settings window will now open. Here, you will see an option called Set time automatically.
- If you want Windows to set the time automatically, simply turn this option on.
- But if you want to change the date and time manually, you need to turn this option off.
Step 3: Manually Set Date and Time
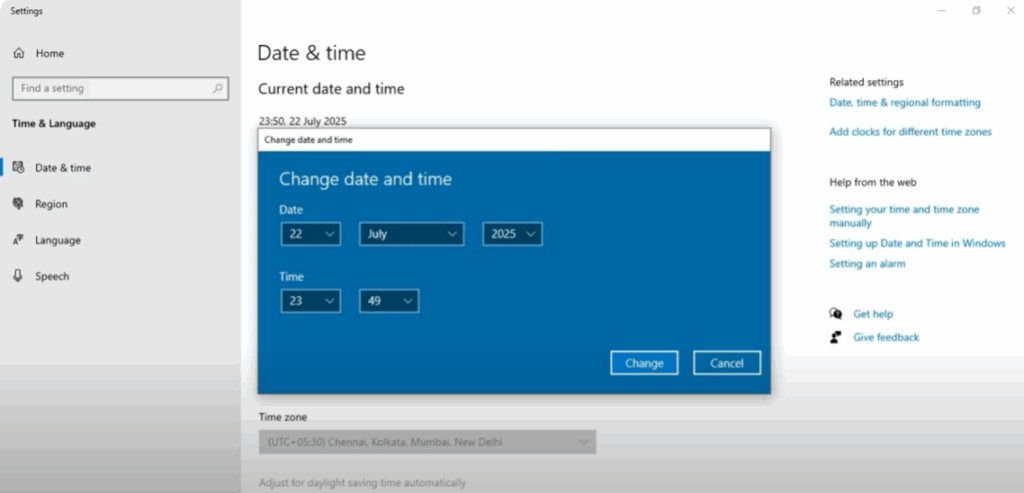
Once you turn off the automatic time, the Change date and time option will become active. Click on it, and a pop-up window will appear.
Now, you can set the time and date manually according to your choice. After adjusting, click on OK to save the changes.
Final Step
That’s it! Your date and time have now been successfully updated in Windows 10.
✅ If this guide helped you, make sure to like it, share it with others, and subscribe to Tech Gitter Official for more simple and useful tech tutorials.


