
Hello friends, welcome back to my channel Tech Gitter Official.
In this video, I’m going to show you how to change the username of your account on Windows 10 using two simple methods. This is helpful if you’ve made a spelling mistake in your name, set a temporary name earlier, or just want to personalize your account.
Let’s get started.
Method One: Change Username via Control Panel
Step 1: Check the current username
Right now, my user account is named John. But let’s say I want to rename it to Peter. Here’s how to do that.
Step 2: Open the Control Panel
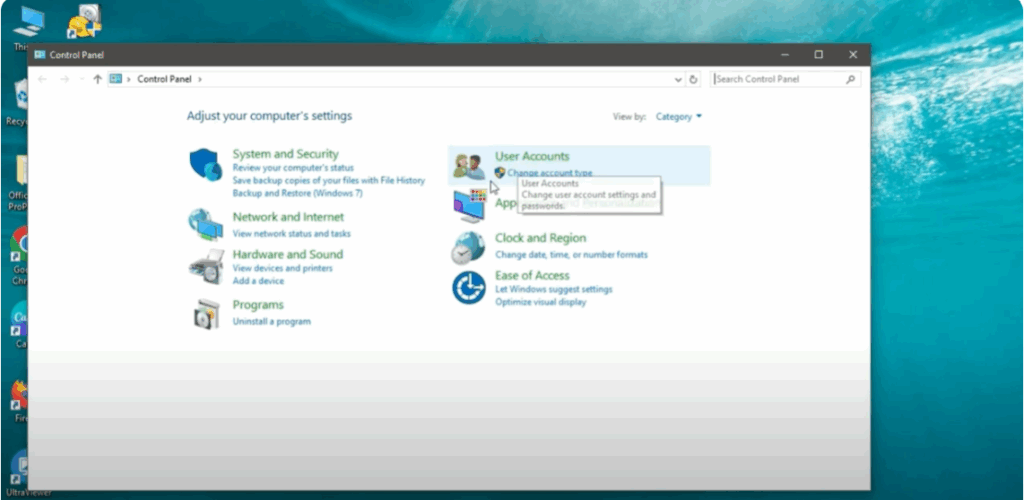
Click on the Start menu or press the Windows key. Type Control Panel in the search bar, then click on it to open.
Step 3: Go to User Accounts
Once the Control Panel opens, click on User Accounts, then again click on User Accounts in the next screen. Now click on Change account type.
Step 4: Select the account you want to rename
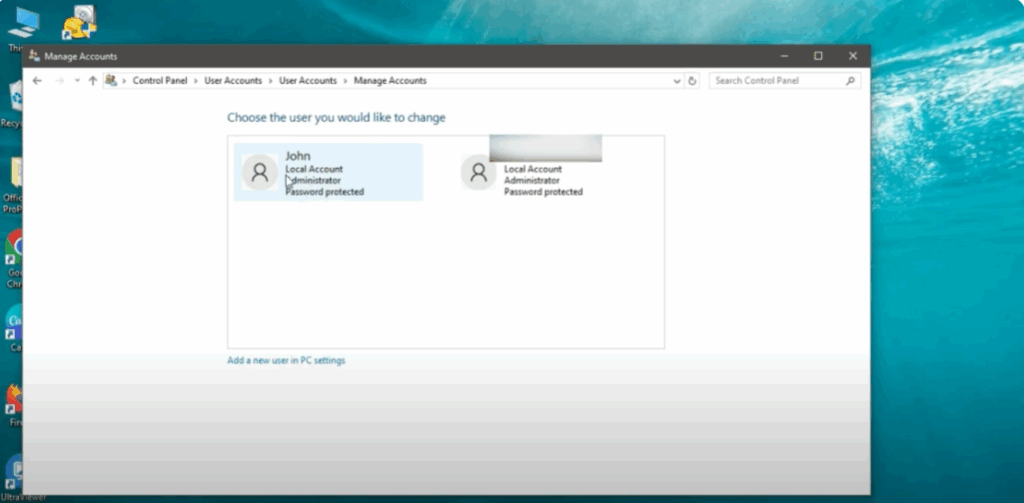
You’ll now see a list of accounts available on your PC. Click on the user account you want to rename. In this case, John.
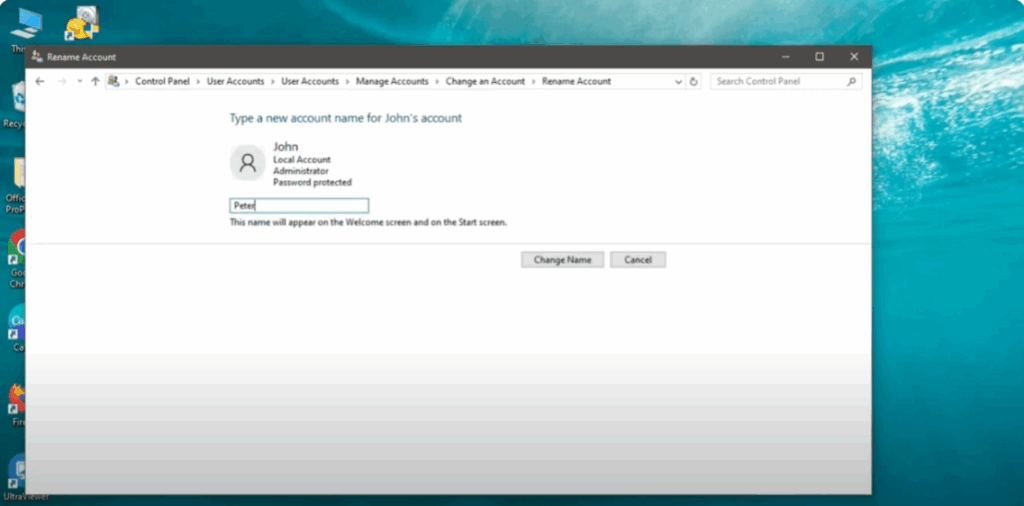
Step 5: Change the account name
Click on Change the account name. You’ll see a text box. Type in the new name you want. I’ll enter Peter. Then click on Change name.
That’s it! Your account name has now been updated.
Step 6: Sign out to confirm the changes
To make sure the new name appears everywhere, click on Start, click your profile icon, and choose Sign out. On the login screen, you’ll now see your new account name, Peter. Log back in, and you’ll notice the updated name in the Start menu too.
Method Two: Using the Run Command (control userpasswords2)
This method is great if you want a faster shortcut-based option without going through many menus.
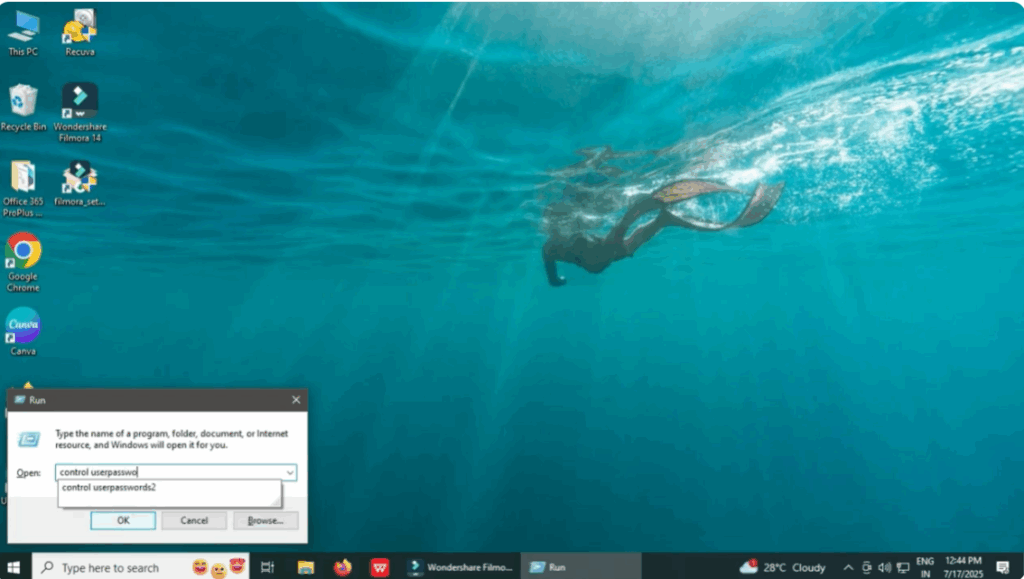
Step 1: Open the Run dialogue
Press Windows + R on your keyboard. This opens the Run window.
Step 2: Enter the command
In the Run box, type control userpasswords2. Then press Enter or click OK.
This will open the advanced user account settings window.
Step 3: Select the account
From the list of user accounts, select the one you want to rename. For example, I’ll select John.

Step 4: Click on Properties
Now, click the Properties button below the list. This opens a new window where you can edit the account details.
Step 5: Rename the account
In the username field under the General tab, delete the old name and type your new one. For example, Peter. Click Apply, then OK to save.

Step 6: Restart your PC
Finally, restart your computer. Once your PC boots up again, your new username will be active.
Thanks for raeding!


