

Welcome back to my channel Tech Gitter Official. In today’s tutorial, we will learn the simple process of deleting a user account in Windows 10.
Many times, we create extra accounts for family members, friends, or even just for testing purposes. But once they’re no longer needed, removing them helps in freeing up storage and keeping your system clean and secure.
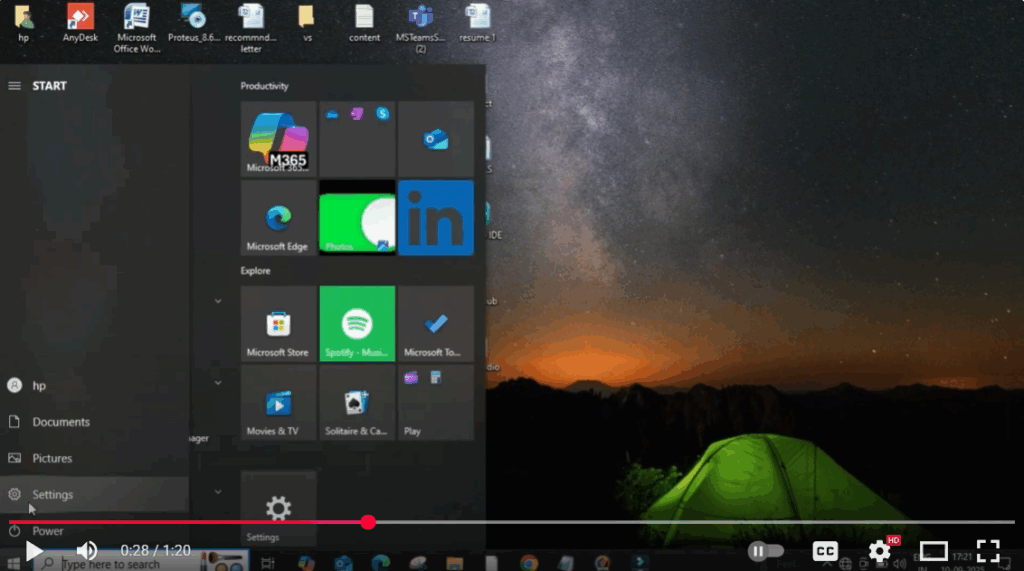
Step 1: Open Settings
To start, click on the Windows icon at the bottom-left corner of your screen, then select Settings.
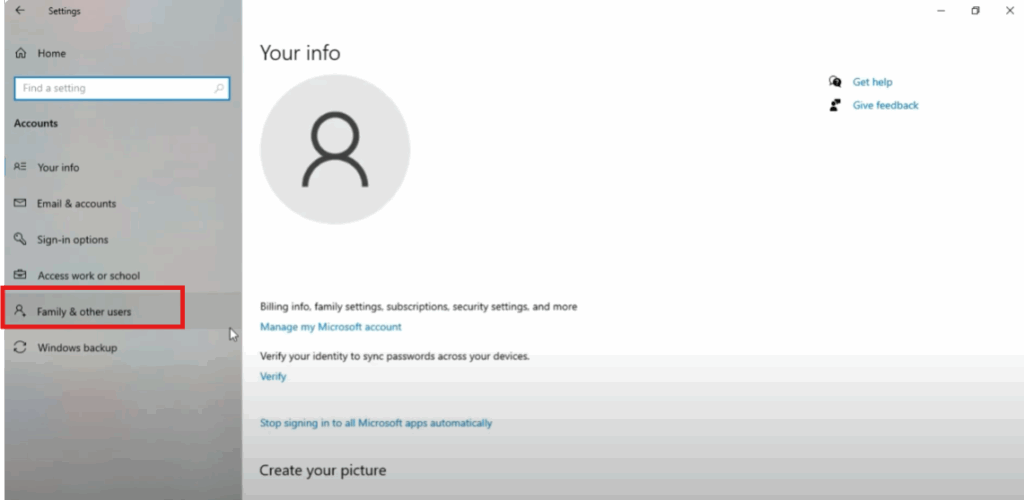
Step 2: Navigate to Accounts
From here, navigate to the Accounts section. Once you open it, click on Family & other users.
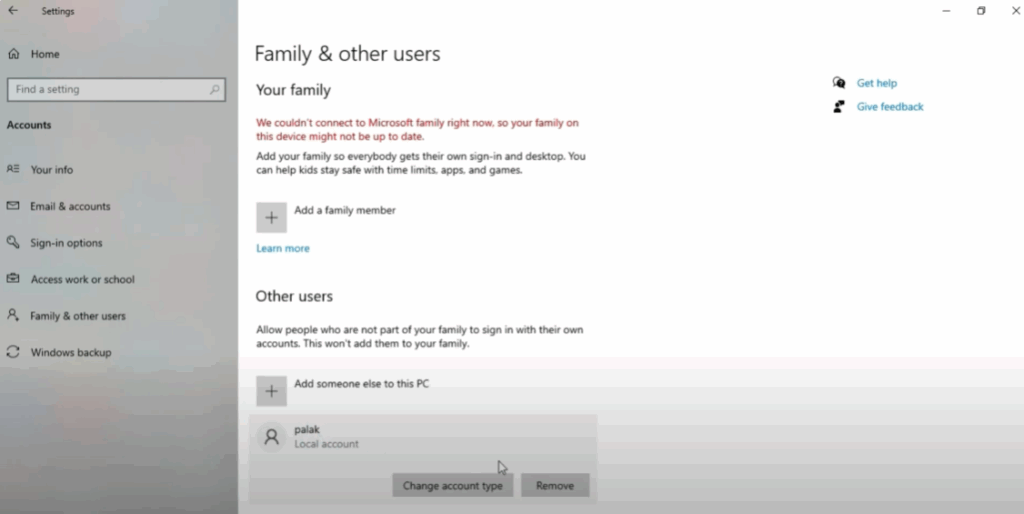
Step 3: Select the User Account
Now, you’ll see a list of accounts that have been added to your computer. Suppose there’s an account named Pollic that you no longer need. Simply click on it and then select the Remove option.
Step 4: Confirm Deletion
A confirmation pop-up will appear asking if you really want to delete the account along with its data. Go ahead and click on Delete account and data.
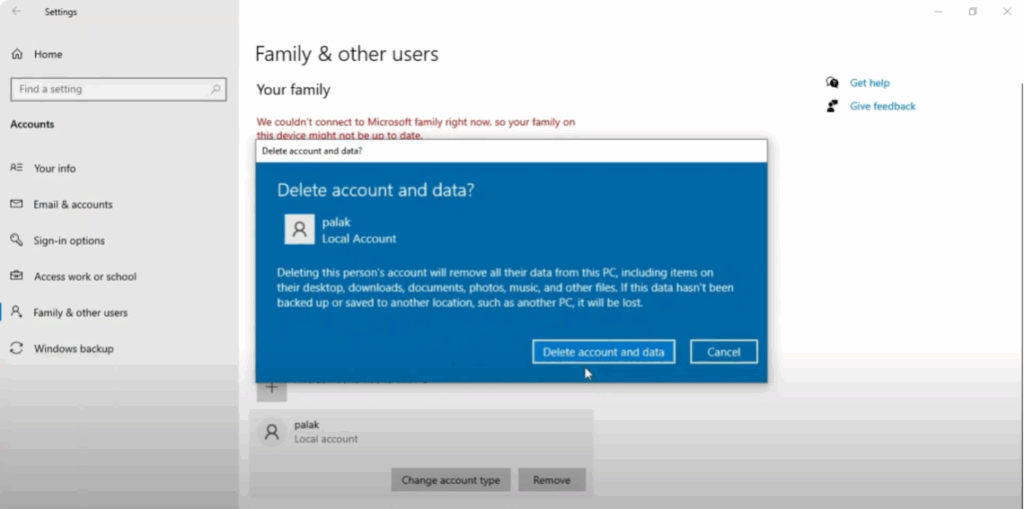
Once you confirm, Windows will remove that account completely from your device. This means all personal files, settings, and related data of that user will also be deleted.
✅ And that’s it! You’ve successfully deleted a user account in Windows 10.
Thanks for watching. If you found this tutorial useful, please like, comment, and subscribe for more helpful tech guides.


