
Hello friends, welcome back to my channel Tech Gitter Official. In today’s tutorial, I’m going to show you how you can log into your Windows 10 computer without typing your password every time your system restarts.
Before we begin, please note that this guide is not about resetting your password if you forgot it. This method is only for users who already know their password and simply want to skip typing it each time.
Step-by-Step Guide:
- Log in as Usual:
Start by logging into your computer using your existing password. - Access User Accounts Settings:
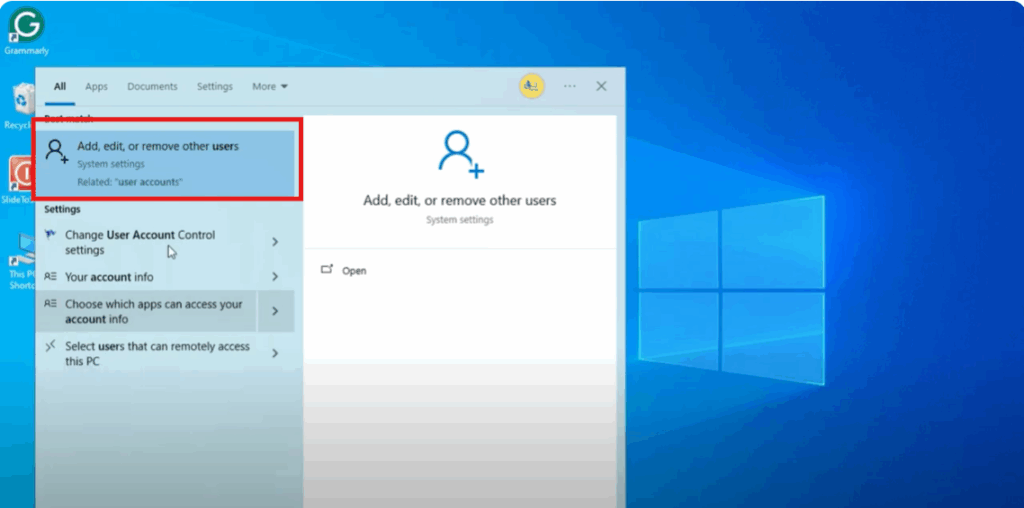
Once you’re on the desktop, click on the Start menu and type User Accounts.
From the results, select “Add, edit, or remove other people” under System Settings.
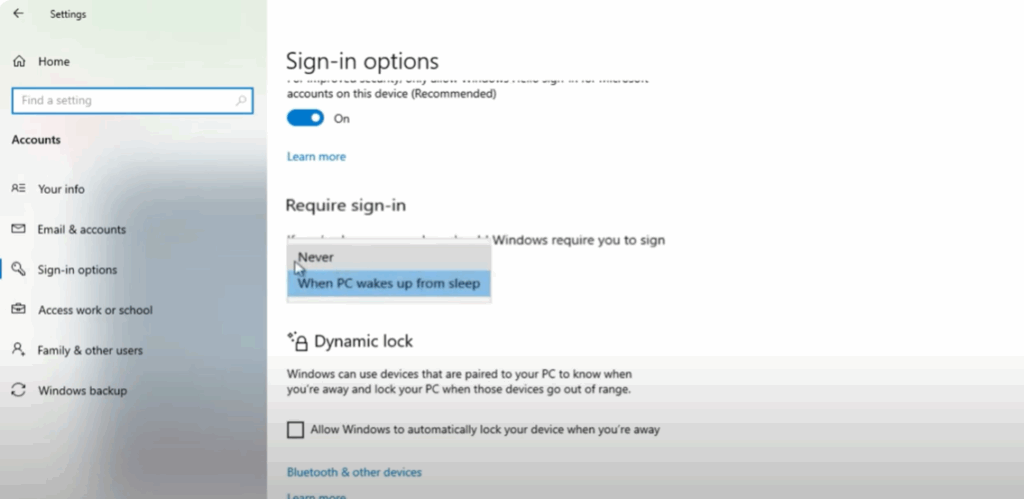
- Modify Sign-In Options:
On the left-hand side, click Sign-in options.
Under the Require sign-in section, you’ll see the question:
“If you’ve been away, when should Windows require you to sign in again?”
Change this setting to Never.
- Open the Netplwiz Tool:
Close that window and go back to the Start menu again.
This time, type netplwiz and open it.
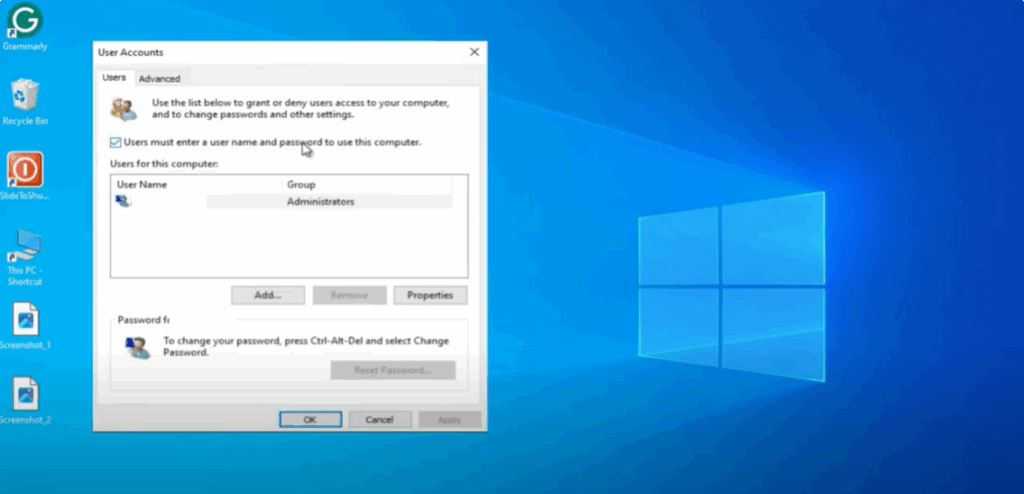
This will bring up the User Accounts window. - Disable Password Requirement:
In the User Accounts window, you’ll see a checkbox that says:
“Users must enter a username and password to use this computer.”
Uncheck this box and click Apply.
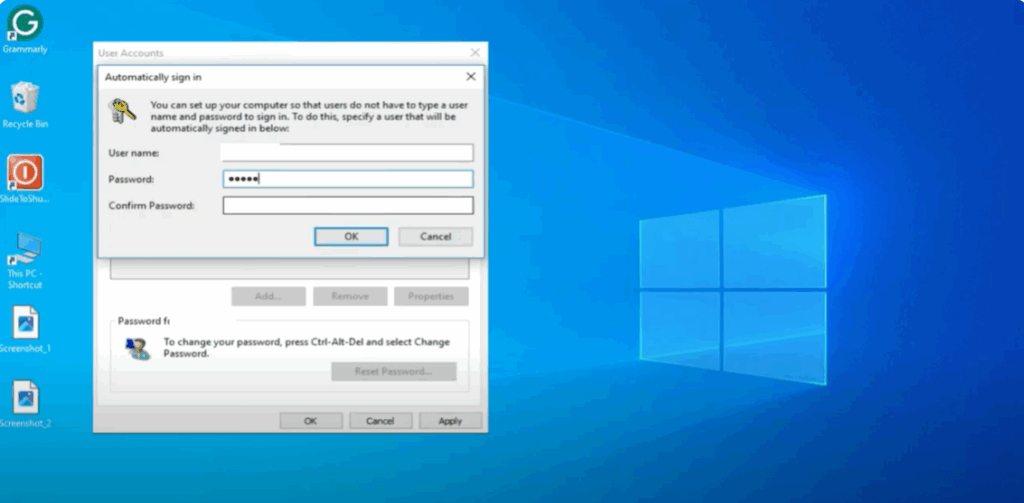
- Confirm Your Password:
A prompt will appear asking you to enter your current password once to confirm the changes.
Enter your password and click OK, then click OK again to close the User Accounts window.
- Restart Your Computer:
Now restart your system, and you’ll notice that Windows automatically logs you in without asking for a password.
Final Words:
That’s it! You have successfully removed the login password prompt from Windows 10.
If you found this tutorial helpful:
- Leave a like on the video.
- Comment below with your feedback or questions.
- Subscribe to Tech Official for more helpful tech tips.
As always, thank you for watching, and I’ll see you in the next tutorial!


