
Disk Management is a vital Windows tool for creating, resizing, or formatting drives, but it sometimes fails to open or shows errors due to permission issues. Running Disk Management as administrator gives it the necessary rights to access and modify disk partitions safely. In this blog, you’ll learn easy steps to open Disk Management with admin privileges, troubleshoot common problems, and manage your drives effectively without frustration.
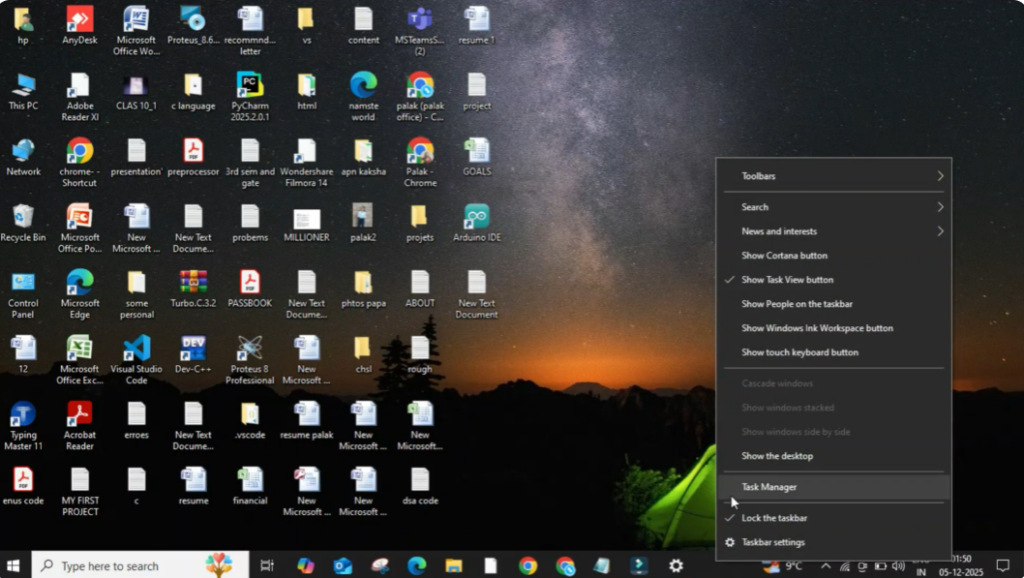
Firstly, right click on the taskbar at the bottom of your screen. Make sure you click on an empty space on the taskbar. From the menu that appears, click on Task Manager.
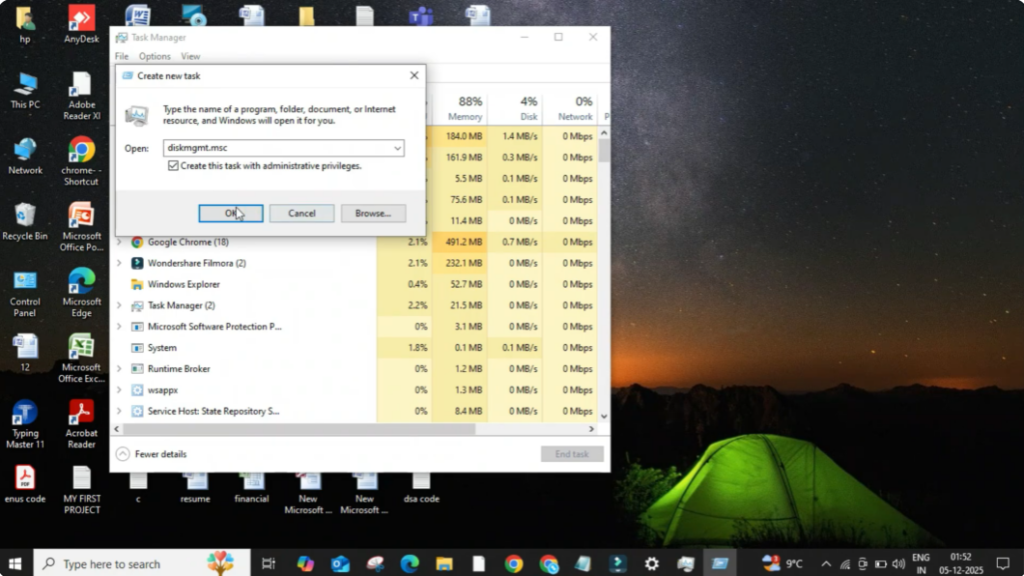
Once the Task Manager window opens, go to the top left corner and click on the File option. After that, click on Run new task. This option allows you to manually start any program with or without admin access.

Now type disk.mms in the text box. This is the command used to open the Disk Management tool. Below the text box, you will see an option that says Create this task with administrative privileges. Make sure you tick this option.
This step is important because Disk Management needs admin rights to perform actions like creating partitions, formatting drives, changing drive letters, and more. After checking the box, click on OK.
As soon as you do that, the Disk Management window will open with full administrator permissions. Now you can manage your drives, check storage details, and perform disk related tasks without any restrictions.


