
Looking to record your screen or stream like a pro? 🎥 OBS Studio is one of the best free tools for video recording and live streaming, trusted by gamers, creators, and professionals worldwide. The setup might sound technical, but don’t worry—it’s actually very simple. Whether you’re on Windows or Mac, installing OBS Studio in 2026 takes just a few quick steps. In this blog, we’ll walk you through an easy installation guide for OBS Studio, so you can start capturing and streaming without any hassle.
First, open your Chrome browser.
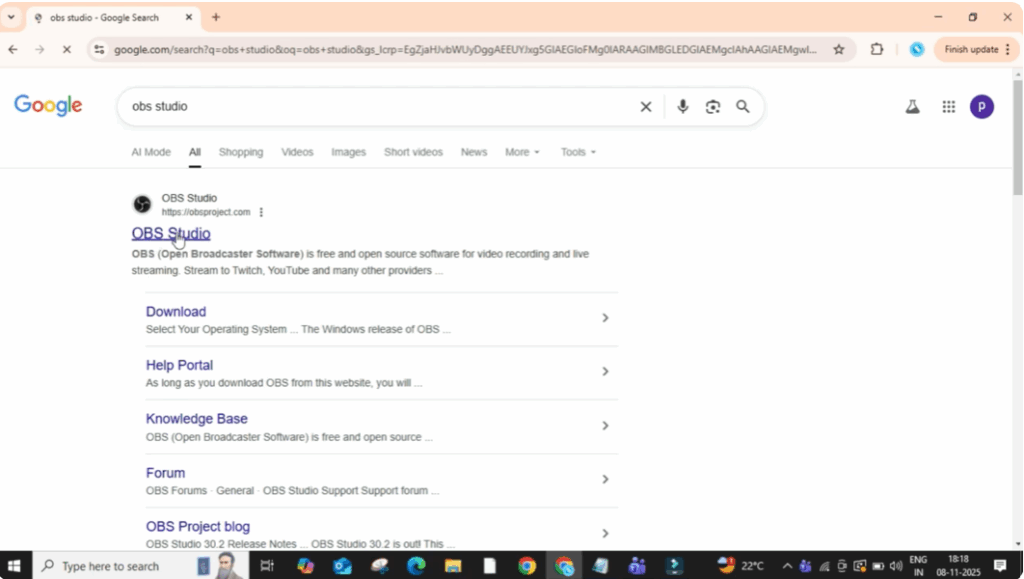
In the search bar, type OBS Studio and press enter.
Now, click on the first official website that appears.
This is the obsproject.com site.
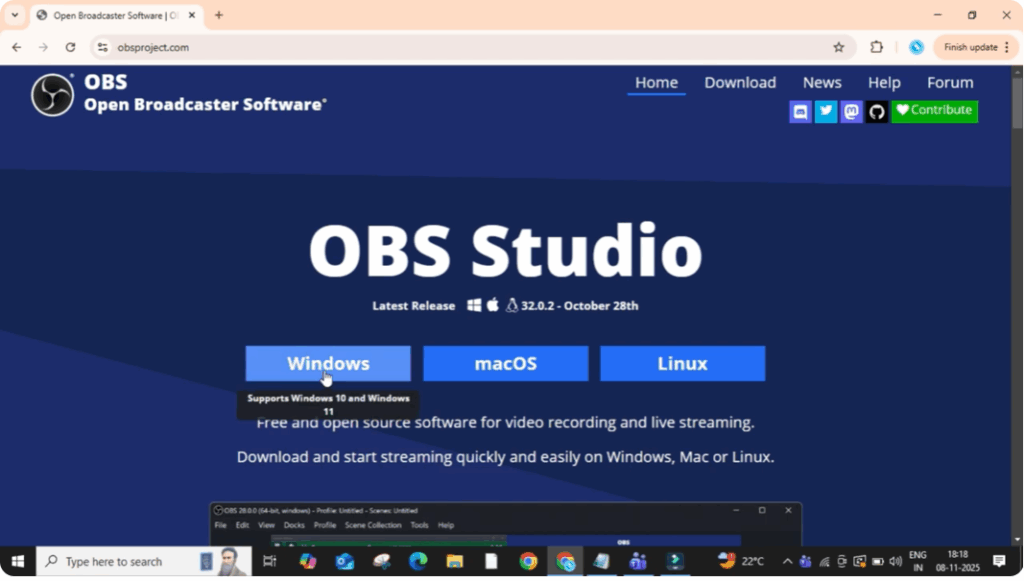
Once you’re on the page, you’ll see three download options: Windows, Mac OS, and Linux.
Select the one that matches your operating system.
Since I’m using Windows, I’ll click on the Windows option.
Your download will start automatically.
After a few moments, when the download is complete, click on the downloaded file to open it.
A setup window will appear.
Click on Next to continue.
You can read through the license agreement if you want or simply click on Next again.
Then choose your installation location or just leave it as default and click on Install.

Now the installation will begin.
Wait for a few seconds while it loads.
Once it’s done, click on Finish to launch OBS Studio.
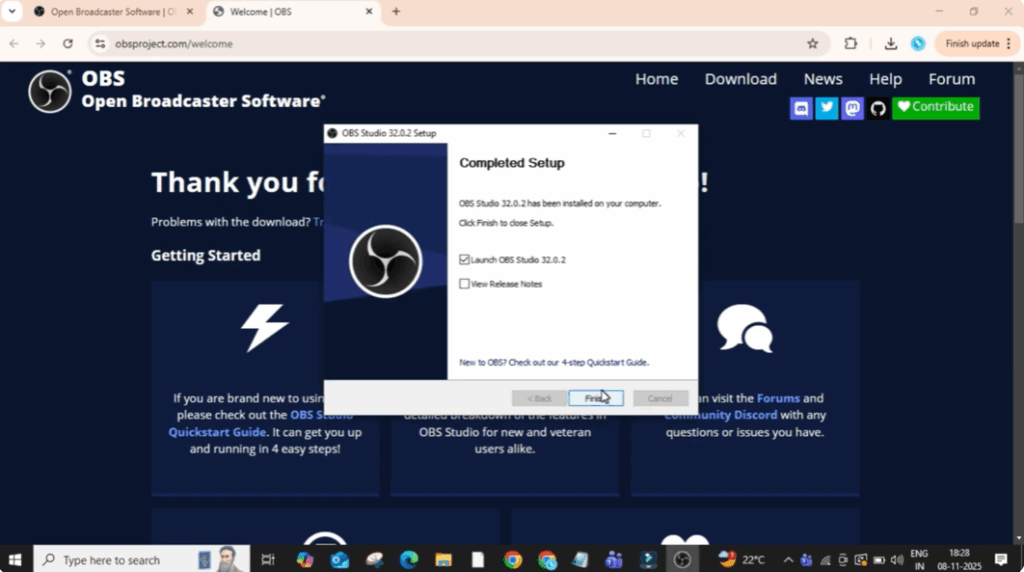
And here you go.
This is the interface of OBS Studio.
If you want to start recording your screen, go to the Sources section and click on the plus plus symbol icon.
From the list, select Display Capture, then click Okay.
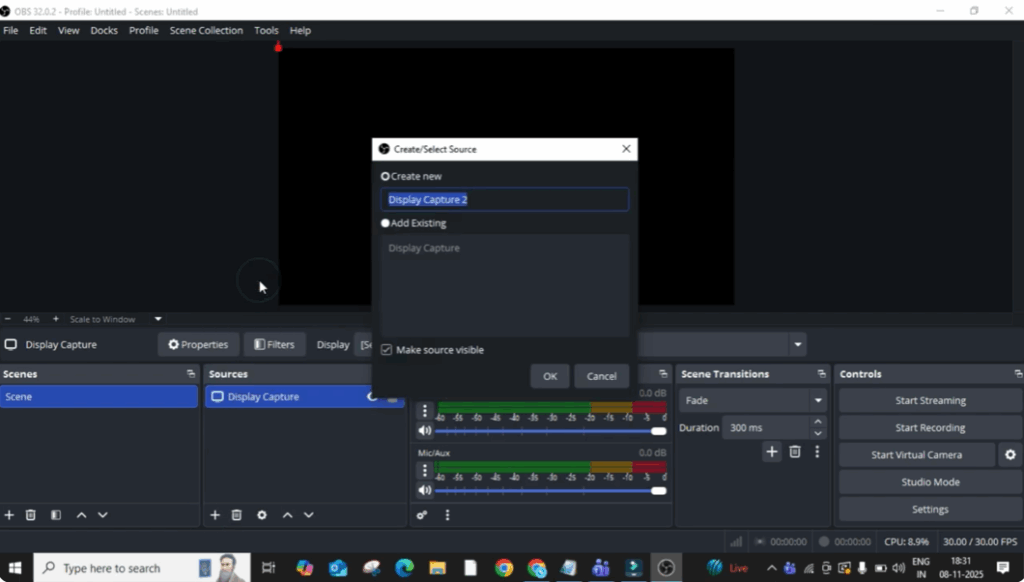
You’ll now see your screen preview.
Choose your capture method and click Okay again.
Your display will start showing in the preview window.
If you ever want to hide or stop the display, simply click on the eye icon next to Display Capture.
And that’s it.
Your OBS Studio is fully set up and ready to use.


