
JavaScript plays an important role in making websites interactive and functional, but sometimes you might want to turn it off for faster browsing or privacy reasons. In Google Chrome, you can easily enable or disable JavaScript from the browser settings or developer tools in just a few clicks. This feature gives you more control over how websites behave—useful for troubleshooting or blocking unwanted pop‑ups. In this blog, you’ll learn simple step‑by‑step methods to enable or disable JavaScript in the Chrome browser for your preferred websites or all sites.
🧭 Step-by-Step: Enabling or Disabling JavaScript in Chrome
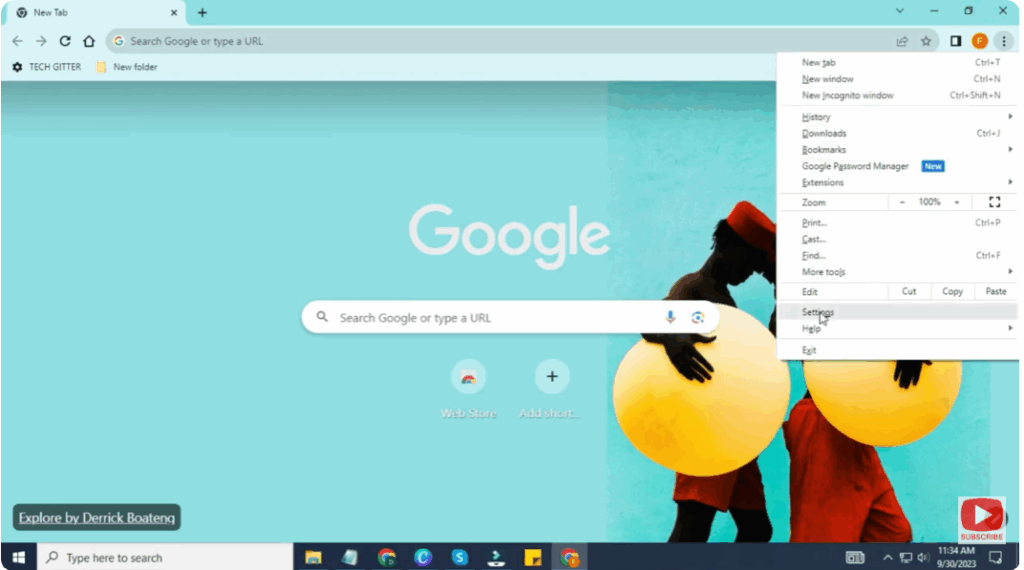
- Open Google Chrome
Launch your Chrome browser (Windows, macOS, Linux—same steps apply). - Access Chrome Settings
- Click the three dots (⋮) menu in the top-right corner.
- From the dropdown, select Settings.
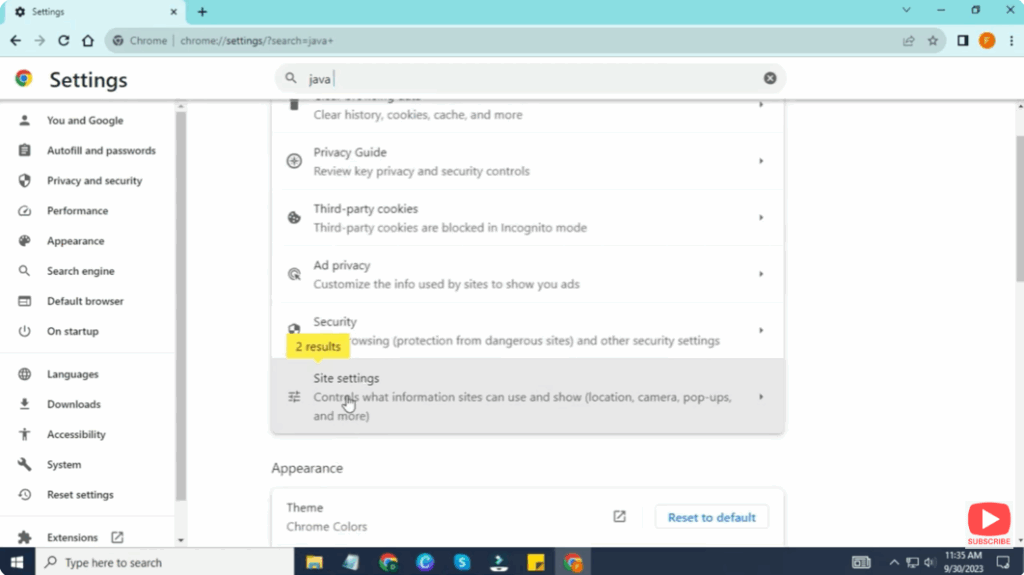
- Go to Privacy & Security → Site Settings
- In Settings, scroll (or navigate) to Privacy and security.
- Click Site Settings (this is where content permissions are managed).
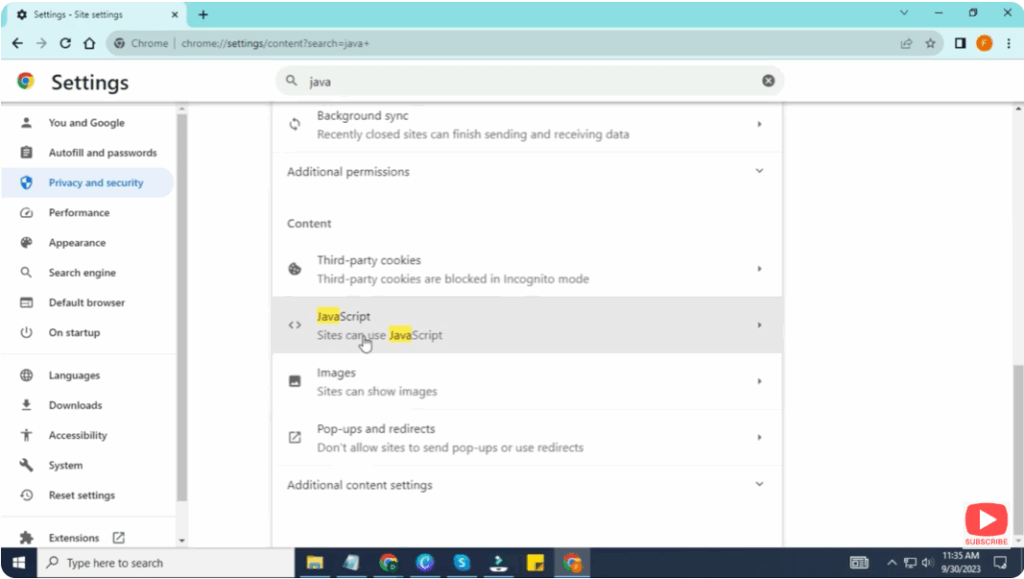
- Find the JavaScript Setting
- Under Content, look for JavaScript (often listed among other permissions like Images, Camera, etc.).
- Click on JavaScript to open its control panel.
- Enable / Disable JavaScript Globally
- There will be a toggle (or setting) for Allowed (recommended) and optionally Blocked.
- To disable JavaScript globally, switch to Blocked.
- To re-enable, set it back to Allowed.
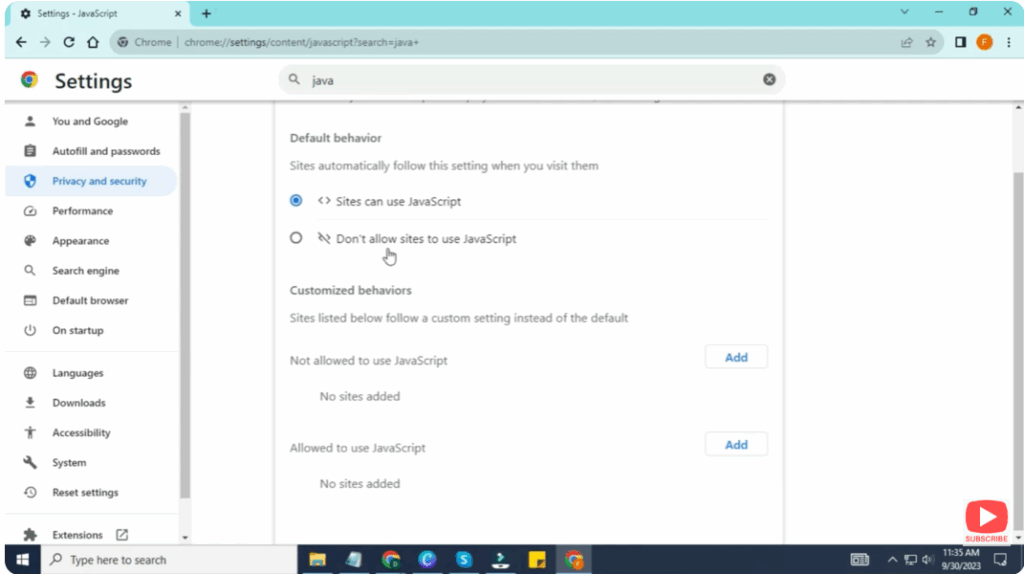
- Manage Exceptions (Optional)
- Within the JavaScript settings, you can add site exceptions: allow JavaScript on some sites while blocking on others.
- Use Add under “Allowed” or “Blocked” lists to include specific URLs.
- Test & Reload Webpages
- After changing, go to a site you use often.
- Refresh the page (Ctrl + R or click Reload).
- Check whether dynamic elements (menus, forms, buttons) are working as expected (or not if you’ve disabled JS).


