

Hello everyone, welcome to my channel TechG.
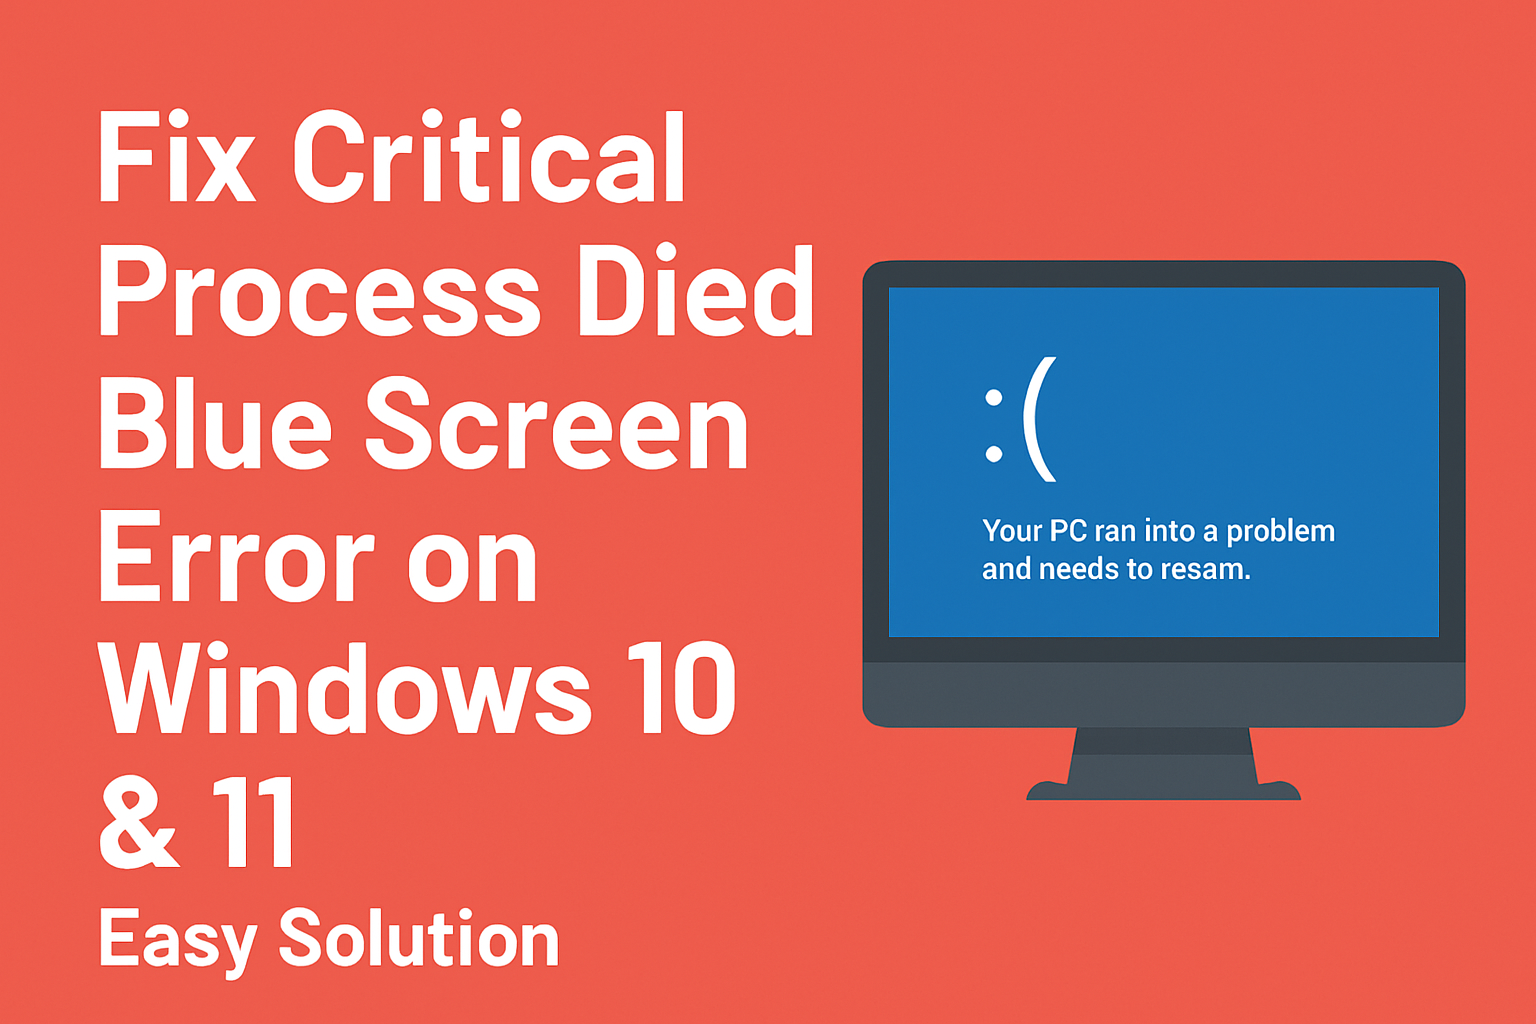
In today’s guide, we will learn how to fix the “Critical Process Died” blue screen error (BSOD) on Windows 10 and 11.
You may be encountering a blue screen on your computer that says a problem has occurred, and your PC needs to restart. Let’s understand and resolve this issue step by step.
What Is the “Critical Process Died” Error?
The “Critical Process Died” error in Windows is a serious Blue Screen of Death (BSOD) issue. It typically indicates that a critical system process has failed to run.
This problem can be caused by:
- Corrupted system files
- Hardware issues
- Driver conflicts
- Or other unknown errors
Step-by-Step Fix for Critical Process Died Error
There are two different ways to restart and repair your PC based on whether or not you can access the desktop.
✅ Case 1: If You Can Access the Desktop
- Go to the Windows Search Menu
- Type and open “Reset”
- Click on “Reset Now”
- Your PC will restart
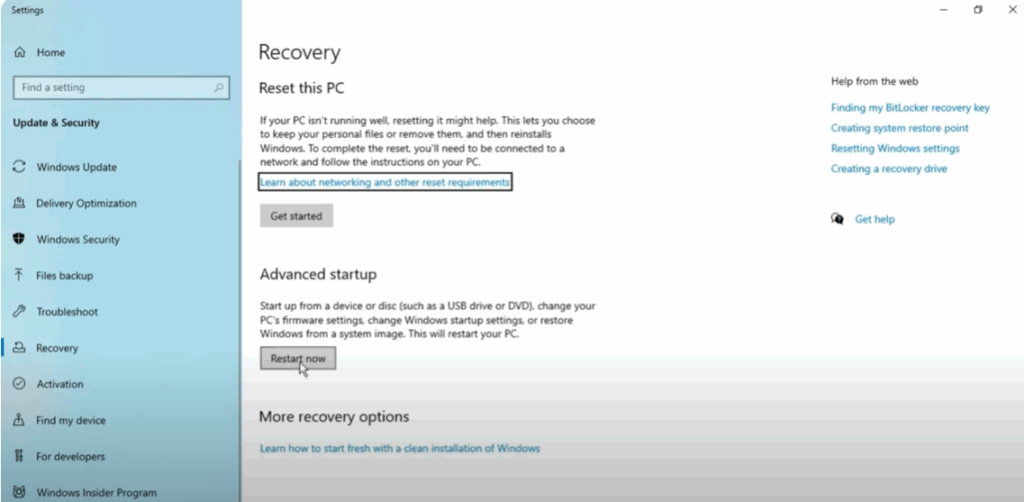
This reset process often resolves the BSOD issue and brings the system back to normal.
⚠️ Case 2: If You Cannot Access the Desktop
If your PC is stuck on the blue screen and you can’t access any desktop feature:
Follow These Steps:
- Press and Hold the Power Button until your PC shuts down
- Restart it again by pressing the Power Button
- As soon as you see the Windows logo, press and hold the Power Button again to force shutdown
- Repeat this process three times
On the third restart, Advanced Options will appear automatically.
Using Advanced Options to Fix the Issue
Once you’re in the Advanced Options menu, follow these steps:
Step 1: Use Startup Repair
- Click on Troubleshoot
- Click on Advanced Options
- Select Startup Repair
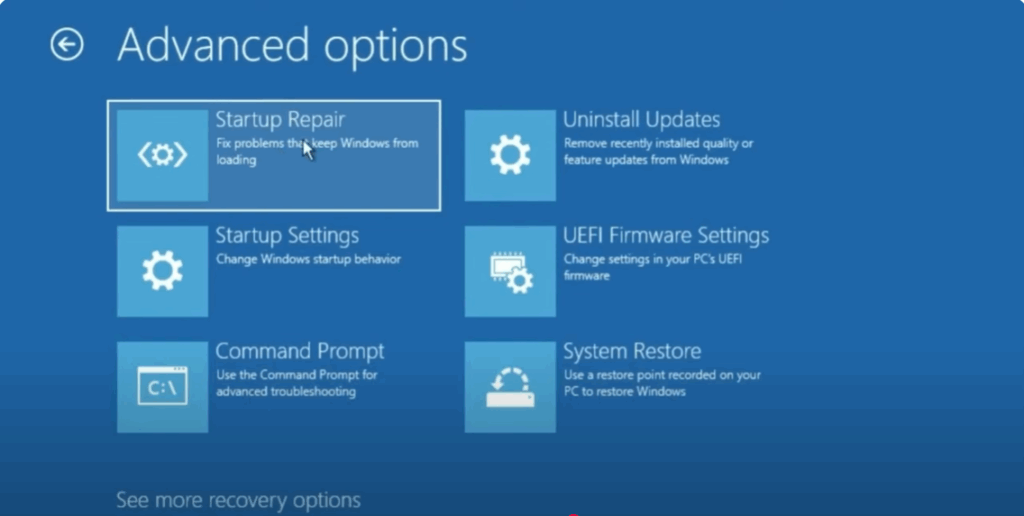
If this solves the problem, your PC will reboot normally.
Step 2: Use Command Prompt (if Startup Repair fails)
If the problem is not solved, go back to Advanced Options, then:
- Click on Command Prompt
- Type the following commands one by one and press Enter after each:
bashCopyEditbootrec /fixmbr
bootrec /fixboot
bootsect /nt60 SYS
bootrec /scanos
bootrec /rebuildbcd
sfc /scannow
chkdsk C: /f /r /x
Note: If you get an “Access Denied” message on the second command, just skip it and continue with the next ones.
These commands do the following:
- Repair boot records
- Scan and fix corrupted system files
- Check and fix disk errors
Final Step: Restart the Computer
After running all the commands:
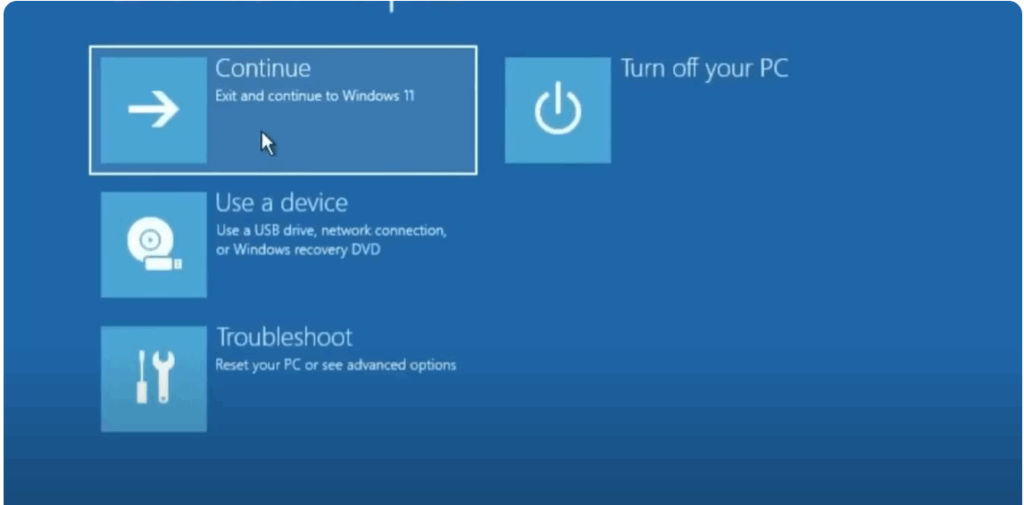
- Close the Command Prompt
- Click on Continue
This will restart your computer. Any infections or hard drive problems should now be resolved.
You should now see the login screen without the blue screen error.


