
Welcome back to my channel Tech Gitter Official. In today’s guide, we will learn three quick and easy methods to fix your microphone if it’s not working on Windows 10.
Method 1: Enable Microphone in Settings
First, we need to make sure your microphone is enabled in Windows.
- Click on Start, then open Settings.
- Go to Privacy and on the left side, click on Microphone.
- Make sure Microphone access for this device is turned ON.
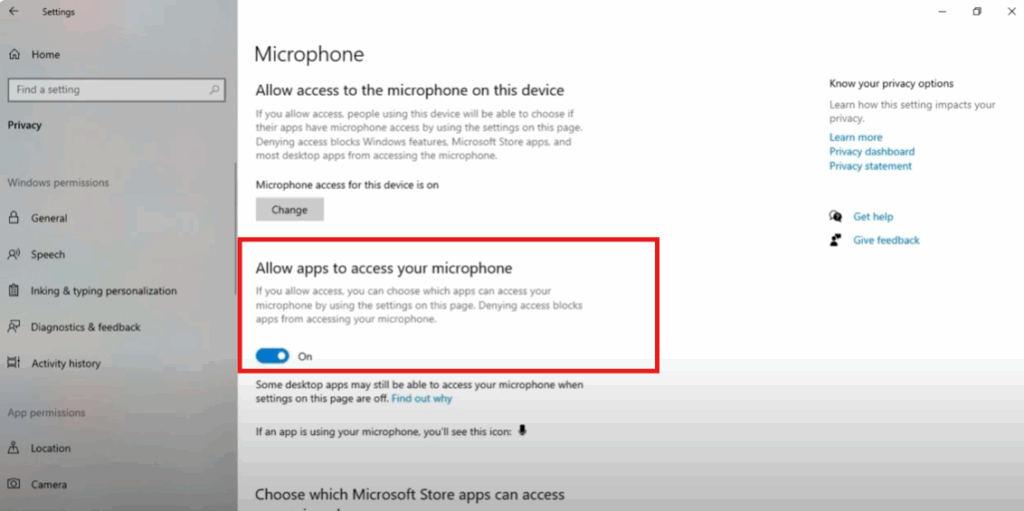
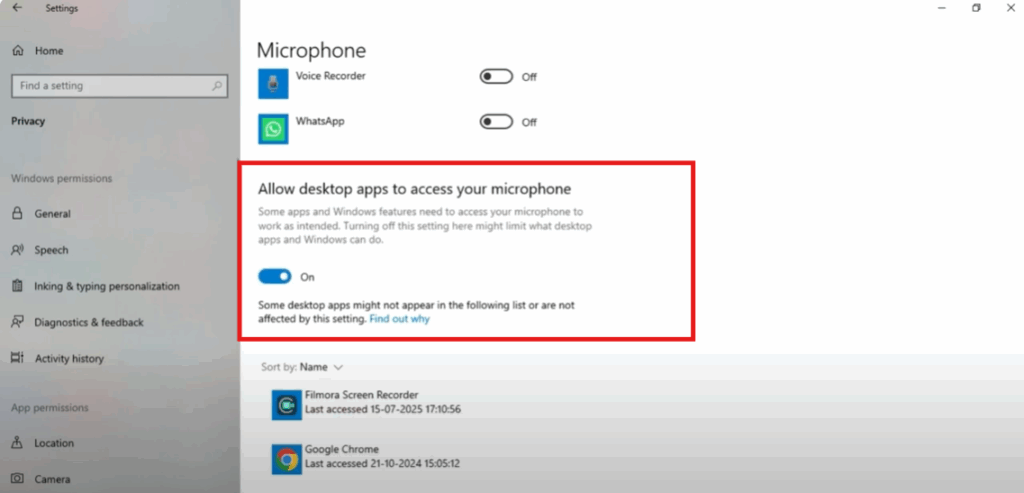
- Also, check Allow apps to access your microphone. If it’s OFF, turn it ON.
Once you’ve done this, try testing your microphone again.
Method 2: Run Windows Troubleshooter
If the first method doesn’t work, let’s run the built-in troubleshooter.
- Go to the Search bar, type Settings, and click on it.
- Select Update & Security, then click on Troubleshoot.
- Click Additional troubleshooters.
- Find Recording Audio and select Run the troubleshooter.
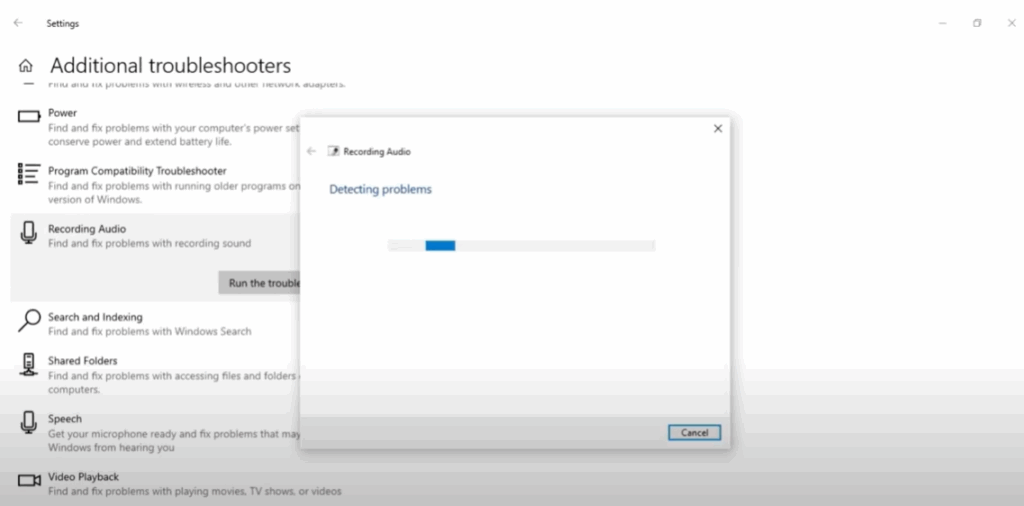
Windows will automatically detect the problem and try to fix it. If you see a message saying Problem Fixed, your microphone should work now.
Method 3: Set Microphone as Default
If it’s still not working, set your microphone as the default device.
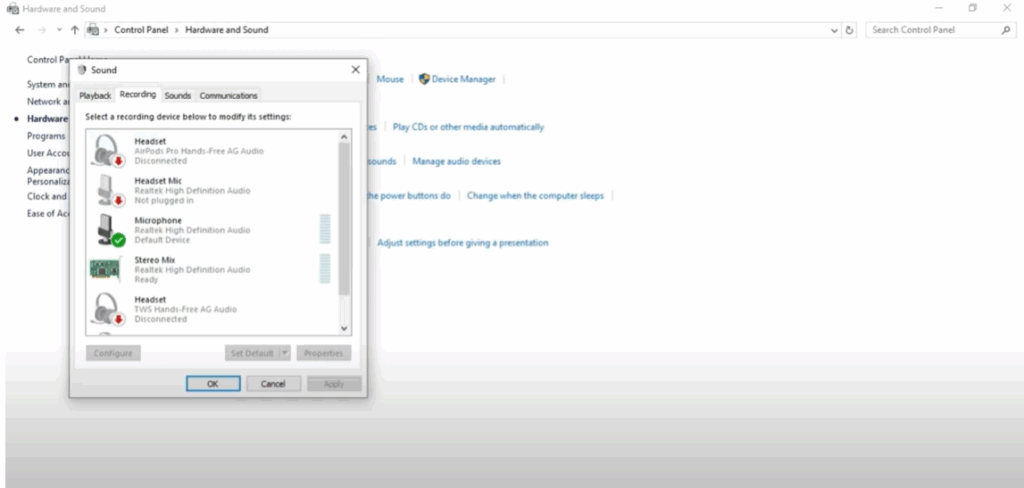
- Open the Control Panel.
- Click on Hardware and Sound.
- Select Sound and go to the Recording tab.
- Select your Microphone.
- Click Set Default and press OK.
Now your microphone is set as the primary input device.
Thanks for reading! If this guide helped you, please like and subscribe to Tech Gitter Official for more helpful tutorials.


