
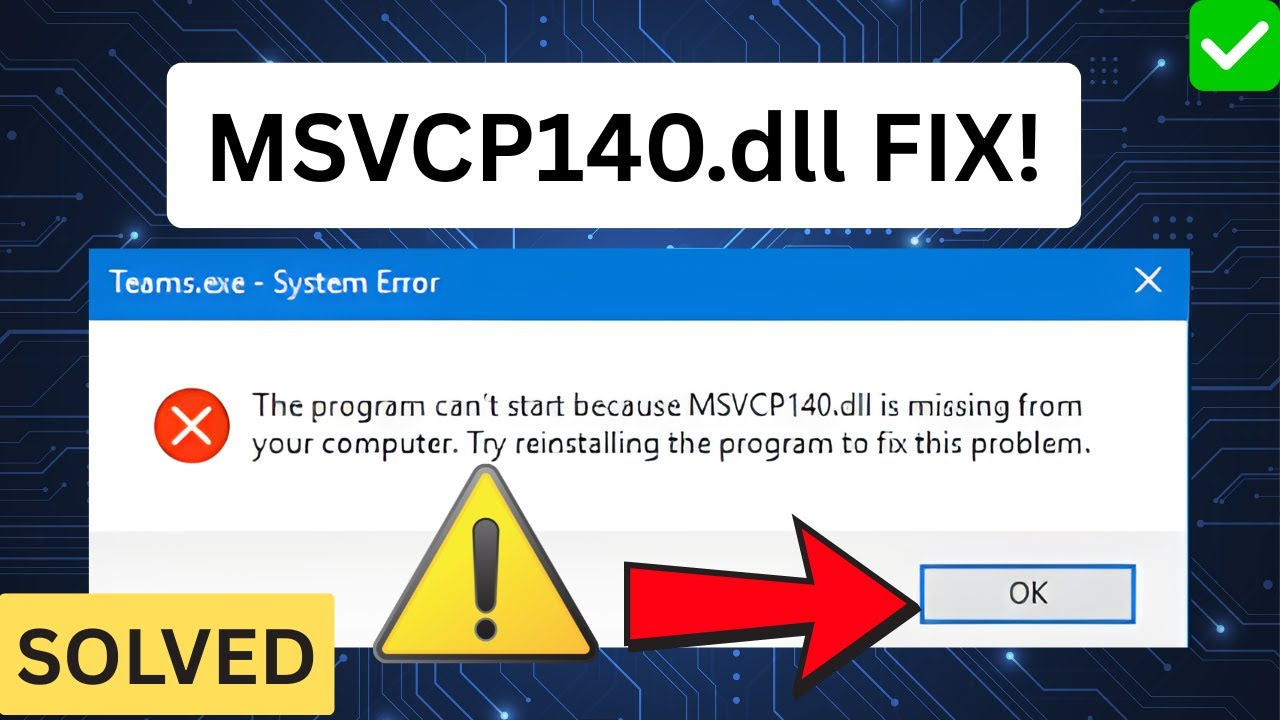
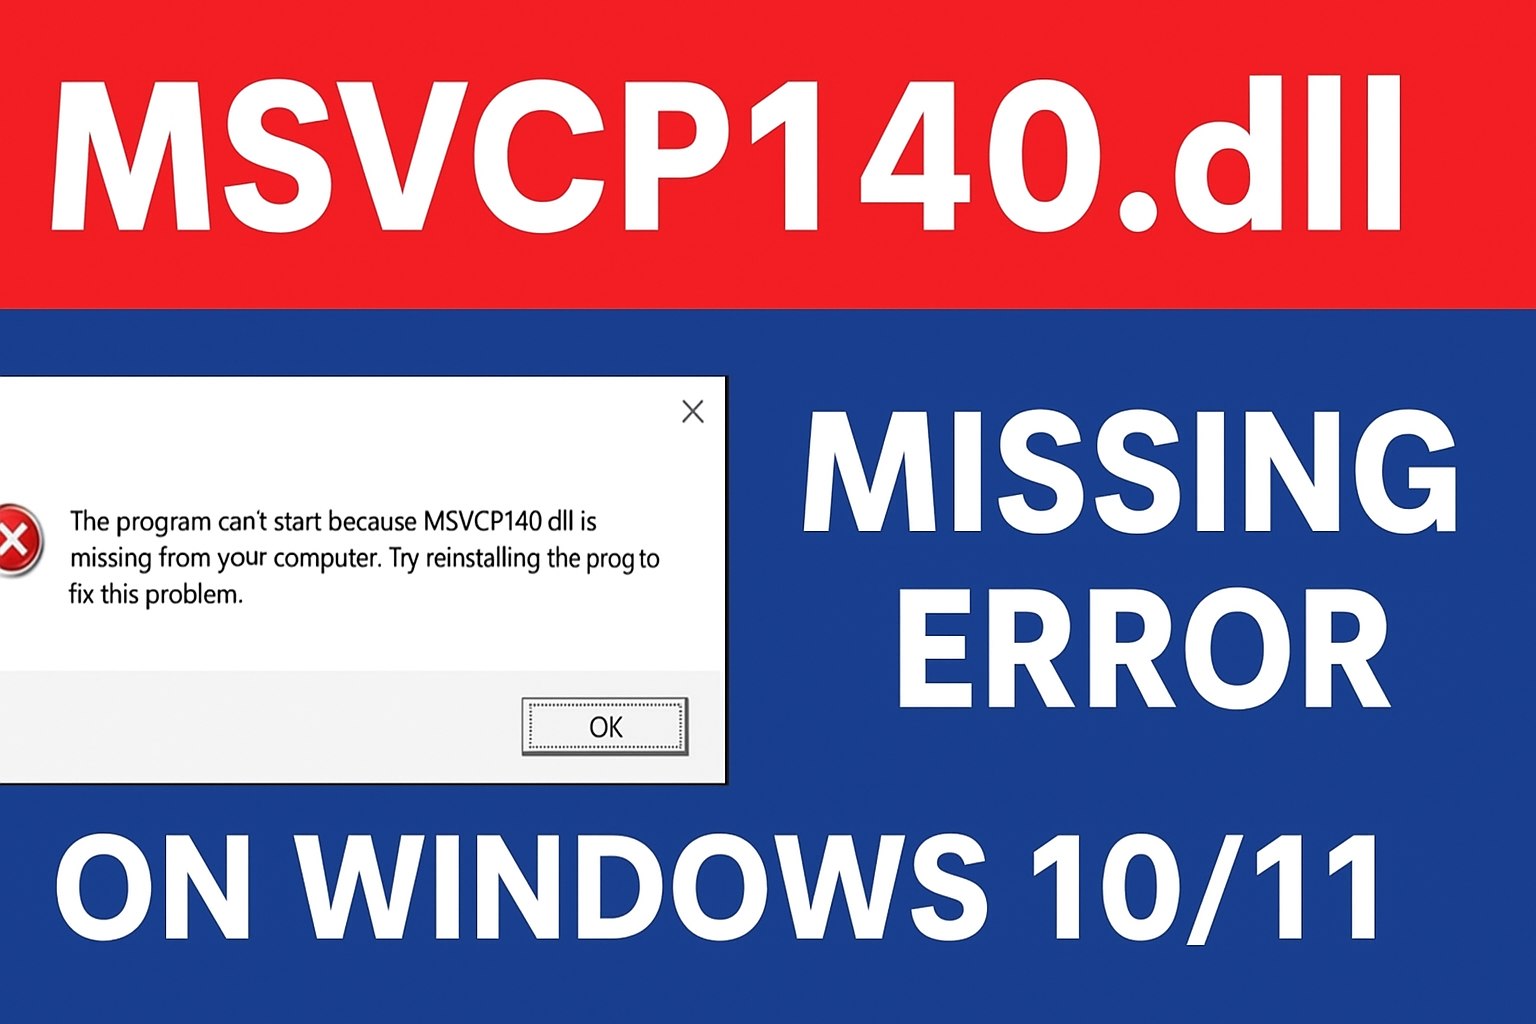
Seeing an “MSVCP140.dll missing” error in Windows 10 or 11 can stop your apps and games from launching, but fixing it is quick and simple. This error happens when your computer doesn’t have the right Microsoft Visual C++ Redistributable files needed for certain programs to work. By repairing or reinstalling the Visual C++ package from the official Microsoft site, you’ll get MSVCP140.dll back and remove the error fast. In this blog, you’ll discover easy and reliable solutions to restore MSVCP140.dll and get your system running smoothly again for 2026.
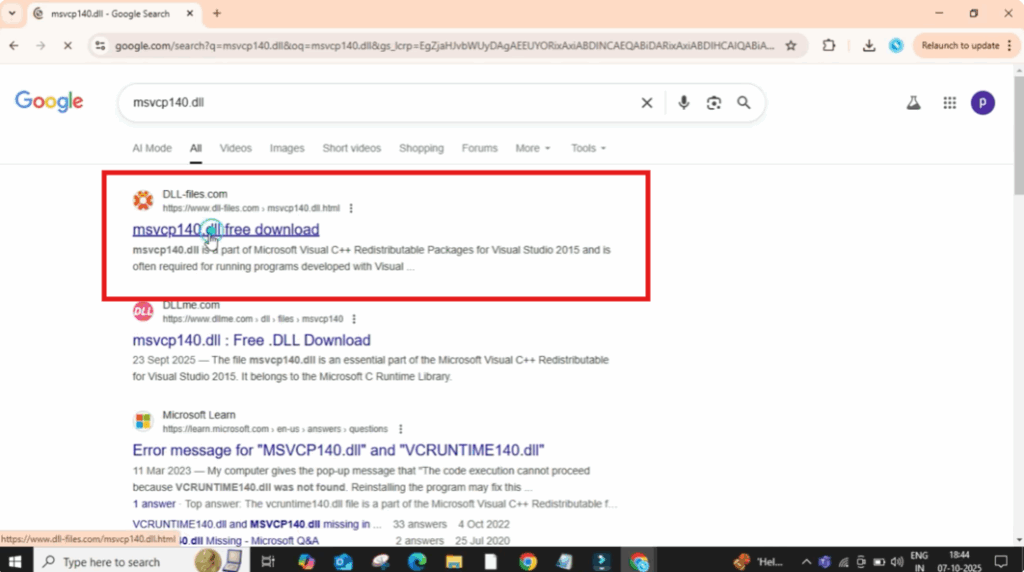
First, open Google Chrome or any web browser you use. In the search bar, type msvcp140.dll download and press enter. Now, click on the first website that appears. Make sure it’s a trusted one like dl–files.com or Microsoft’s official site.
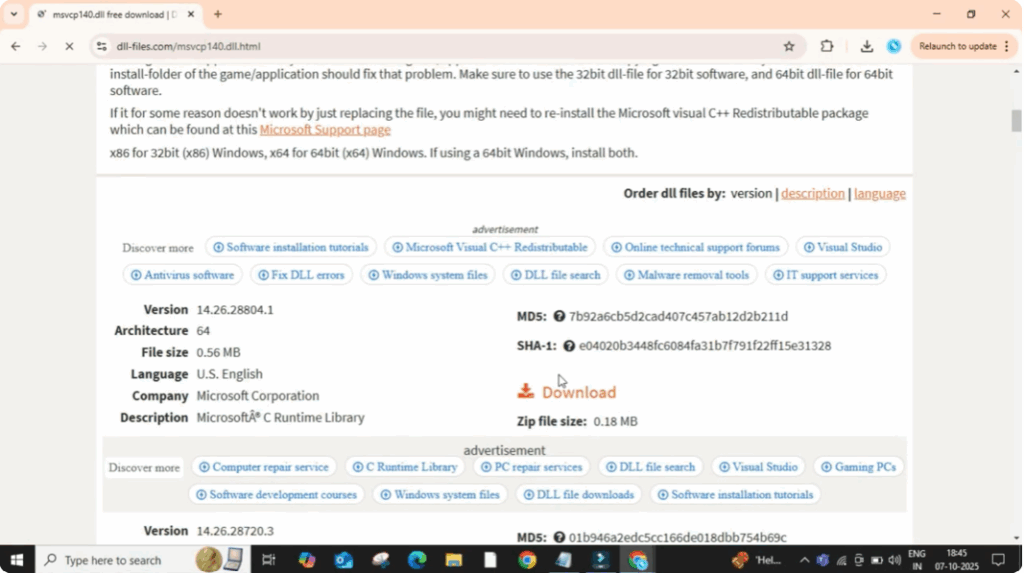
Once you’re on the website, scroll down a little and you’ll see different versions of the file listed under architecture. Here, you need to check whether your system is 32-bit or 64-bit. Now, download the correct file based on your system. In my case, it’s 64-bit. So, I’ll click on the download button next to the 64-bit version.
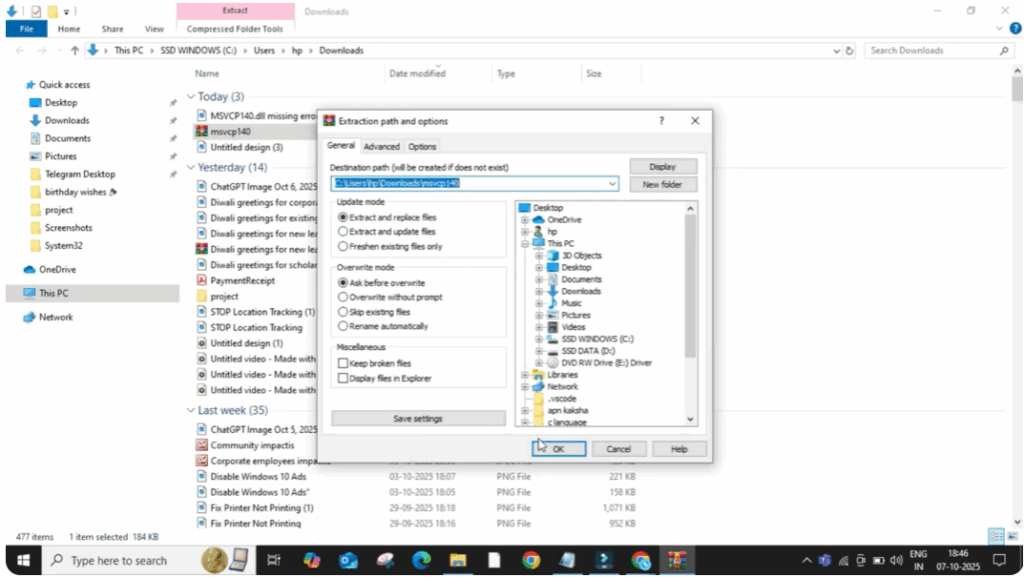
Once the download is complete, open it. Then right-click on the zip file and select Extract Files. A small pop-up window will appear. Just click OK to confirm extraction. After a few seconds, the files will be extracted into a new folder.
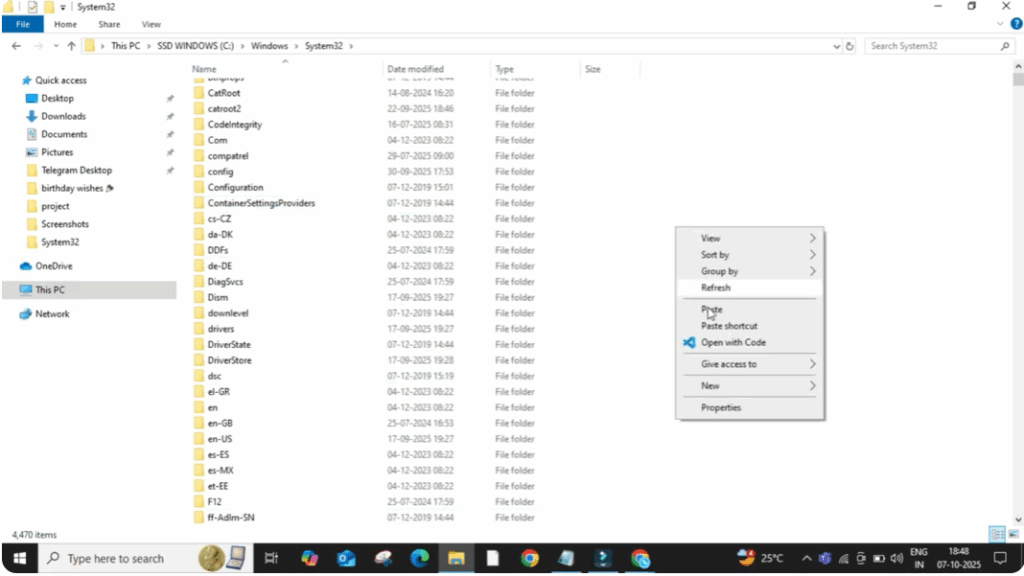
Now open that folder. You’ll see one or two DLL files inside. Select both files and copy them. Next, open This PC. Go to your C drive. Then open the Windows folder and inside that open the System32 folder. Once you’re inside System32, right-click on any empty area and choose Paste. This will copy the msvcp140.dll files into your system folder.
Now close everything and restart your PC. After the restart, try opening the same app or game again. This time the msvcp140.dll missing error should be completely fixed.


