
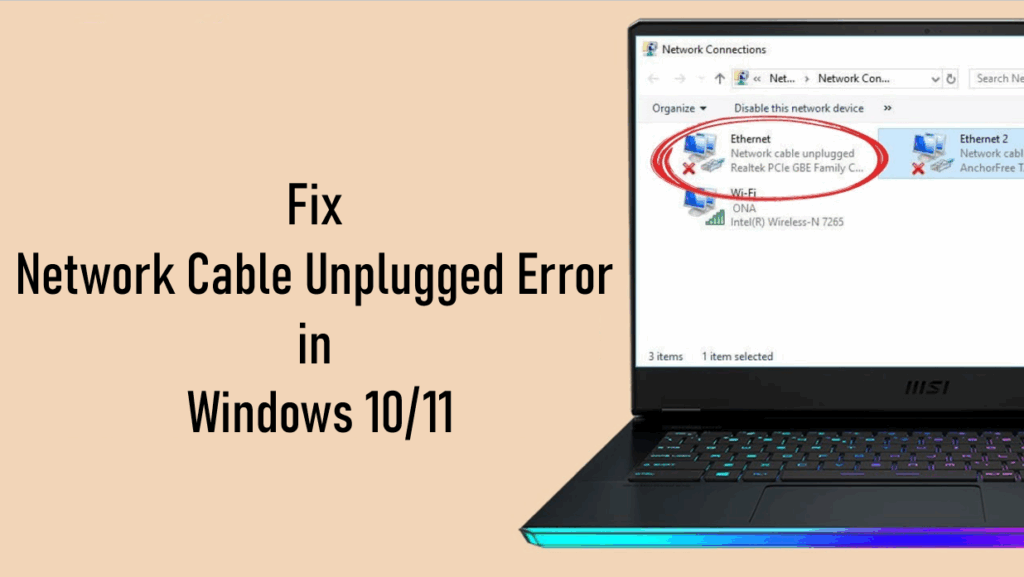
If you’re seeing the “Network Cable Unplugged” error on your Windows 10 or 11 PC, don’t worry—you’re not alone. This issue usually means your computer isn’t detecting a proper network connection, even if the cable is plugged in. It can happen because of a loose cable, faulty hardware, or simple software settings. The good news is that this error is easy to fix, and in this guide we’ll walk you through simple solutions to get your internet connection back up and running.
Let’s begin with the first method.
Click on the Windows icon and type cmd in the search bar. When you see Command Prompt, right click on it and select Run as Administrator. A black window will appear. Here we will enter a few important commands.
The first command is:
IP protocol configuration/flushdns

Press Enter and you should see a message saying The DNS has been successfully flushed.
Next, type:
netsh winsock reset
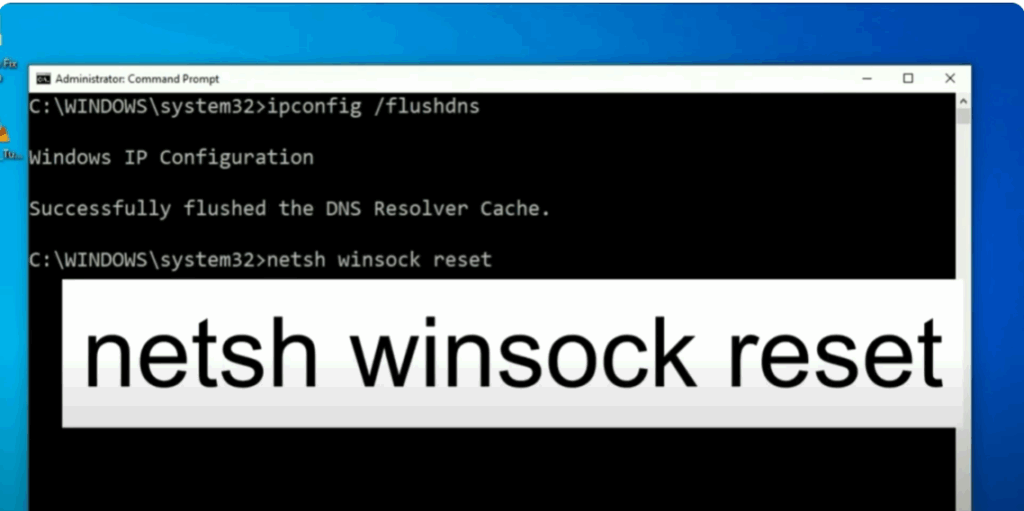
and press Enter again. After the reset is complete, type exit and hit Enter to close the window. Restart your system and check if the issue is resolved.
If the problem persists, let’s move on to the second method.
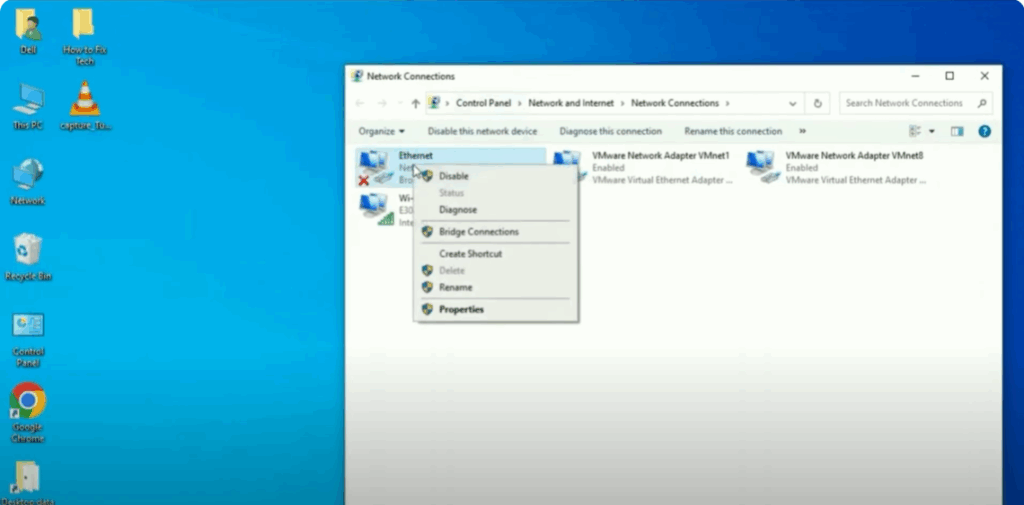
Open the Windows menu again and type View network connections. Click on it and here you will see your Ethernet option. Right click on Ethernet and select Properties.
From here, click on QoS packetuler. Then click Configure and confirm by selecting Yes. A new window will open. Go to the Advanced tab. Then on the left side, select Speed and Duplex. On the right side, under Value, choose 100 megabits per second Half Duplex. Click OK and restart your system.
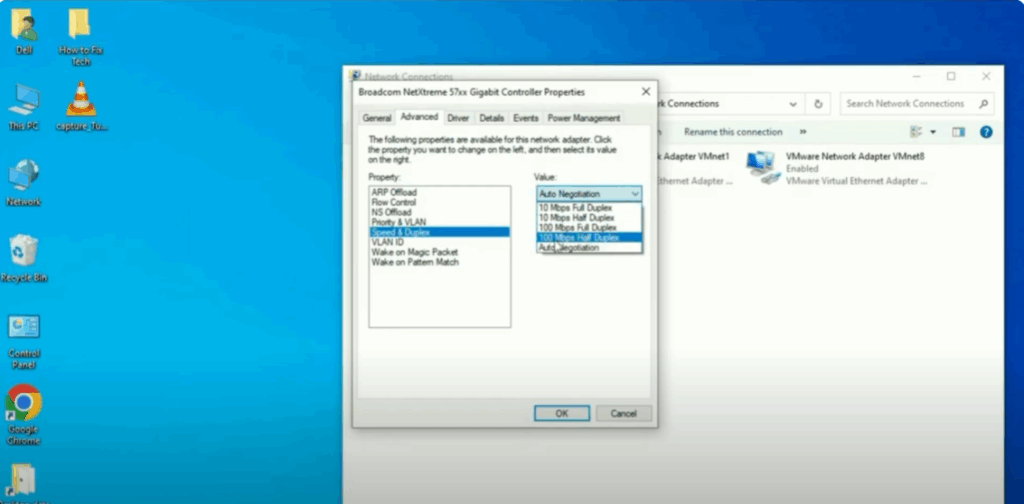
If the problem is still there, repeat the same steps, but this time change the value to 10 megabits per second Full Duplex. Then restart your computer again to test.
Finally, let’s try the third method, which involves the driver settings.
Again, go to your Ethernet Properties and select Internet Protocol Version 4 (TCP/IPv4). Then click Configure and confirm with Yes.
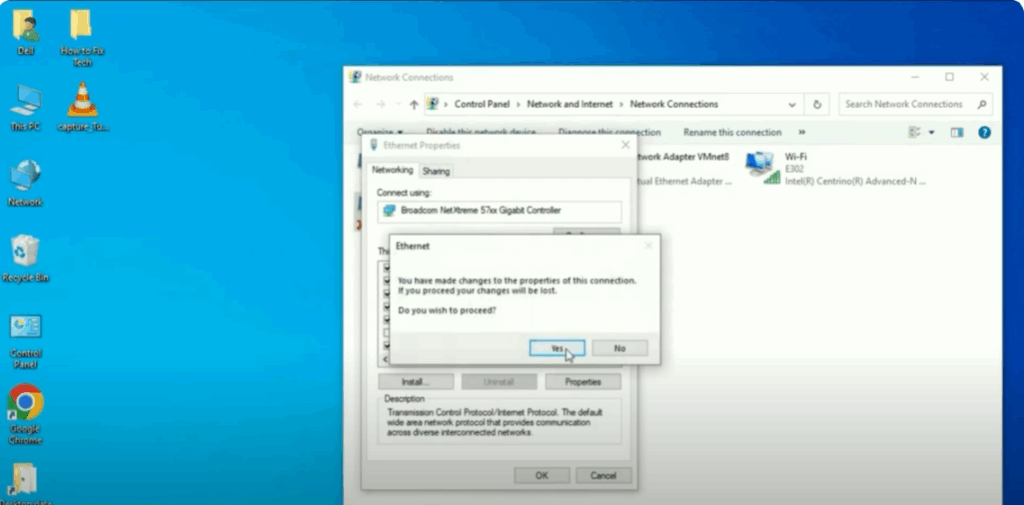
In the new window, go to the Driver tab. If the option Roll Back Driver is available, click on it to revert to the previous driver as this can often fix the error.
If that option is not available, you can instead click Update Driver. Choose Browse my computer for drivers. Then select Let me pick from a list of available drivers. From the list, select the latest driver available. Click Next and install it.

If even this does not solve the problem, as a last resort, you can select Uninstall device. Click Uninstall and then restart your computer. Windows will automatically reinstall the driver after the restart, which usually resolves the issue.
These are three powerful and effective methods you can use to fix the network cable unplugged error in Windows 10 or 11.


