
NVIDIA App users on Windows 11 often see the frustrating “There Was a Problem” error that prevents the app from launching, usually due to corrupted installations, outdated drivers, or service conflicts after updates. This blocks access to driver updates, game optimizations, and settings. In this blog, you’ll learn easy fixes like reinstalling the NVIDIA App, updating GPU drivers through Device Manager, enabling notifications and WPN services, and clearing cache to get your NVIDIA App working smoothly again.
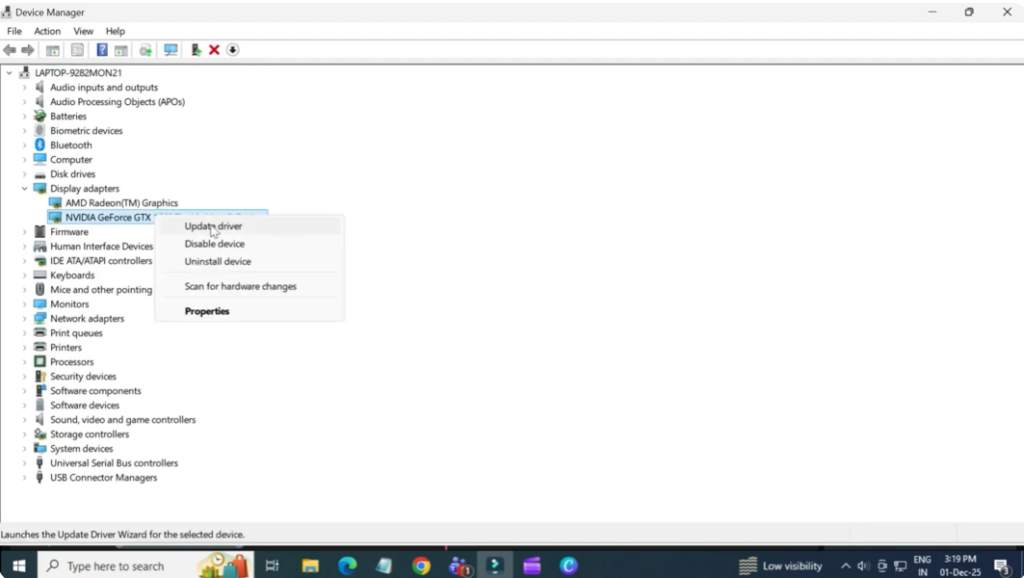
So, first go ahead and close the Nvidia app completely. Now, open the Start menu and search for device manager. Once it opens, click on display adapters and find your Nvidia graphics card. Right click on it, select update driver, choose browse my computer for drivers, then select the latest Nvidia driver from the list and click next. Give it a moment to install. Once that’s done, try launching the Nvidia app again.
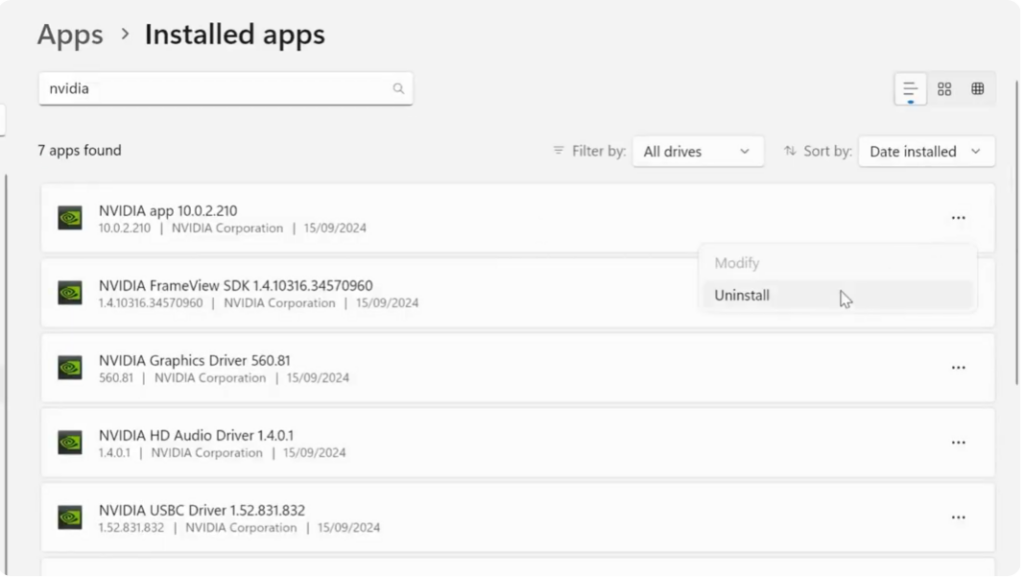
If it’s still not working, don’t worry. There’s one more fix. Close the app again. Go to settings, apps, installed apps. Search for Nvidia app. Click the three dots next to it and uninstall it. After the uninstall completes, open any browser and search Nvidia app download. Click the official top result and download the latest version.
Once downloaded, run the installer. Accept the terms and let it install. When the setup finishes, open the Nvidia app and choose either game ready driver or studio driver depending on your use. Click next and then done. And as you can see, the Nvidia app is now working properly.


