
If you’re getting errors related to the twain_32.dll file on your Windows computer, it usually means there’s a problem with the software or drivers that manage scanners and imaging devices. This common Windows issue can prevent your scanner or image-related applications from working properly. The good news is that fixing it doesn’t have to be complicated. With a few simple steps, you can repair, replace, or reinstall the missing or damaged twain_32.dll file and restore your system’s smooth performance. In this step-by-step guide, we’ll show you easy ways to fix twain_32.dll errors on any Windows version without needing advanced technical knowledge.
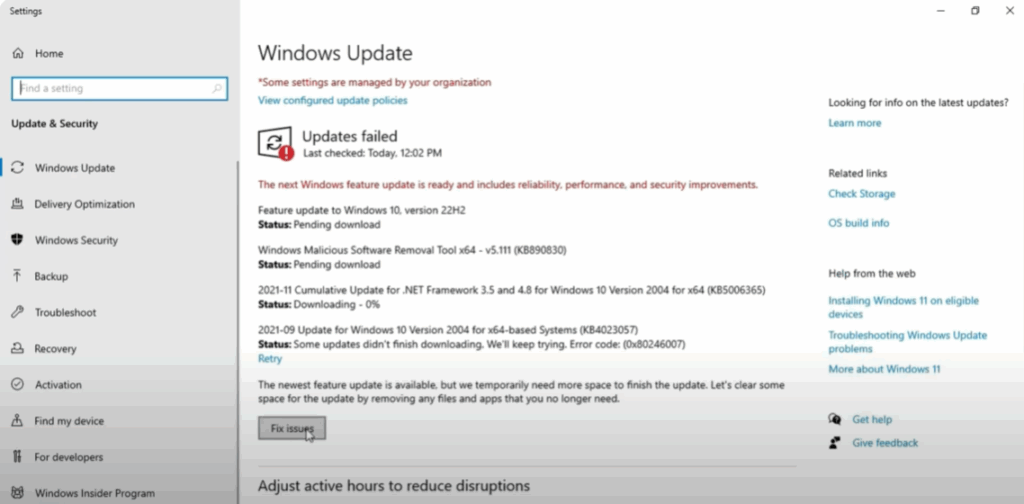
Step One: Check for Windows Updates
Go to the search bar and type check for updates. Open the Windows update settings. Click on check for updates and install any available updates. If you see a fix issues button, click it and allow Windows to install the necessary updates. Once everything is updated, you can close the window.
Step Two: Run System File Checker (SFC)
Open the search menu, type cmd, right click on command prompt, and select run as administrator. If a user account control prompt appears, click yes to continue.
In the command prompt window, type the following command:
sfc /scannow
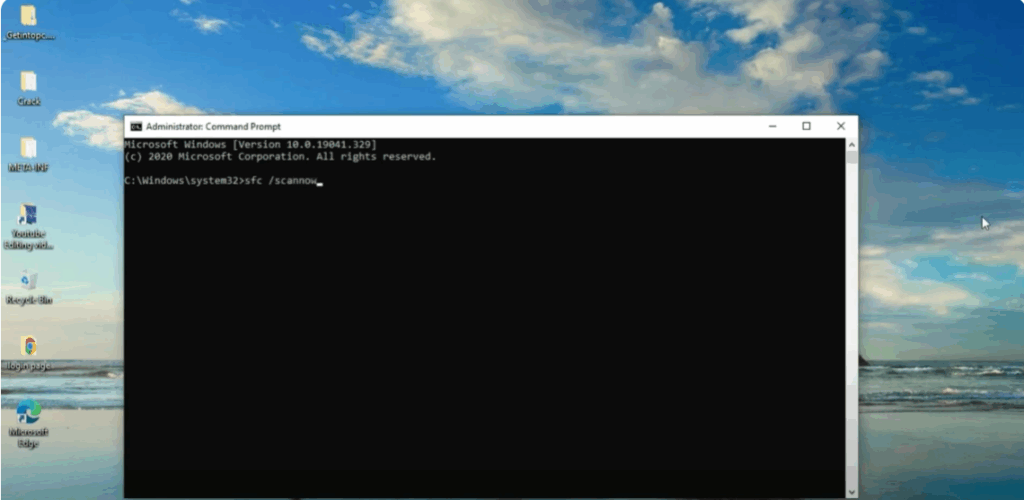
Now press enter and wait for the scan to complete. This process might take a little while, so be patient. You’ll also find this command in the video description. Just copy it, then right-click the top bar of command prompt, choose edit, then paste.
Step Three: Restart Your Computer
After the scan finishes, simply restart your PC. That’s it. Hopefully the twain_32.dll issue is now resolved.


