
If you’re a Valorant player facing the dreaded VAN 9003 error on Windows 11, don’t worry—you’re not alone. This error typically comes with the message:
“This build of Vanguard is out of compliance with current system settings”
It usually occurs when Secure Boot or UEFI is disabled on your PC. In this guide, we’ll walk you through the step-by-step process to fix the VAN 9003 error so you can get back to gaming without interruptions.
Step 1: Check Secure Boot and BIOS Mode
First, we need to verify if Secure Boot and UEFI mode are enabled.
- Click the Search Bar on Windows 11 and type msinfo.
- Open the System Information app.
- Look for two important fields:
- BIOS Mode → It should say UEFI.
- Secure Boot State → It should say On.
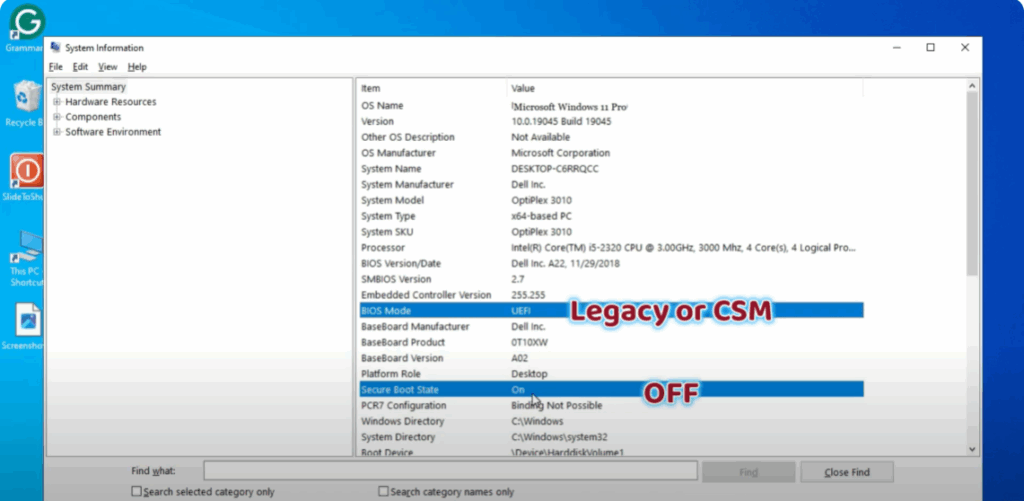
If your BIOS Mode shows Legacy/CSM and Secure Boot is Off, you’ll need to enable them in your BIOS settings.
Step 2: Enable Secure Boot and UEFI in BIOS
If Secure Boot or UEFI is disabled, here’s how to enable them:
- Find your BIOS Key
- For laptops, search online for your model’s BIOS key.
- For custom-built PCs, search for your motherboard’s BIOS key. Common keys include F2, F10, Del, or Esc.
- Restart Your PC
- While restarting, repeatedly press the BIOS key as soon as you see your manufacturer’s logo.
- This will open the BIOS menu.
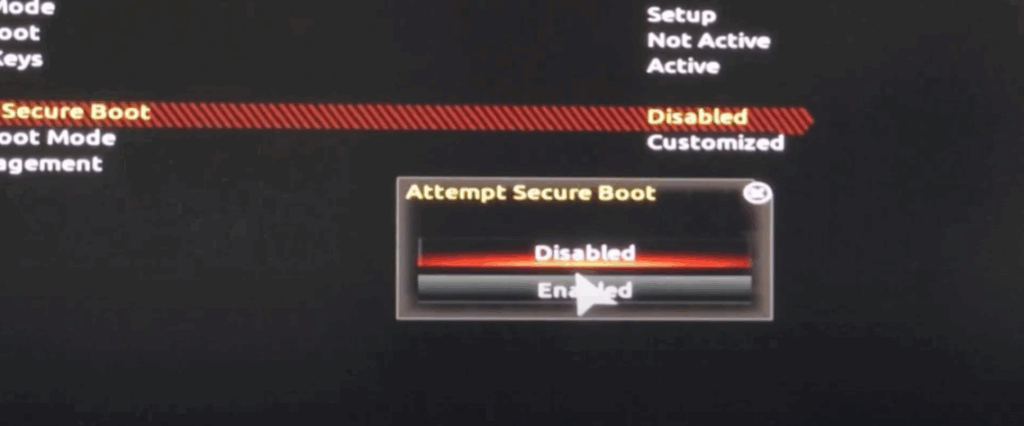
- Enable Secure Boot
- Navigate to the Boot or Security tab in BIOS.
- Find Secure Boot and set it to Enabled.
- Enable UEFI Mode
- Make sure the Boot Mode is set to UEFI (not Legacy or CSM).
- Save and Exit
- Press the save shortcut (usually F10) or select Save & Exit from the menu.
- Restart your computer.
Step 3: Launch Valorant
Once you’ve enabled Secure Boot and UEFI, start Valorant again. The VAN 9003 error should now be gone, and you can enjoy the game without issues.
Final Tips
- Always keep Windows and Valorant updated to avoid compatibility issues.
- Avoid disabling Secure Boot unless necessary for specific software.
By following these steps, you can fix VAN 9003 in Valorant on Windows 11 quickly and easily.
✅ If this guide helped you, share it with your fellow gamers and subscribe to Tech Gitter for more helpful tech tutorials.


