
Hello friends, welcome back to my channel Tech Gitter Official. In today’s video, we’re going to fix a common issue: Wi-Fi connected but no internet access. So without wasting any time, let’s get started.
When your Wi-Fi shows it is connected but you try to open a web page and it says no internet, here’s what you can do.
First Method: Check Internet Options
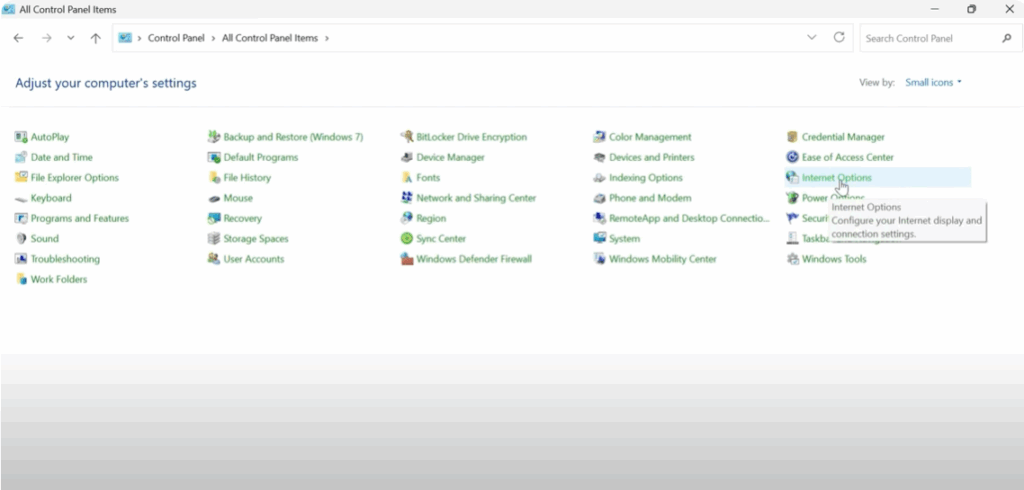
- Click on the Start button and type Control Panel.
- Open Control Panel and from the top right corner, change the view by to Small Icons.
- Click on Internet Options or Internet Properties.
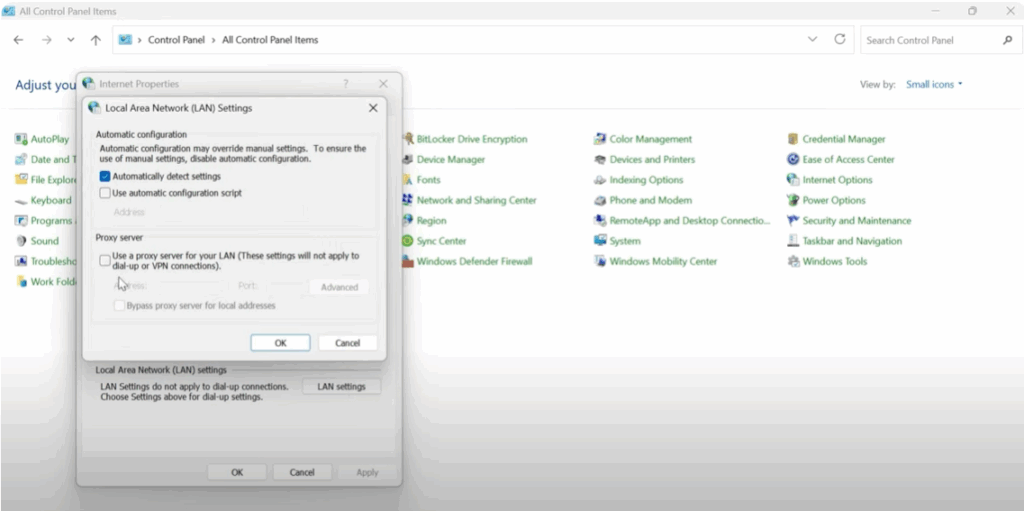
- Go to the Connections tab and click on LAN Settings.
- Make sure that Use a proxy server for your LAN is unchecked.
- Click OK, then again OK to close everything and return to your desktop.
Second Method: Check Network Properties
- Open Control Panel.
- Go to Network and Internet > Network and Sharing Center.
- Click on your connected Wi-Fi network name.
- In the new window, click Properties.
- Scroll down and find Internet Protocol Version 4 (TCP/IPv4). Make sure it is checked.
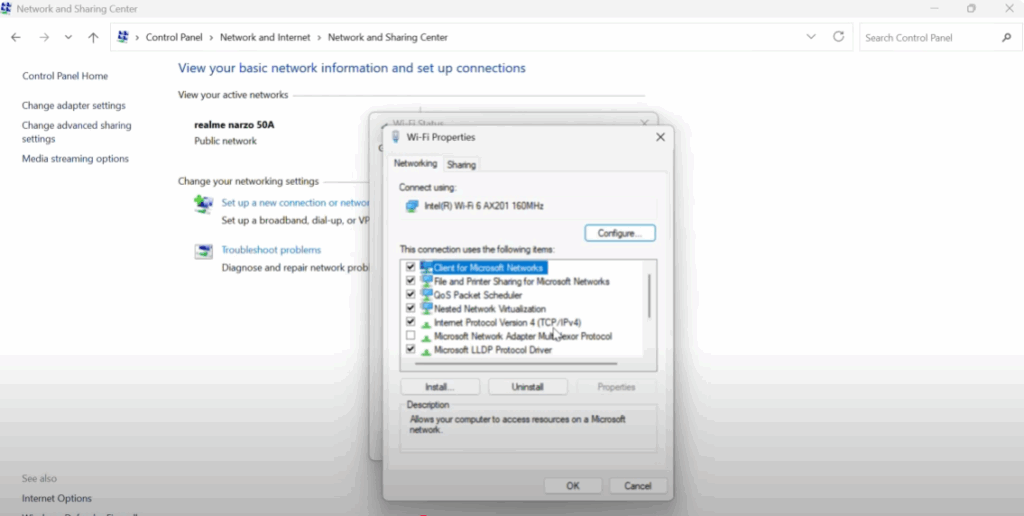
- Select it and click Properties.
- Make sure Obtain an IP address automatically and Obtain DNS server address automatically are selected.
- Click OK, then OK again, and close everything.
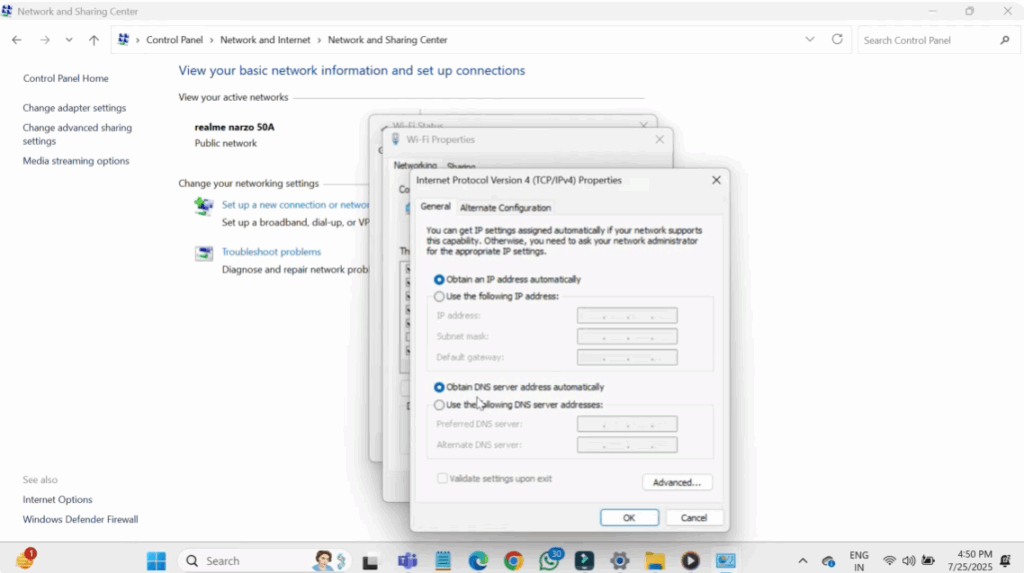
This method ensures your computer is automatically getting the correct IP and DNS from your router.
Third Method: Run Network Troubleshooter
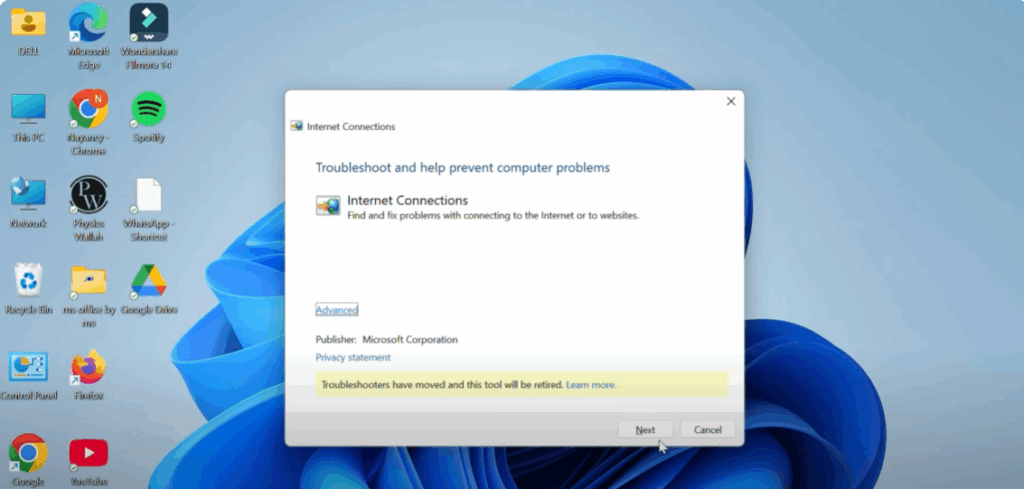
- Click on the Start button and search for Network Troubleshooter.
- Open it and let Windows detect and fix the issue automatically.
- When Troubleshooter is open, click on Next and it will automatically detect your problem.
Fourth Method: Reset Network Settings
- Click on the Start button and type Settings, then open it.
- Go to Network and Internet.
- Scroll down and click on Advanced Network Settings.
- Click on Network Reset, then click Reset.
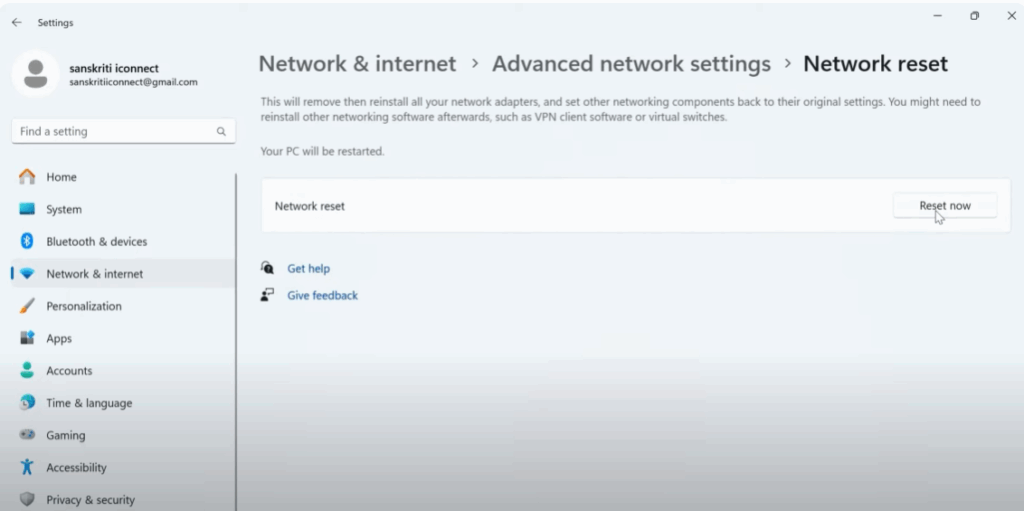
Now your PC will restart and all your network settings will reset to default. You’ll need to reconnect to your Wi-Fi.
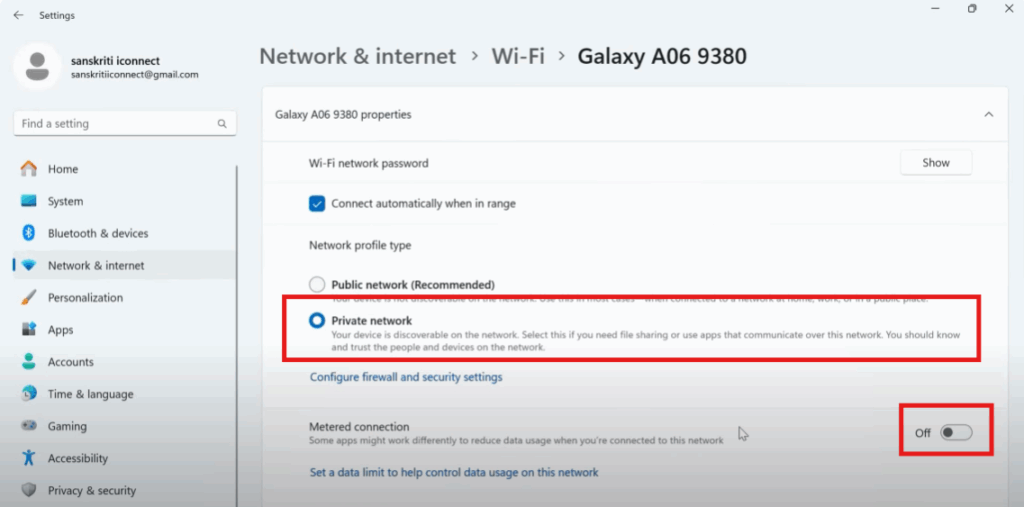
Fifth Method: Check Wi-Fi Privacy and Metered Connection
- Again go to the Start button and search for Settings.
- Click on it, then go to Network and Internet.
- Click on the Wi-Fi option and then click on your connected Wi-Fi device name.
- After that, click on Private Network and make sure the Metered Connection option is turned off. If it is on, turn it off.
- Then go back to the desktop.
I hope this video helps you. Thanks for watching.


