

Is your computer running slow or showing low storage warnings? It might be time to clean up your C drive in Windows 10. The C drive is where your system stores important files, apps, and updates—and when it gets full, your PC can lag or freeze. But don’t worry! You don’t need to be a tech expert to fix this. In this blog, we’ll show you easy ways to free up space on your C drive, step by step. From deleting junk files to using built-in tools, you’ll learn how to boost your computer’s speed and keep it running smoothly. Let’s get started!

Step 1: Delete Temporary Files
- First, click on the Windows icon and open the Run box.
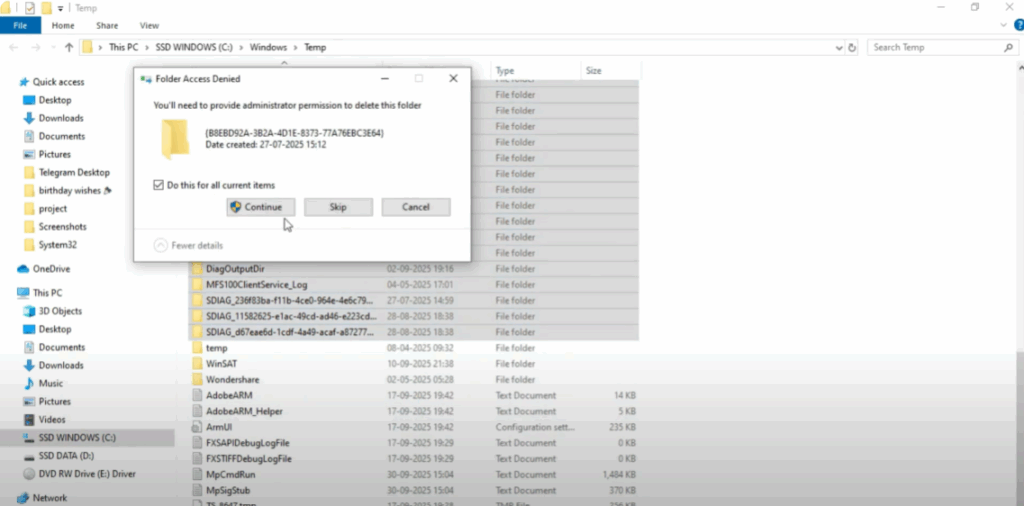
- Now, type temp and press Enter. This will open a folder containing temporary files created by your system.
- You might see hundreds of files here. Don’t worry, these are just junk files.
- Select all of them and delete them.
- If some files don’t delete, just skip them.
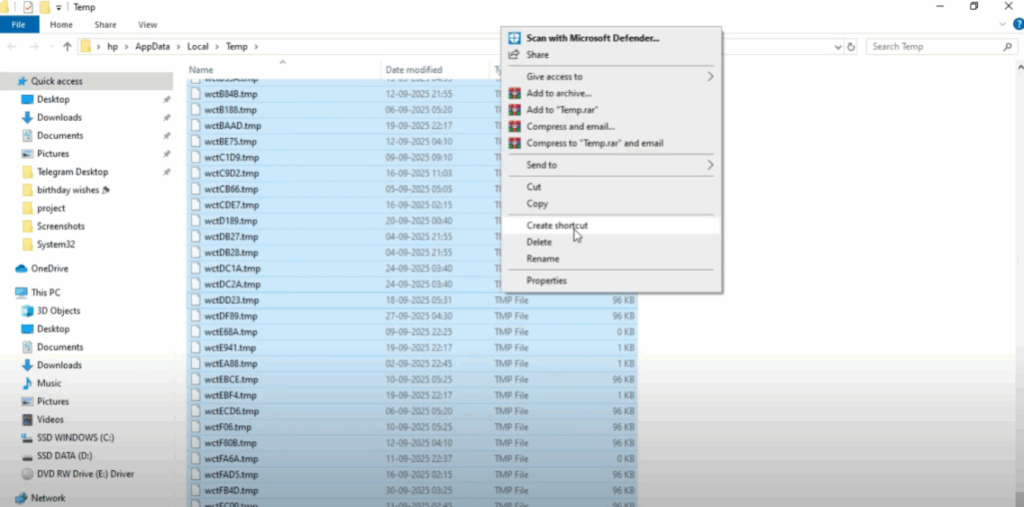
- Next, again click on the Windows icon, open Run, and this time type %temp% and press Enter.
- This opens another temporary folder where Windows stores even more unnecessary files.
- Again, select everything and delete it.
- This step alone can free up a lot of space.
- Now, repeat the same step once more.
- Open Run, type prefetch, and press Enter.
- A folder will appear. These are files stored to help programs start faster, but over time they just take up space.
- Select all files and delete them as well.

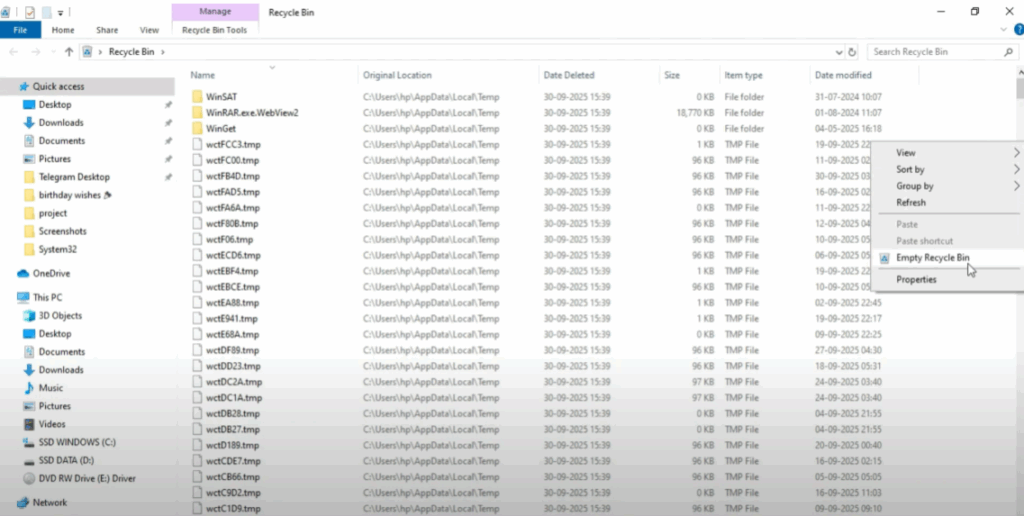
- After cleaning these three folders, go to your Recycle Bin on the desktop.
- Right-click inside it and choose Empty Recycle Bin.
- Confirm it. And after a few seconds, your recycle bin will be completely empty.
Step 2: Uninstall Unwanted Apps
- The next step is to remove unwanted apps.
- Click on the search bar, type Uninstall apps and press Enter.
- Here you’ll see a list of all installed programs.
- Look carefully and uninstall the apps you don’t use.
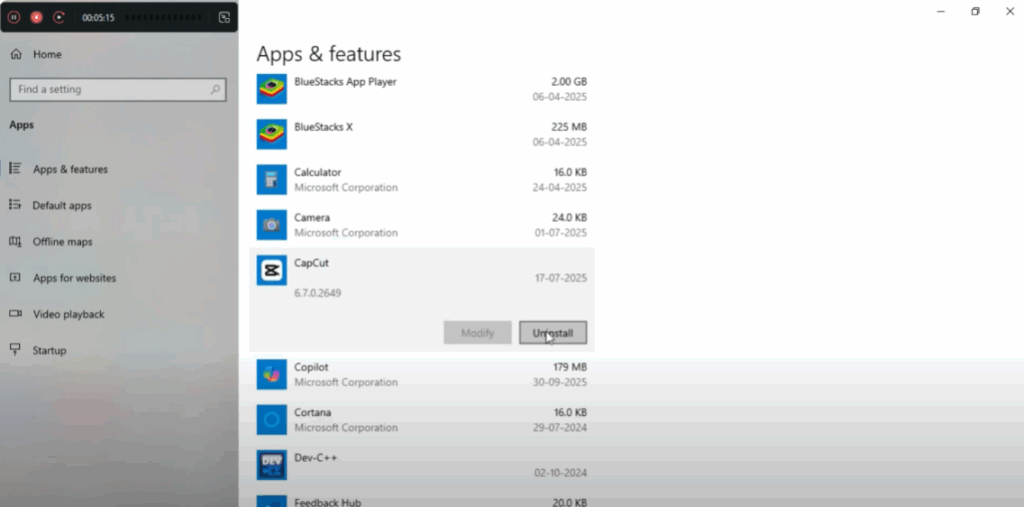
For example, I’ll uninstall CapCut here.
Just click on the app, press Uninstall, and wait a few moments until the process finishes.
Removing unused apps frees up extra storage and also makes your PC boot faster.
Step 3: Optimize the C Drive
- Now, let’s optimize the C drive itself.
- Open File Explorer, go to This PC, then right-click on the C drive and choose Properties.
- Here go to the Tools tab and click on Optimize.
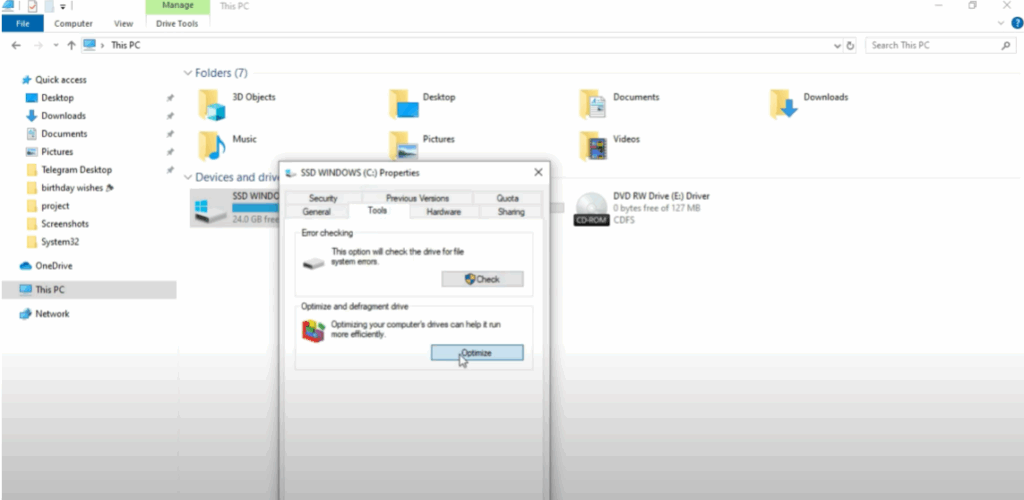
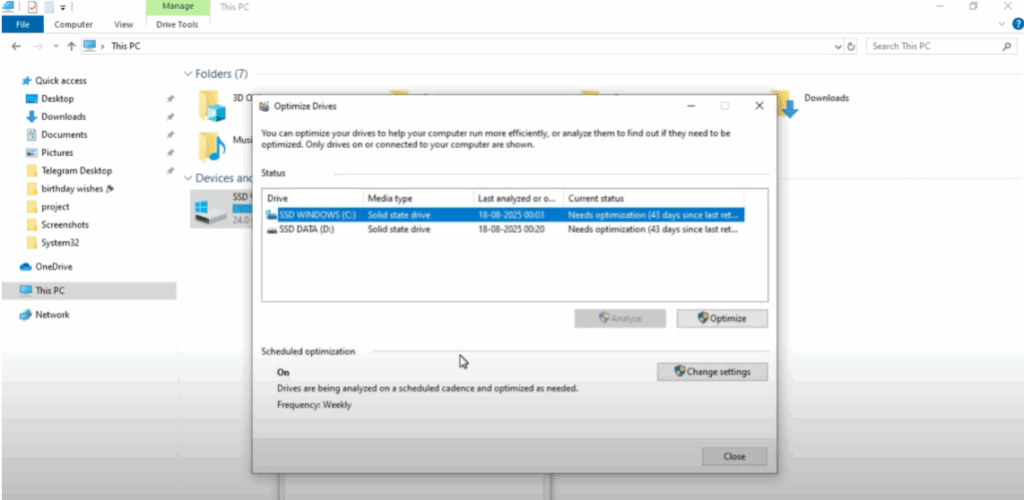
- In the optimize window, select C drive and click on Optimize again.
- This process will rearrange files on your drive for better performance.
- Once it’s done, close the window.
Step 4: Use Disk Cleanup Tool
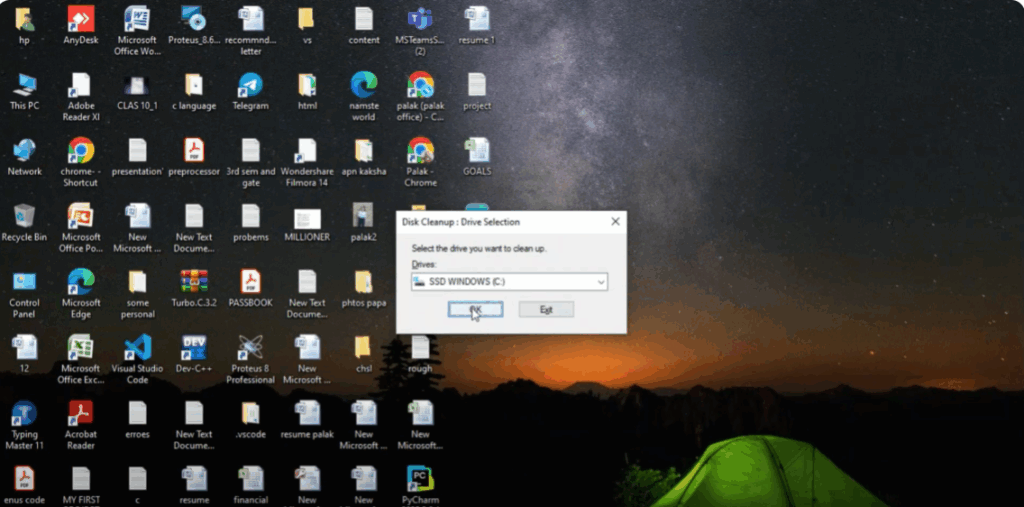
- Finally, we’ll use the built-in Disk Cleanup tool.
- Open the search bar, type Disk Cleanup, and press Enter.
- Select the C drive and click OK.
- Windows will now scan your drive for unnecessary files.
- This may take a few minutes depending on how full your drive is.
- Once the scan is complete, check all the boxes and then click OK.
- When it asks for confirmation, click on Delete Files.
- Wait a little while and Disk Cleanup will permanently remove those junk files from your PC.
Final Result
That’s it! You’ve now successfully cleaned up your C drive.
After doing this, you’ll notice your PC runs smoother, boots faster, and has more free space.


