

Adding auto subtitles to your YouTube videos is a quick and easy way to reach more viewers and make your content accessible to everyone. With YouTube’s built-in automatic caption feature, subtitles are generated for your videos in just a few clicks—no advanced editing skills needed. By following a few simple steps, anyone can add accurate, synced captions that help viewers better understand and enjoy every video.
Why Add Subtitles?
Look, English is a global language. If you add English subtitles to your video, then your video will be watched across the world. Now think—if your video is currently limited to only one state, then after adding subtitles, it can reach a global audience.
This will increase your watch time and your views. And if your channel is monetized, then the earnings in dollars will also increase.
Step by Step: How to Add Auto-Subtitles
- Open YouTube Studio
Go to studio.youtube.com.

- Go to Content
From the left side, click on Content.
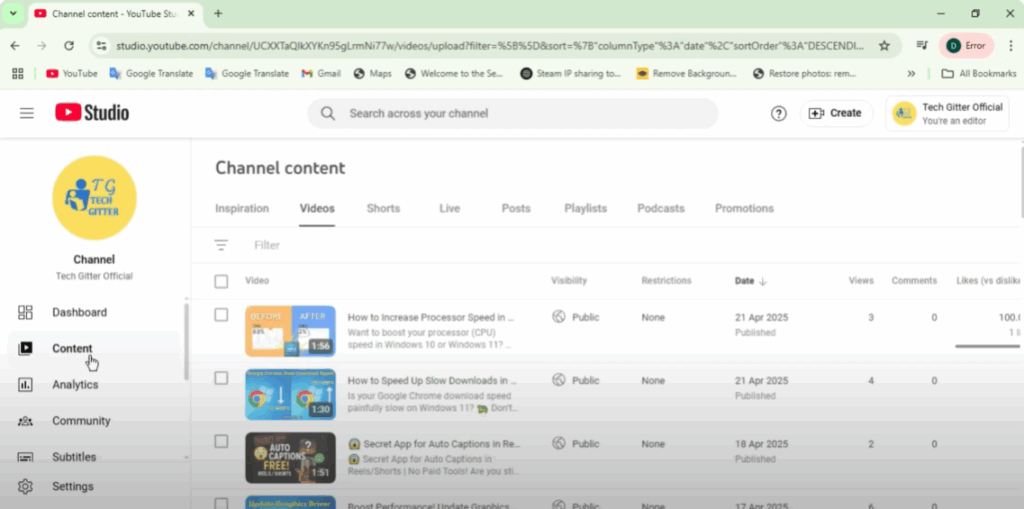
- Choose Your Video
Select the video to which you want to add subtitles. - Click on Subtitles
From the left side, click on Subtitles.- If your video has autogenerated subtitles, they will appear here.
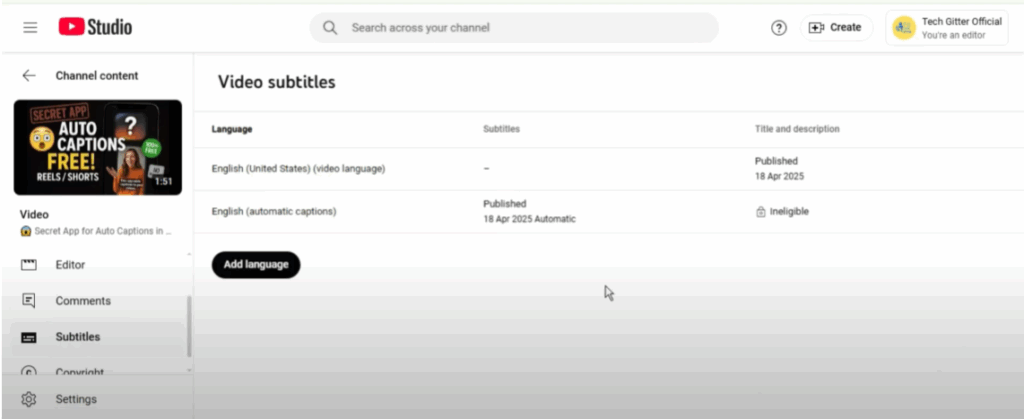
- Add Language
Click on Add Language from the top. Select English from the list.

- Add Auto-Translate
Choose Add Auto Translate. YouTube will automatically translate your video into English.- If you want, you can edit it a little and then publish it.

Pro Tip: Add Subtitles to All Old Videos
I would suggest that you add English subtitles to all your old long-form videos—100, 200, 300 videos. This can increase your views and watch time not by 2x, but by 10x, and your earnings will also increase accordingly.


